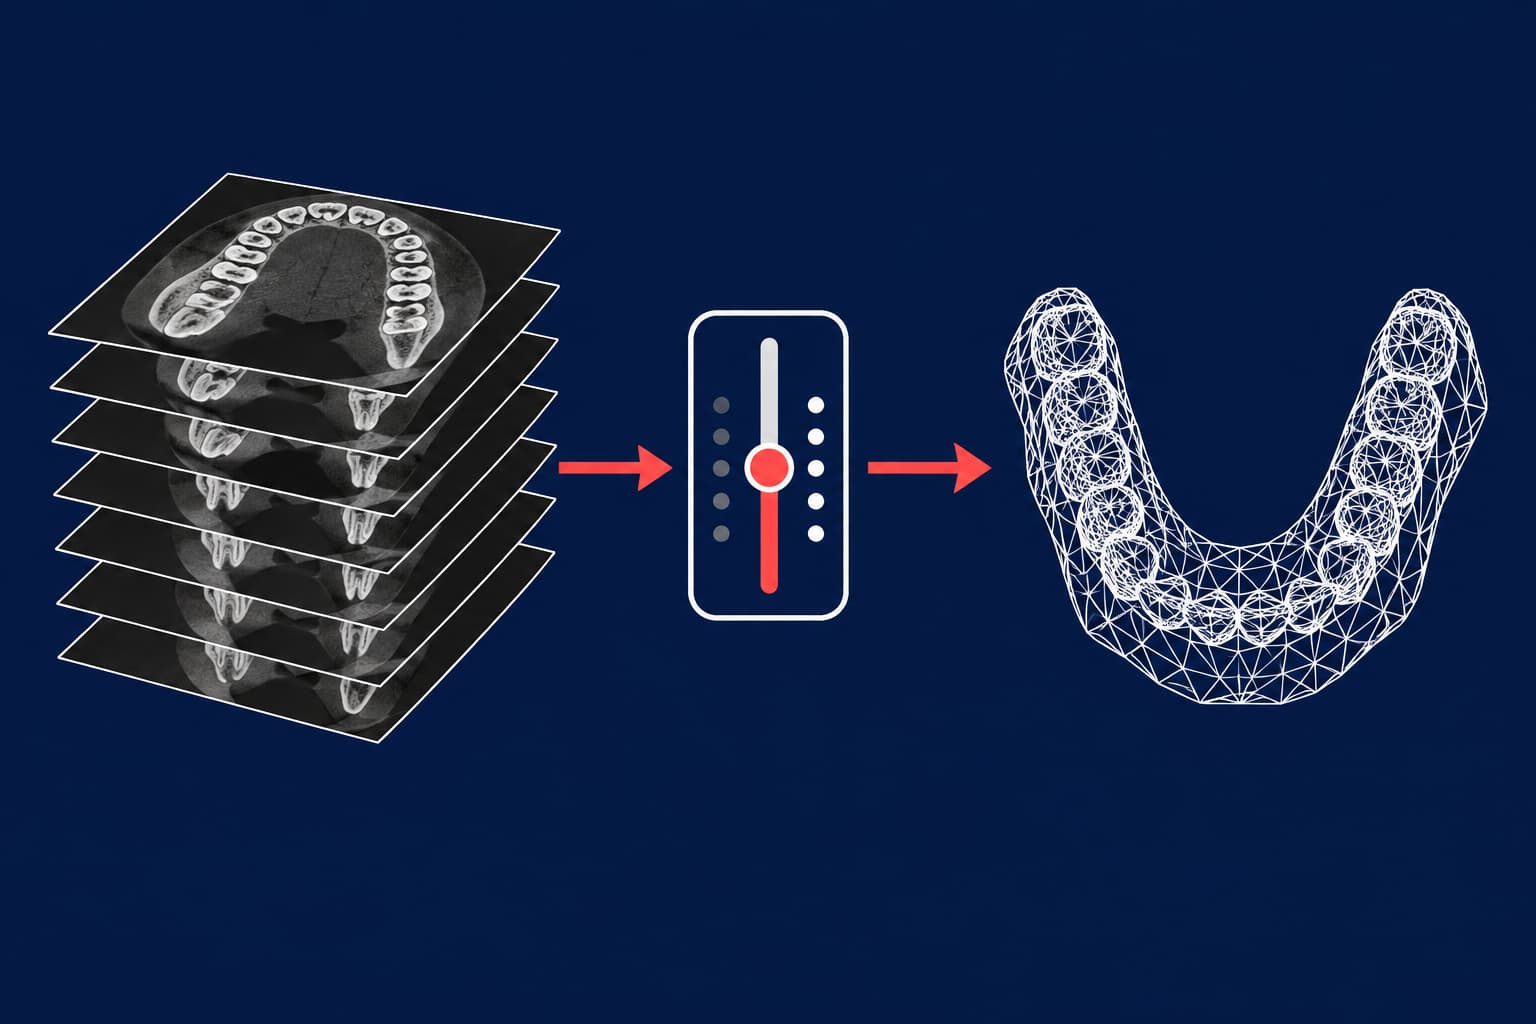
DICOM is a stack of grayscale slices; STL is a surface. Converting one into the other means choosing which voxels count as bone or tooth (segmentation), then exporting that boundary as a triangle mesh. The threshold you pick decides how accurate the mesh is, and no published source gives one correct value. For orthodontics, a CBCT-derived STL is best used for bone and roots. Take crowns from an intraoral scan.
Here is the workflow in brief:
- Confirm the CBCT was justified and acquired with the smallest field of view that answers the clinical question.
- Load the DICOM series and check orientation and slice spacing.
- Threshold the bone or teeth, then clean the segment and smooth it lightly.
- Export as STL and check scale, file size and mesh integrity.
- Merge with the intraoral scan STL if you need roots, bone and crowns in one model.
- Strip identifying data before the files leave the clinic.
What changes between DICOM and STL
A CBCT export contains hundreds of axial images, each pixel carrying a grayscale intensity. The files also carry a header with patient data. An STL holds only triangles describing a closed surface. It has no intensity values, no units and no patient metadata, which is why STL files in orthodontics travel so easily between CAD packages and printers.
That simplicity has a cost. The conversion is not automatic export but a segmentation: masks are exported to STL models, not the DICOM images themselves. Every decision during segmentation (threshold, noise removal, smoothing) stays baked into the mesh.
Before you convert: is the CBCT justified?
The best conversion cannot fix a scan that should not have been taken. SEDENTEXCT, the European evidence-based guideline, states that CBCT must be justified for each patient and used only when lower-dose conventional radiography cannot answer the question. It does not recommend CBCT as a standard method for orthodontic diagnosis and treatment planning.
For children, the European Academy of Paediatric Dentistry calls CBCT not first-line imaging. Its guidance reports effective doses in paediatric phantoms from 582 µSv for small scanning volumes to 769 µSv for medium to large volumes.
Two acquisition choices also shape the STL you will get later:
- Field of view. Use the smallest that covers the region of interest. The IAEA notes that units should offer a small-FOV option no larger than 6 × 6 cm. A small FOV lowers dose and gives finer voxels.
- Voxel size. EAPD advises the largest voxel size compatible with the indication. Smaller voxels are not always diagnostically useful. For mesh quality, though, coarse voxels have a cost: one study of dental-arch surface models found that larger voxels reduced visibility of occlusal surfaces and anterior bone.
If you plan a miniscrew guide or a root-aware setup, say so when you refer the patient. Then the radiologist can pick a protocol that serves both the diagnosis and the mesh.
Step by step: DICOM to STL in 3D Slicer
3D Slicer is a free, open-source platform. Its documentation covers each step below, so it works as a reference even if your clinic uses a dedicated planning package such as Blue Sky Plan or 3Shape Implant Studio. The same logic applies there.
- Import. Open the DICOM module, import the folder with the CBCT series, then double-click the series in the DICOM browser to load it.
- Check geometry. Confirm the slice thickness and orientation before you segment. A flipped or mis-scaled volume produces an STL that never registers against your intraoral scan.
- Threshold. In Segment Editor, use the Threshold effect to set an intensity range and apply it to a segment. Slicer also offers automatic methods (Otsu, Huang, Li and others), which make the choice reproducible between operators.
- Clean up. Remove islands, fill holes and delete noise, especially around metal.
- Smooth. The Smoothing effect offers median, opening, closing, Gaussian and joint smoothing. The API default is a median filter with a 3 mm kernel. Against voxels of 0.2–0.4 mm, that is aggressive, so begin smaller and compare the result with the original slices.
- Export. In Segmentations, open Export to files, choose STL and click Export. Make sure the source representation is a binary labelmap.
Units deserve a check at the end. STL files have no defined physical units, and some software assumes something other than millimetres. Slicer's documentation describes pre-transforming the data with a scale factor if your target software expects different units.
Choosing the threshold
This is the step that decides accuracy. Published evidence points one way: the threshold is patient-specific, and both errors are measurable.
- Too high, and thin structures drop out. In one CBCT tooth-reconstruction study, a threshold set too high shrank the tooth contour, and one set too low enlarged it.
- A low threshold also admits voxels with soft-tissue intensity and metal artefacts, giving a rough surface.
- The authors of that study adapted the lower threshold for each patient and each time point, within an agreed range of 500 to 1500 on their scanner's scale. CBCT grayscale values are not calibrated Hounsfield units, so do not copy that number to your system.
- Another study found the threshold easiest to determine when the image histogram has a sharp peak and a narrow intensity distribution.
Decision rule you can apply: set the threshold on the structure you care about, not on the whole scan. For thin buccal bone, lower it until the cortex appears continuous without merging into soft tissue. For roots, check slices through the apex. Then compare the 3D result with the axial slices at three levels before you export.
How much does it matter? In a 2025 study, changing the CBCT segmentation threshold significantly affected registration accuracy against an intraoral scan, mostly in the apicocoronal direction. Measured deviations ranged from −0.66 mm to 0.33 mm. A deviation of that size exceeds the ±0.25 mm tolerance we cite for digital clinic-lab workflows.
How accurate is a CBCT-derived STL?
Accurate enough for bone and roots, less so for crown surfaces. Studies disagree on the exact numbers because they use different scanners:
- One plaster-cast digitisation study reported median trueness of 0.14 mm for CBCT-derived models against 0.17 mm for intraoral-scanner models, with CBCT precision at 0.04 mm.
- Another study found CBCT did not match dedicated optical digitisers.
- A dimensional comparison measured shrinkage of 1.8–6.9% for CBCT, against 0.9–1.4% for an intraoral scanner and 0.37–0.39% for a model scanner.
- With a 0.39 mm voxel, discrepancies between digital models and the plaster reference stayed below 0.39 mm.
Take-away: CBCT surfaces vary with device, voxel size and segmentation. Crowns from CBCT also suffer from noise and beam-hardening artefacts from metal restorations. So use CBCT for what an intraoral scanner cannot see (roots and alveolar bone) and replace the crowns with the scan. If scan quality is the weak point on your side, our guide to intraoral scan errors shows how to catch them before export.
Merging the CBCT mesh with the intraoral scan
Most orthodontic uses of a DICOM-derived STL involve a merge. The common method is surface matching: you select the same tooth surfaces on both datasets, and an iterative closest point (ICP) algorithm superimposes them. The segmented CBCT crown region is then replaced with the intraoral scan.
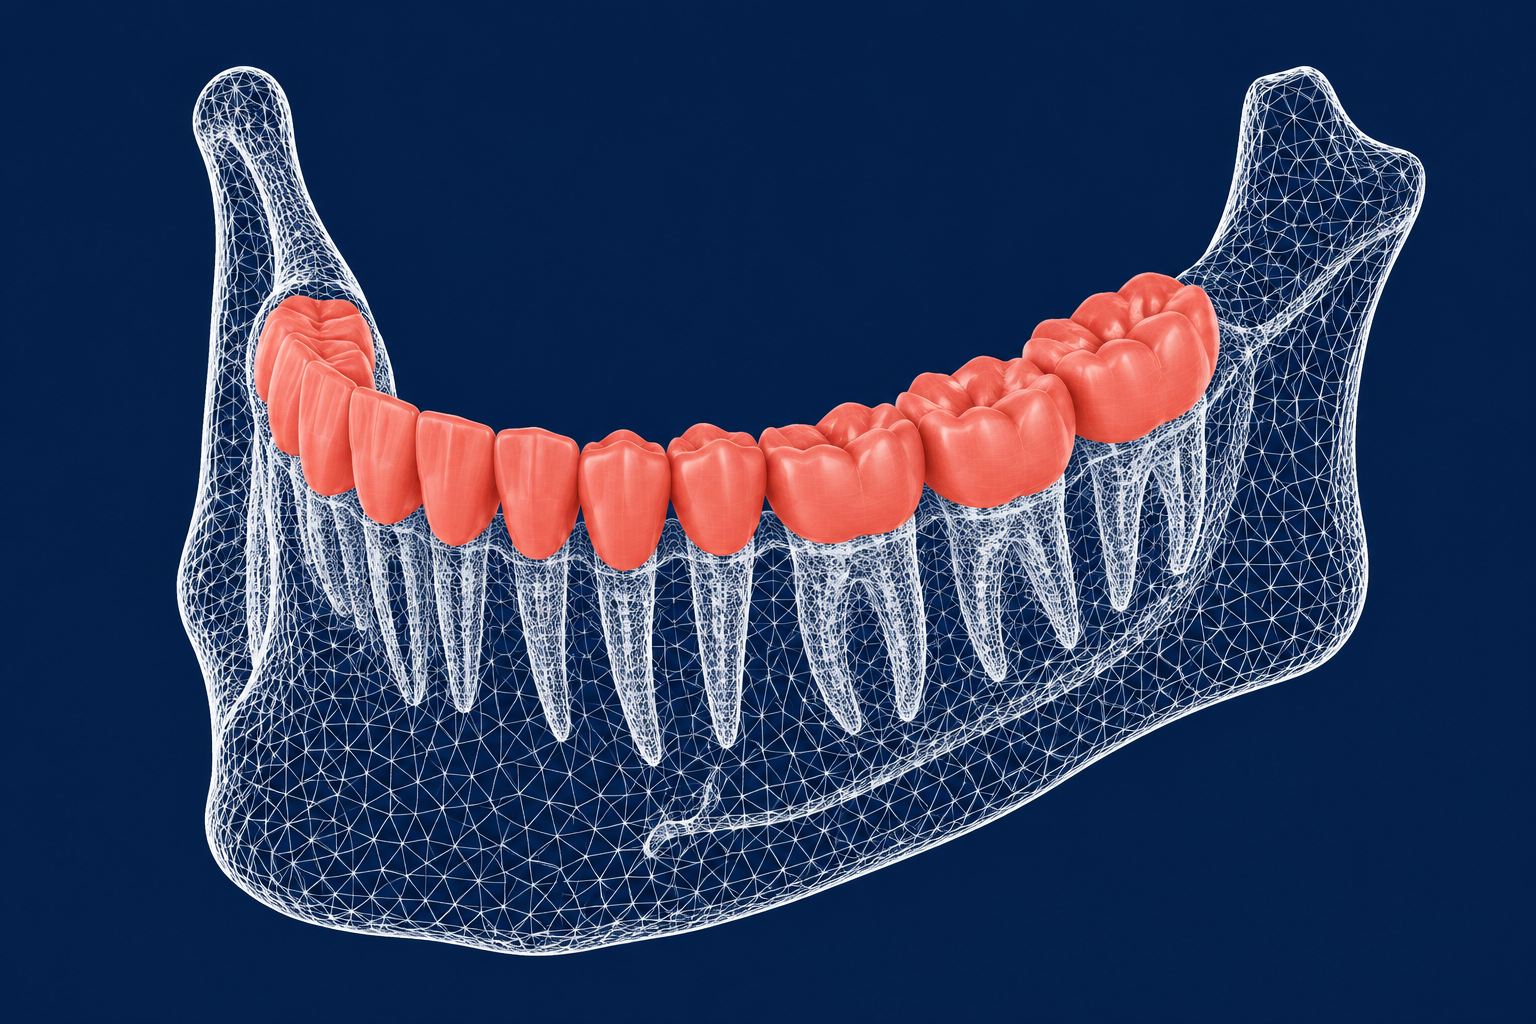
Published examples show what the merge enables:
- Root-aware virtual setups. In a 16-patient molar-distalisation study, teeth were segmented from CBCT and their crowns replaced with intraoral-scan crowns to create composite teeth. Setups that included roots and alveolar bone improved root parallelism and reduced modelled root exposure, with no significant difference in ABO-OGS (American Board of Orthodontics Objective Grading System) scores.
- Miniscrew guides. One workflow used point-based superimposition followed by automated best-fit registration. The guide was designed on the merged model and exported as an STL for printing. Our article on 3D-printed surgical guides for TAD placement covers the printing side.
The main hazard is metal. Streak artefacts from brackets impair segmentation and reduce superimposition accuracy. Where clinically sensible, take the CBCT before bonding. If the patient already has fixed appliances, tell the lab so the registration can rely on unaffected surfaces such as the palate and posterior teeth.
Common problems and fixes
| Problem | Cause | Fix |
|---|---|---|
| Spikes and noise around crowns | Metal artefacts in the DICOM | Position the head so the occlusal plane is perpendicular to the floor at acquisition; remove noise manually in segmentation |
| STL will not open or upload | Very detailed mesh | Export binary rather than ASCII (about 5× smaller); decimate while preserving key features. NIH 3D warns that files approaching 1 GB cause problems |
| Printer or slicer rejects the file | Holes, non-manifold edges, self-intersections, loose shells | Run a mesh-repair pass; complex defects need manual repair |
| Merge will not align | Mis-scaled or flipped volume, wrong threshold | Recheck units and orientation; re-segment with a different threshold |
| Roots look thin or broken | Threshold too high or voxel too coarse | Lower the threshold locally; if the data cannot support it, request a rescan only if clinically justified |
Segmentation-derived STLs are rarely watertight on first export, because the mesh is built from a voxel grid rather than drawn as a solid. Budget time for repair before any printing.
Sending the files to your lab
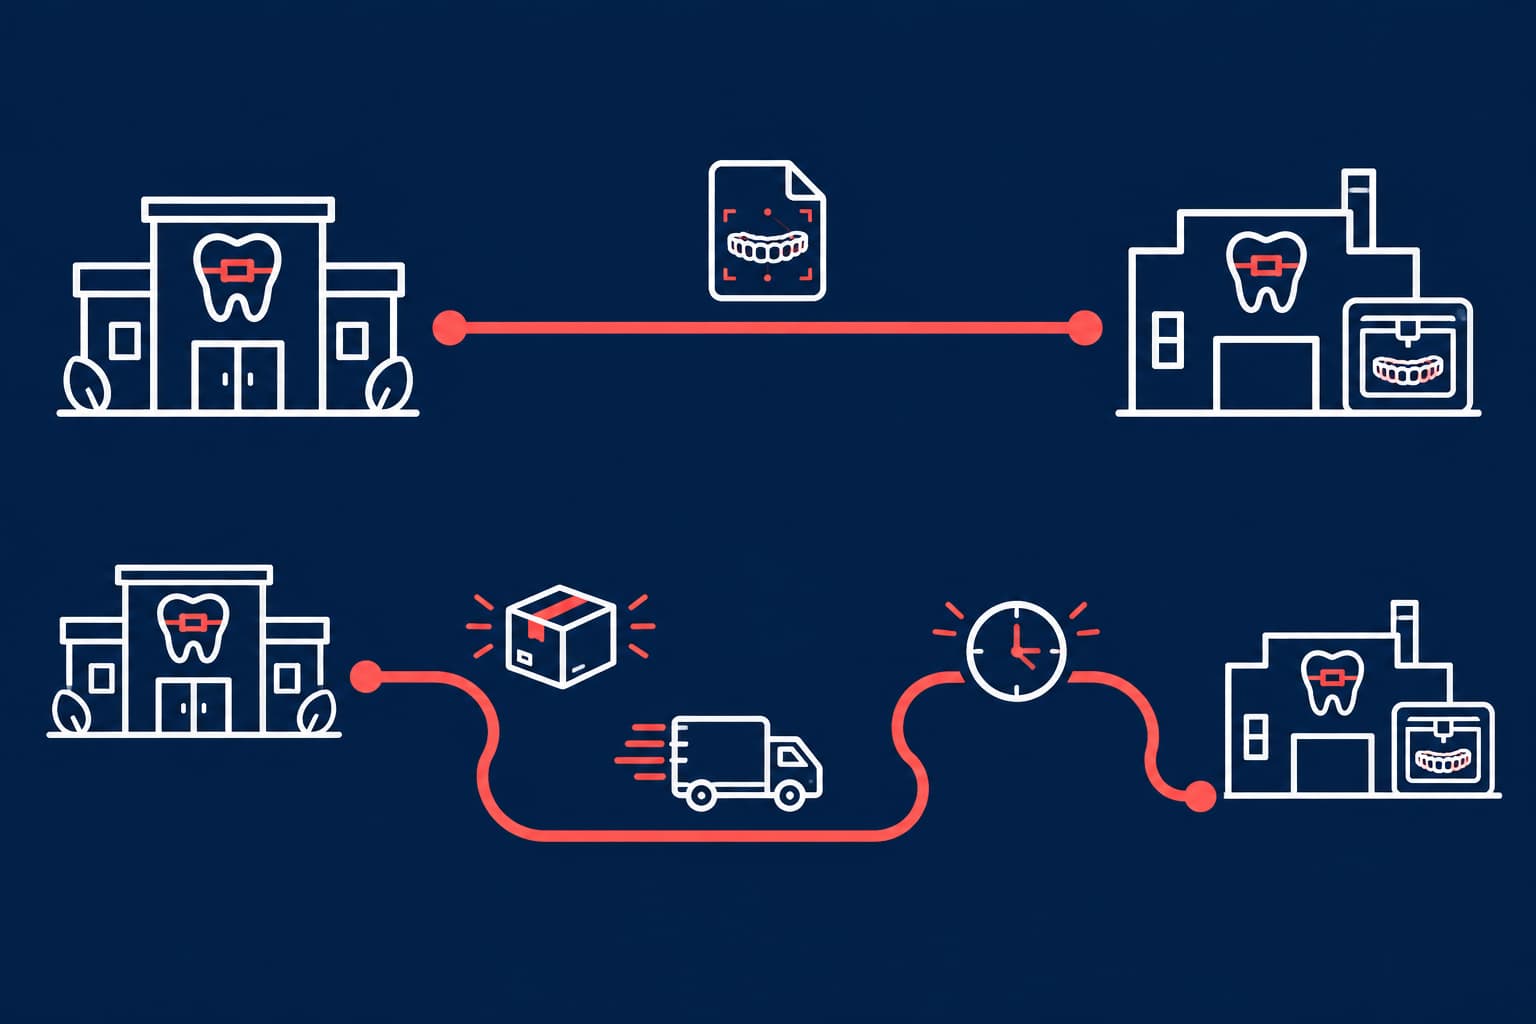
Send STL or PLY with clinical photographs and a prescription. This is the combination we describe in our guide to digital model analysis. Raw DICOM is a different matter. If you want a lab to perform the CBCT merge, ask first which files and which CAD platform it uses. Our overview of orthodontic CAD software lists common options.
Raw DICOM needs care for another reason. Its header holds the patient's name (0010,0010), patient ID (0010,0020) and birth date (0010,0030). The DICOM confidentiality profiles say such attributes should be removed or replaced with values that do not identify the patient. Replacing a birth date with age is one example.
Under the GDPR, pseudonymised data that can be used to re-identify a person remains personal data. Only irreversible anonymisation takes data outside the regulation. Since the STL itself carries no metadata, name the file with an internal case code that links to your record. Then use an encrypted portal rather than ordinary email. Our article on lab GDPR responsibilities explains who is controller and who is processor.
Your next step
The conversion itself takes minutes. Accuracy comes from three choices made earlier: a justified, tightly collimated scan, a threshold checked against the slices, and crowns taken from an intraoral scan. Before you convert your next case, compare your CBCT mesh with the scan on three teeth and note the deviation. Then contact Nordicdens about a trial case, with the STL, photographs and prescription, and ask what the lab needs for the appliance you plan.