Most scan errors that ruin an orthodontic appliance fall into five groups: stitching drift across the arch, moisture, bite registration, holes in the mesh, and scanner-side issues such as calibration and lighting. You can catch nearly all of them on the chairside screen, before the patient leaves the chair. Published data suggest that modern scanners are accurate enough for orthodontic work, so the weak link is rarely the hardware. It is usually the conditions and the scan path.
The table below is the quick version. The sections after it explain why each error happens and what to do.
| Error | Typical cause | How you spot it | Fix |
|---|---|---|---|
| Arch distortion | Stitching errors accumulate toward the distal end | Arch looks slightly narrower or wider than the patient's | Follow the manufacturer's scan path; rescan the distal segments |
| Rough or missing surfaces | Saliva, blood, fogged tip | Noisy, spiky mesh; blurry occlusal anatomy | Dry with air, cotton rolls, clean the tip, rescan |
| Wrong bite | Patient not fully closed or moving; poor buccal capture | Upper and lower arches do not snap into position; gaps or overlaps | Rescan the bite with the jaws still and closed |
| Holes and voids | Missed surfaces, shadowed interproximal areas, soft tissue in the way | Gaps or flagged areas on the rotated model | Rescan that area from a different angle |
| Drift over time | Decalibration, unsuitable ambient light | Systematic mismatch, even with careful technique | Calibrate to the manufacturer's schedule; check lighting |
What "accurate enough" means for orthodontic work
Two terms matter. Trueness is how close a scan is to the real surface. Precision is how closely repeated scans agree with each other. Both are defined in the ISO 5725 standard and both are used in the studies below.
Reported full-arch numbers vary widely. A clinical study of six scanners in 10 participants reported precision from 21 ±4 µm for a conventional impression up to 82 ±38 µm for the weakest scanner. A separate comparison found that all tested scanners stayed under 100 µm of full-arch deviation, with trueness between 30.5 µm (best scanner) and 95.0 µm (weakest). One in vivo study of five scanners reported mean trueness of 76.6 ±79.3 µm, a reminder that the spread between patients can exceed the mean.
Which threshold counts as acceptable? A common benchmark for full-arch work is 100 µm, though authors note that this figure is itself debated. One study that tested three scanning strategies with a Medit i500 reported averages below 50 µm and called that clinically acceptable for most orthodontic procedures. Treat that as one study's finding, not a standard.
Here is a worked example. Our clear aligner workflow targets a ±0.25 mm dimensional tolerance. If a scan already deviates by 0.1 mm, 40% of that tolerance is spent before printing or post-processing begins. That is why we care about the scan more than about any later step.
The obvious objection: digital impressions are supposedly as good as conventional ones, so why fuss? The evidence is contradictory. A meta-analysis of full-arch studies reported a pooled mean difference of 152 µm between digital and conventional impressions, with very high heterogeneity (I² of 93%). A systematic review concluded that scanners are sufficiently accurate for orthodontic treatment planning and aligner fabrication, while noting that accuracy compared with conventional impressions is controversial. Both can be true: short spans are very accurate, and full arches in real mouths are where errors collect.
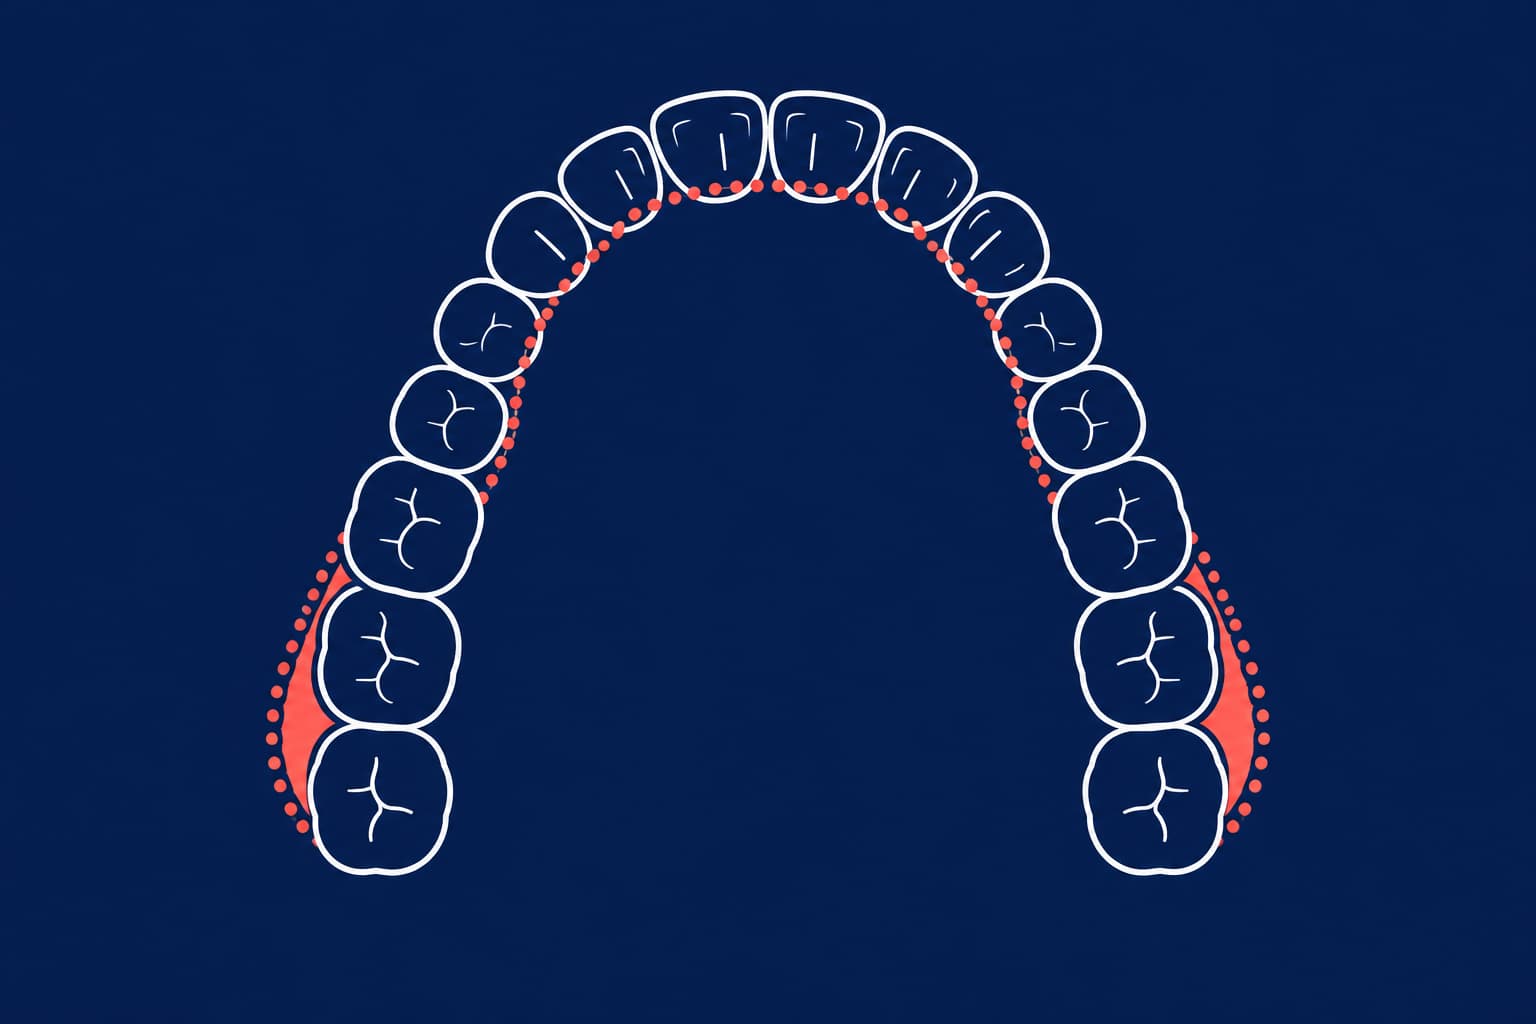
Stitching distortion across the full arch
A scanner builds the arch by stitching many small overlapping captures. Small misalignments accumulate. The scanned arch can end up narrower or wider than the real one, and deviations tend to grow toward the distal end. Studies discuss error propagating from the anterior region, which offers limited topographic information, as one reason for deformation toward the distal end of the arch.
What helps:
- Use the manufacturer's recommended scan path first. In one in vitro study of six scanner setups, the manufacturer-suggested strategy and a cut-out rescan technique gave the best results for Medit i700 and Primescan, at 21.4 to 24.4 µm trueness. In another study of 13 strategies on two scanners, the best strategy differed by scanner. Do not copy a path from a different brand.
- Rescan segments instead of the whole arch. The cut-out rescan technique works on that principle: remove the poor area and recapture it.
- Keep the wand steady and the tip centred over the teeth, following the arch shape. Shining3D's guidance, for example, specifies a scan-tip window distance of -1 to 16 mm from the teeth.
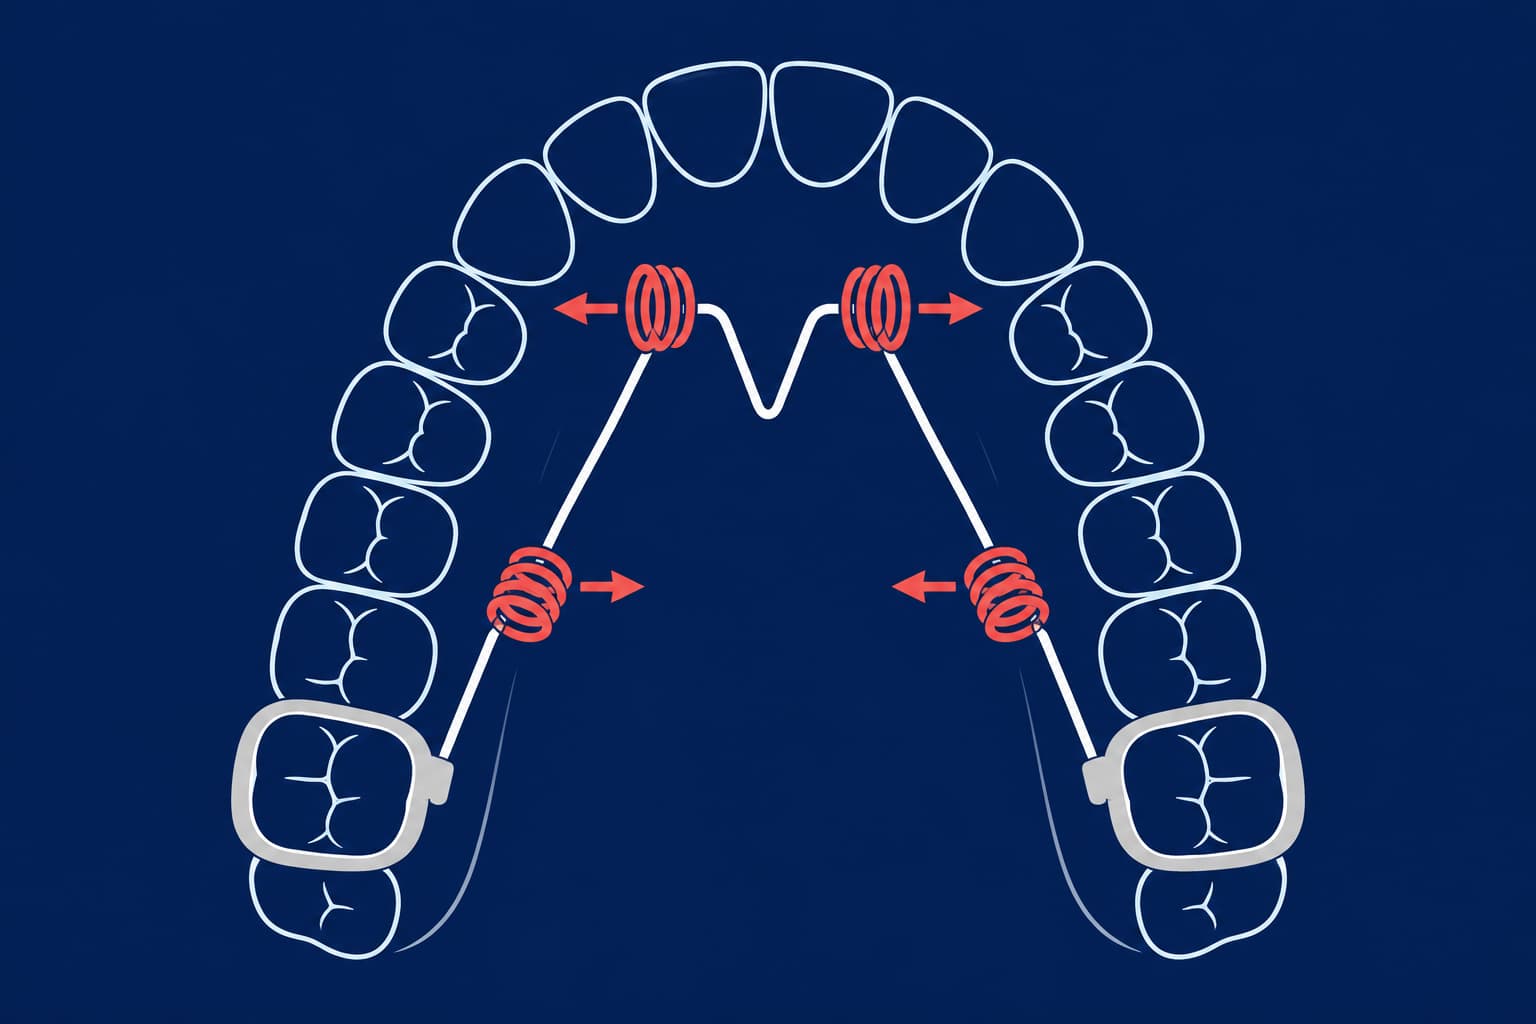
- Do not expect a perfect arch width from a single pass. If an appliance depends on transverse width, such as an expander or a twin block, compare intermolar distance on the screen with a clinical measurement.
Moisture, saliva and blood
Wet surfaces degrade scans. In an in vitro study, wet tooth surfaces produced significantly higher deviation than dry or blow-dried ones. The liquid type (water or artificial saliva) made no significant difference, and blow-drying reduced the error. This also matches 3Shape's advice to clean and dry the mouth before scanning.
Practical steps:
- Dry with air immediately before scanning each segment, not once at the start.
- Place cotton rolls in the lingual vestibule for lower arches and on the buccal mucosa for upper arches.
- Keep the scanner lens clean and dry.
- If the gingiva bleeds, control the bleeding before you scan; blood affects accuracy in the same way saliva does.
Brackets, wires and attachments
Fixed appliances change what the scanner sees, and the evidence is mixed. A 2021 retrospective in vivo study of 84 patients found higher average surface errors with bonded brackets than without: 97 ±28 µm versus 57 ±8 µm in the maxilla, and 95 ±29 µm versus 59 ±14 µm in the mandible. A later prospective in vivo study of 20 patients (mean age 15.55) with brackets and archwires found no relevant distortion and concluded that removing the archwire is not mandatory before scanning.
In vitro work adds a nuance. When artificial saliva was applied to models with brackets, scanner type and bracket type both influenced the deviations, and the study could not isolate reflectivity as the cause. Direct evidence on reflective metal alone is thin.
So what do you do? If the scan feeds a precision appliance such as a retainer, positioner or bonding tray, scan before bonding when you can, dry the brackets carefully, and check bracket-adjacent enamel for blurred margins. If you are only monitoring tooth movement, the prospective data are reassuring. For 3D-printed indirect bonding trays, always use the pre-bonding scan.
Bite registration errors
A bad bite is easy to miss because each arch can look perfect. In a laboratory test of bite registration with intraoral scanners, the average maximum interocclusal error exceeded 50 µm. Roll and pitch errors above 0.1° implied at least about 40 µm of additional interocclusal error, and models with acrylic teeth had higher errors.
The clinical consequence is a functional appliance or positioner that is off in its vertical or sagittal relationship. Other data are kinder: one comparison found a TRIOS 3 interocclusal discrepancy of 0.01 ±0.05 mm, with bite-registration wax the worst of the methods tested and digital registration comparable to PVS.
What helps, per 3Shape's support guidance:
- Keep the jaws fully closed and still during capture.
- Capture left, right and front bite segments, as Shining3D's guidance describes, and start on the most posterior molar, as 3Shape advises.
- If the jaws do not snap into position automatically, treat the failure as a signal. Align manually only when landmarks are unmistakable; otherwise rescan the bite.
Holes, soft tissue and palatal detail
A published classification of scanning errors splits them into operator-related and patient-related groups. Operator-related categories include mesh holes, stitching and tissue problems. Patient-related ones include humidity and a fuzzy finish line.
Orthodontic patients add their own complications:
- Crowding and tipped molars. One study found the scanner missed more surface as crowding increased, and as the lower second molar tipped mesially past 25°. Angle the wand into interproximal areas and the distal of the last molar.
- The palate. In vivo data show good palatal precision for the two scanners tested, although individual cases and unspecified areas showed higher imprecision. This matters because the palate often serves as the stable reference when you superimpose serial models, and small artefacts there can affect the superimposition. For palatal appliances, scan deep into the palatal vault.
- Soft tissue. Tongue, lips and cheeks can interfere with the scan. Retract them before each pass and rescan any area where tissue has crept into the mesh.
- Mixed dentition. In 34 children, digital space-analysis measurements did not differ significantly from plaster models, and another study of 51 children and teenagers found accuracy similar to conventional methods. Still, we found no evidence on mobile teeth or tongue movement in children specifically, so review each child's scan critically.
Calibration and ambient light
Calibration is easy to neglect because decalibration is invisible. One in vitro study found no statistically significant accuracy difference after calibrating a TRIOS 3 that had been uncalibrated for 324 days, yet the authors still recommended routine calibration. A separate study found a significant gain after manufacturer calibration of two scanners suspected of decalibration, and concluded that users may not notice hardware decalibration. Follow your manufacturer's schedule, and calibrate before a session when the ambient temperature has changed, as one review recommends.
Light matters too, but not uniformly. Studies tested illuminances from 0 to 10,000 lux, and the best condition varied by scanner. Check the manufacturer's recommendation instead of assuming a darker or brighter room is better.
A 60-second check before you send the scan
- Rotate the model 360° and zoom into each quadrant.
- Confirm that the terminal molars and gingival margins are present.
- Look for holes, noise or spiky areas on occlusal and interproximal surfaces.
- Check that the bite snaps into position and the contacts look plausible.
- Compare intermolar and intercanine width against a quick clinical measurement for width-critical appliances.
- Rescan the problem area, not the whole arch, then export.
This is the same logic our lab applies on receipt. Technicians check STL or PLY meshes for holes, noise and double walls, and verify that anatomical landmarks such as terminal molars and the gingival zenith are captured, as we describe in our lab quality control article. Missing terminal molars and voids appear in our list of clinical causes of appliance remakes, and our guide to why lab cases get rejected covers the rest.
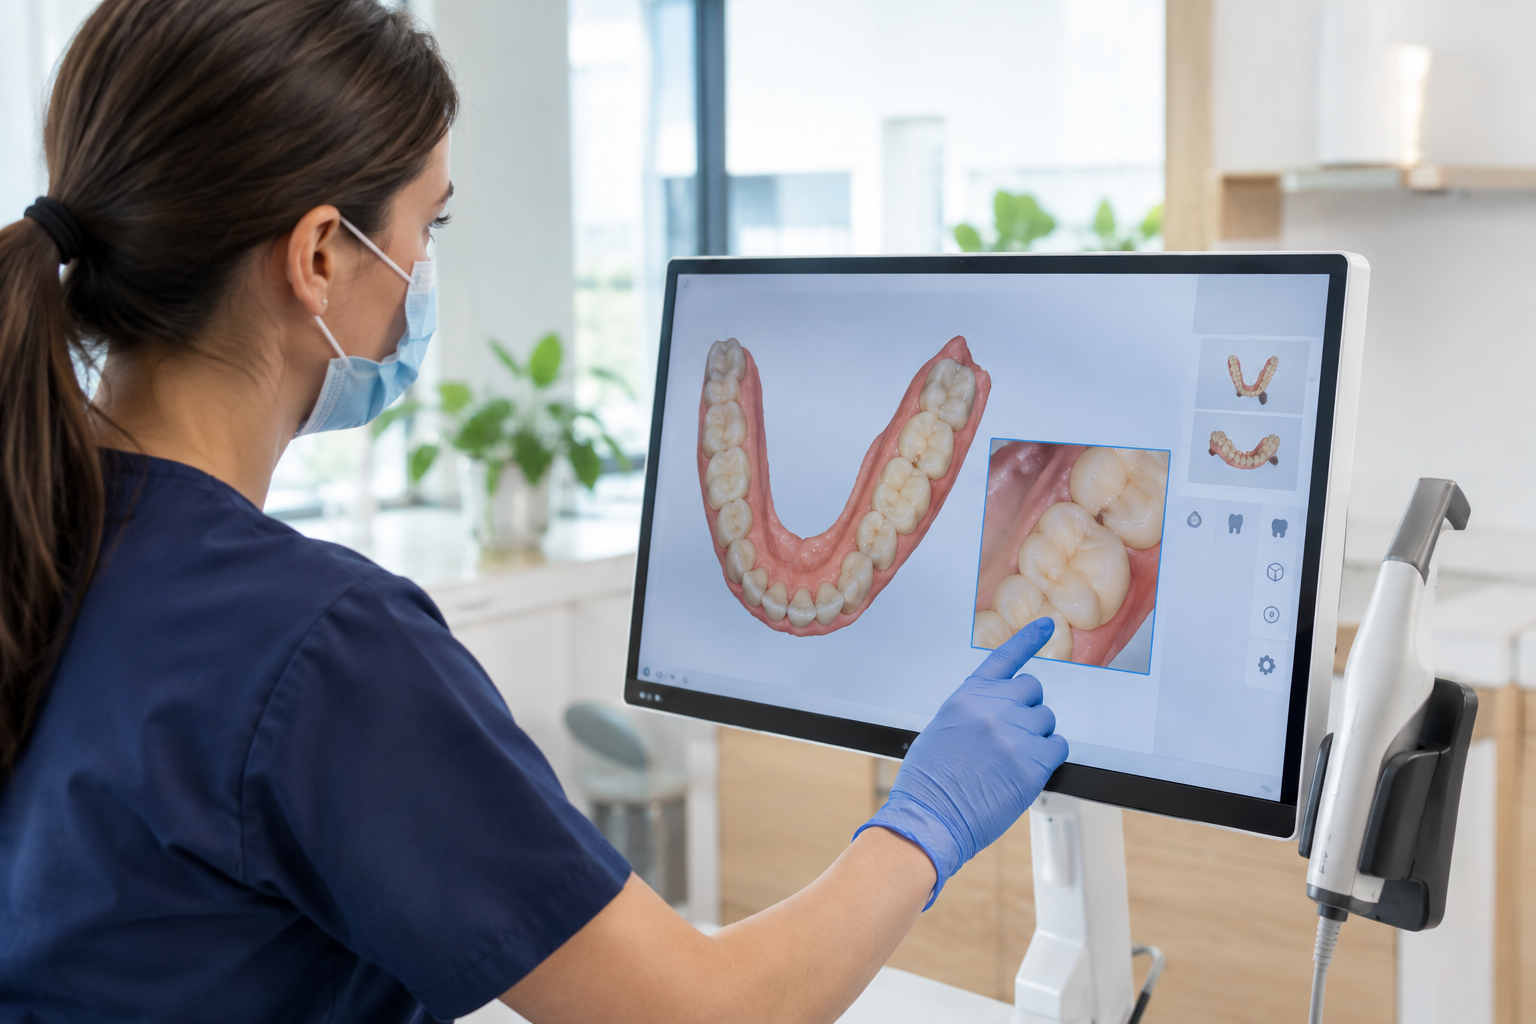
Where scanning struggles, for example with heavy bleeding, very mobile tissue or a patient who cannot hold still, a conventional impression is still a legitimate option, and you can send it to us in place of a scan or alongside one.
Catch the error while the patient is still in the chair
Five checks (path, moisture, bite, holes and calibration) remove most of the scan errors that surface later as an ill-fitting appliance. Make the on-screen review part of your routine, because a rescan costs a minute and a remake costs a visit. If you want a second pair of eyes, send your next case to Nordicdens: our technicians check every incoming file for mesh defects and missing landmarks at receipt. Read how we handle cases in our digital workflow from scan to appliance, or compare scanners in our TRIOS vs Medit i700 comparison.