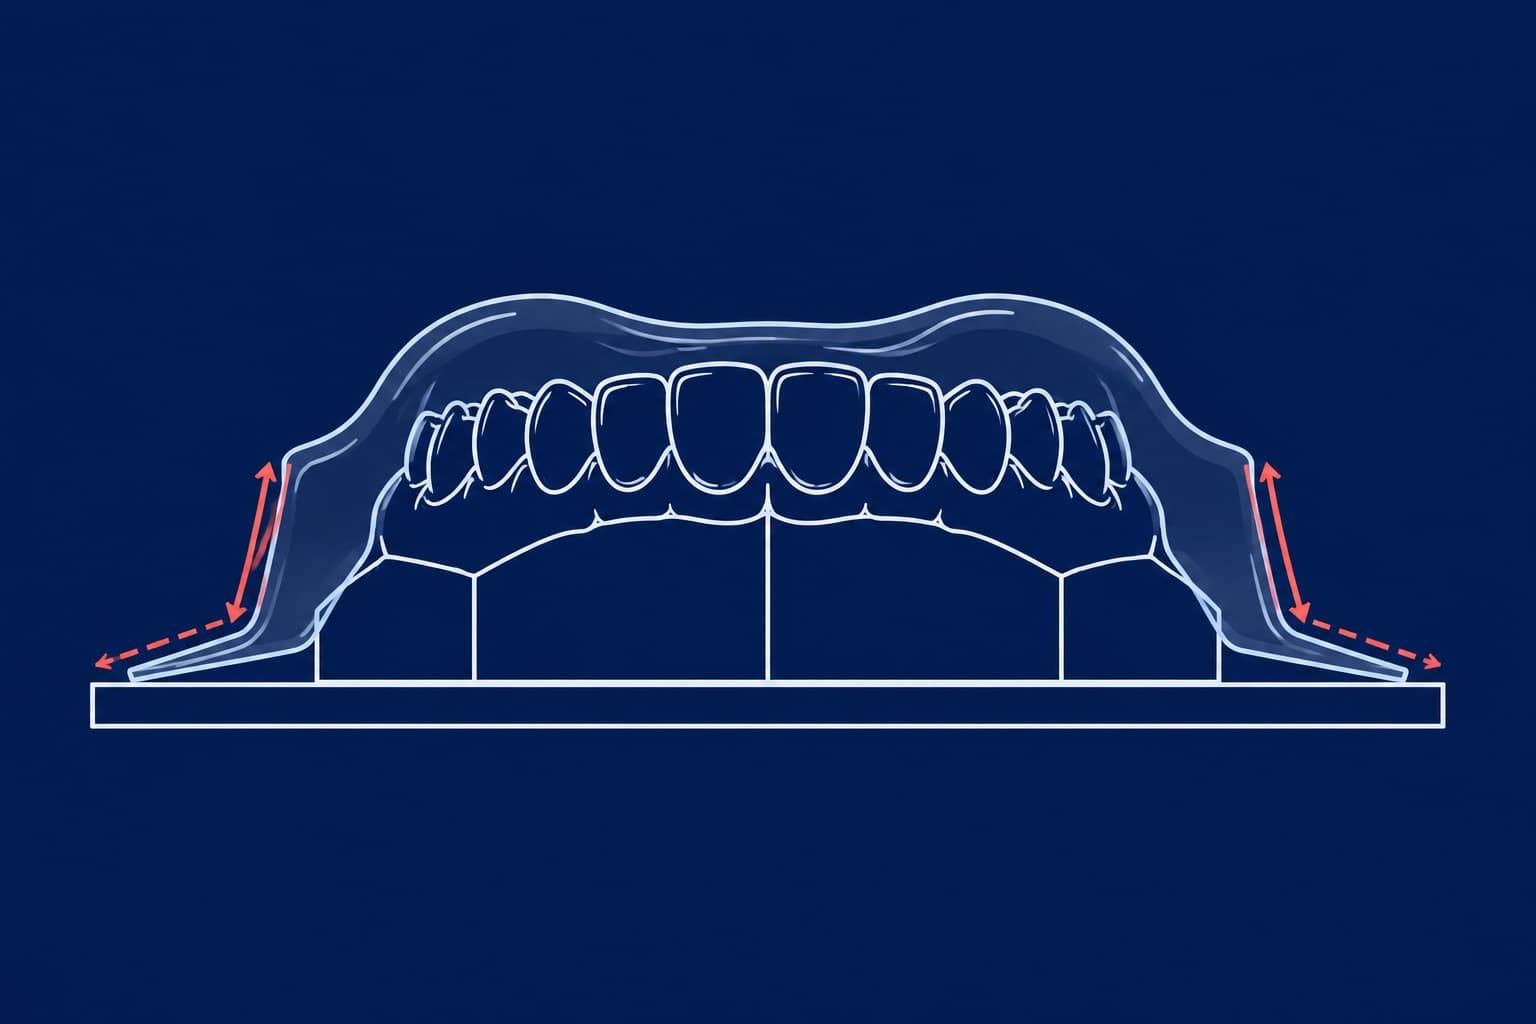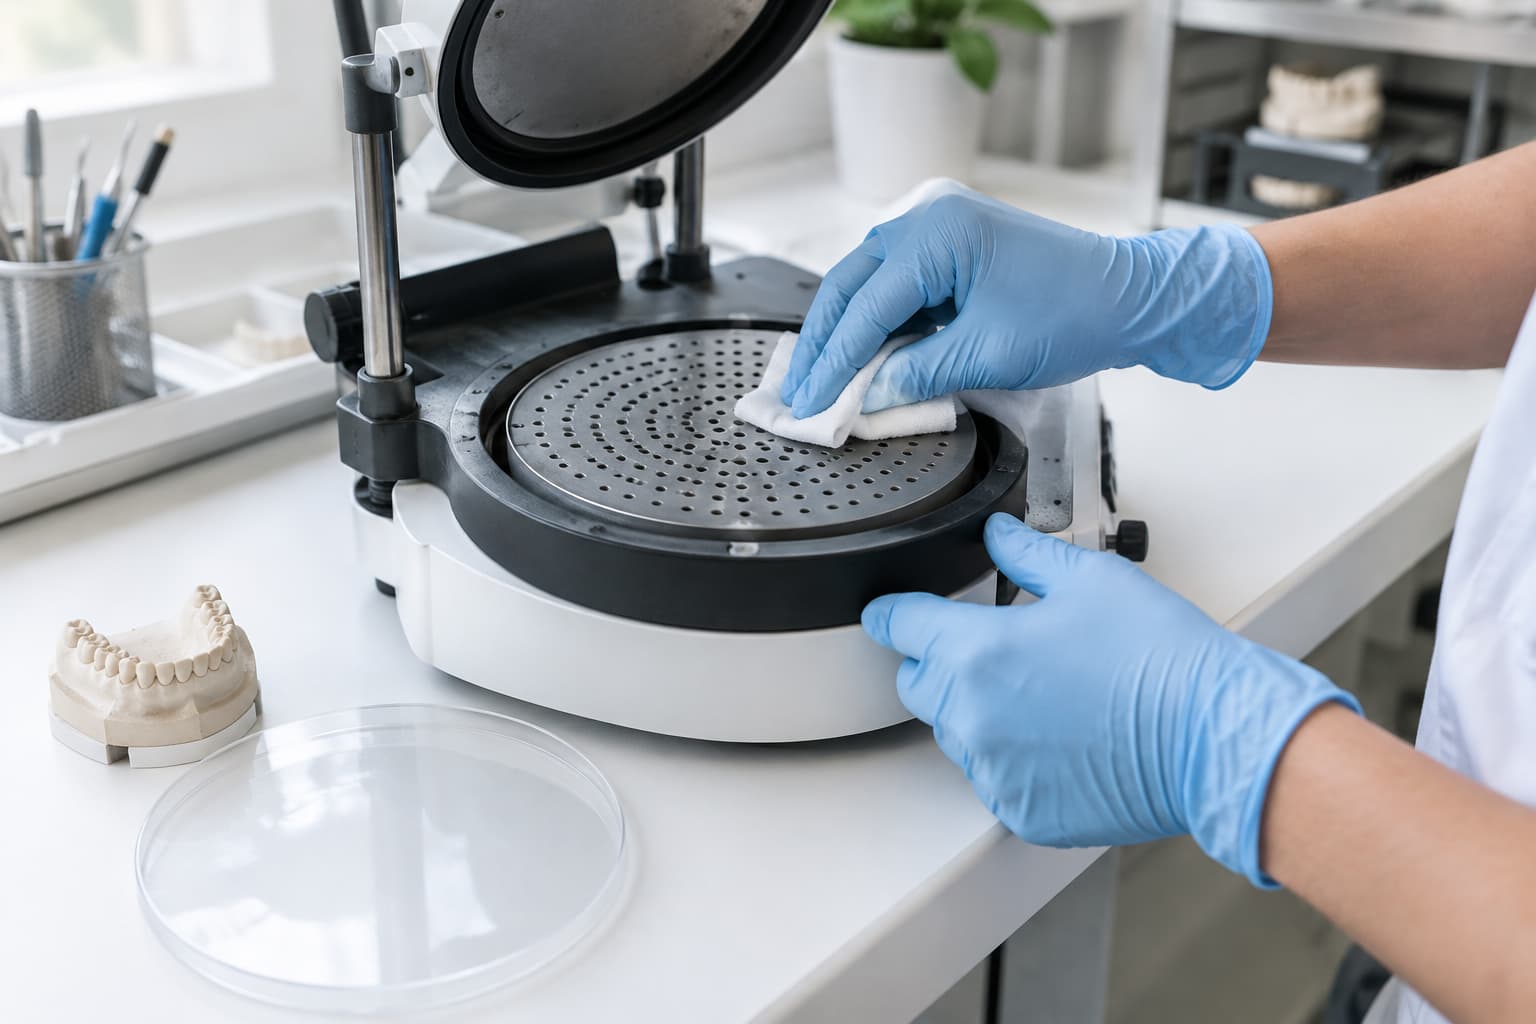
Most dental vacuum formers ask for very little: a damp cloth, clear vacuum holes, healthy seals, and a pump that gets its oil on time. The risk is not that maintenance is hard. It is that the intervals differ by machine, so a generic checklist can be wrong for yours. Use the schedule below as a starting point and let your manual overrule it.
| Task | How often | What the manuals say |
|---|---|---|
| Unplug, let cool, wipe housing with a damp cloth | As needed | Dentsply Sirona's Essix machine manual: wipe with a slightly damp cloth, "no other cleaning should be required" |
| Clear granules and debris from seals and vacuum holes | Every session you notice residue | Erkodent troubleshooting: remove granules from the seals when vacuum is weak |
| Inspect power cord and plug | Periodically | Dentsply Sirona: check for fraying and fully seated connectors |
| Check air hose and filter (pressure formers) | Regularly | Scheu-Dental BIOSTAR and MINISTAR S manuals: replace the filter if moisture or debris appears |
| Clean reflective surfaces in the pressure chamber | Regularly | Scheu-Dental: clean surfaces give the best heating results |
| Replace rubber seals | Yearly with intensive use | Erkodent Erkoform instructions |
| Pump oil level and colour | Per pump manual | Pump makers: sight glass between MIN and MAX |
| Pump oil and exhaust filter change | Per pump manual | Example: Busch R5 PB 0003, every 2,000 hours or six months |
Know your machine type before you set a routine
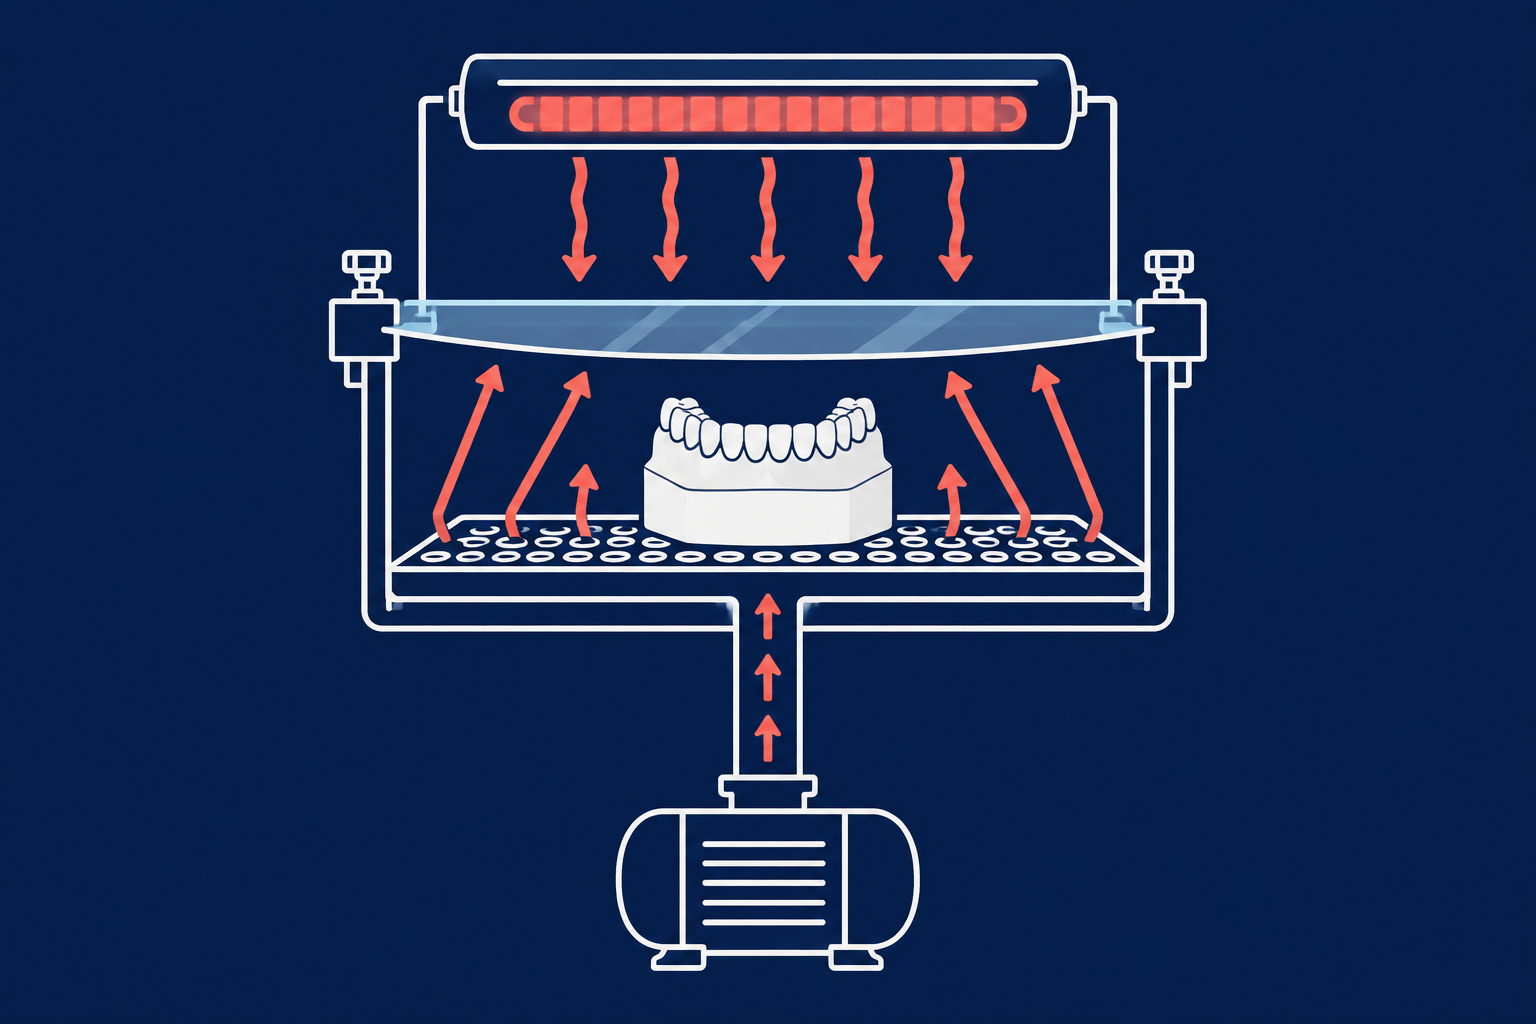
A vacuum former pulls the heated sheet over the model with a pump underneath. A pressure former pushes it down with compressed air, usually at several bar. The two fail in different places.
- Vacuum formers (Essix-type, Keystone, Ultradent): the pump, the platform holes and the heater are the maintenance points.
- Pressure formers (BIOSTAR, MINISTAR S): Scheu-Dental calls both machines basically maintenance-free. Your job is the air hose and filter, the sealing surfaces and the chamber's reflective surfaces. BIOSTAR's working pressure is factory-set to 6 bar and should not be changed; MINISTAR S adjusts up to 4 bar.
- Automatic formers with a built-in pump (Erkoform): seals and vacuum pump are the wear items, and heater work goes to after-sales service.
If you are still choosing hardware, our guide to selecting a dental thermoforming machine covers how these types differ in the lab.
Be careful with advice that applies to one brand only. The Biostar V manual says to keep water out of the machine because it can rust or corrode components. The MINISTAR S manual, by contrast, says the model cup and support plate can be cleaned with an air nozzle or steam jet. Both are correct for their machines.
Before and after each session
Safety comes first. Erkodent's manuals say to unplug the unit and let it cool before cleaning, maintenance or repair, and never to touch the heater or hot sheet.
- Preheat properly. Dentsply Sirona's Essix instructions call for at least three minutes, or until the element is solid orange. This matters most for materials of 0.040" (1 mm) or thinner, which heat very fast and punish an unstable element.
- Check the platform. Material that overheats can be pulled into and through the vacuum holes. Sirona's advice: let it cool completely, pull the sheet away, and only pry gently if the material is not protruding through the holes.
- Wipe, don't soak. Use a damp cloth. Erkodent specifically forbids solvents and cleaning agents.
- Cover the chamber when idle. The Biostar V manual recommends closing the clamping frame onto the chamber so lab dust stays out of the pellet cup.
Plaster dust is the lab's enemy here. It clogs holes and settles on seals, which is where weak vacuum often starts.
The vacuum path: holes, seals and pump
Weak vacuum is the most common machine fault, and it has three usual suspects.
Holes and seals. Erkodent's troubleshooting table lists the same remedies in order: remove granules from the seals, check the sheet for holes, replace seals, and only then clean or replace the pump. Its instructions say to replace seals yearly under intensive use to keep full suction. Press new seals firmly into the grooves without creating irregularities.
Pump oil. Many external pumps are oil-lubricated rotary vane designs. Pump manuals agree on the routine but not the numbers:
- Check the oil level and colour in the sight glass. The level should sit between MIN and MAX.
- Check the inlet filter regularly. Busch says monthly if one is fitted.
- Change oil and exhaust filters on the schedule of your pump. Busch specifies 2,000 hours or six months for the R5 PB 0003, and warns that dusty or contaminated conditions shorten that. US Vacuum Pumps recommends 500 to 750 hours for some models using semi-synthetic oil.
A worked example shows why the calendar often wins over the hour counter in a thermoforming lab. Ultradent's UltraVac manual runs the vacuum for 10 to 20 seconds on thin plastics and 20 to 40 seconds on thick ones. Say your lab forms 100 sheets a day at 30 seconds each. If the pump runs only during that step, it gathers about 0.83 hours a day, so a 2,000-hour limit would take roughly 2,400 working days. A six-month limit arrives far sooner. Where the pump runs whenever the machine is on, count those hours instead. Check how your model works.
Warning signs at the pump. Smoke or oil mist at the exhaust can point to a clogged exhaust filter, which Busch says to replace rather than clean. A drop in vacuum, overheating or unusual noise warrants an investigation, but none of these identifies a specific failed part. Book a technician instead of guessing.
Heater care: what you can and cannot do yourself
The heater decides whether your sheet softens evenly. No source we found gives a standard service life for the infrared elements in dental machines, so judge by performance rather than a calendar. One thermoforming-equipment maintenance guide lists uneven heating, dark spots on the formed sheet, longer-than-usual heat-up and visibly burnt or discoloured elements as signs to act.
You can run a simple drift test. Record the heating time that gives good adaptation for one material and thickness. Essix's own directions say to add heating time if plastic does not adapt and to reduce it if the plastic folds. If you keep adding seconds for the same sheet over months, the heater or its supply is likely weakening. That is our reading of the manuals, not a published threshold.
When the heater does not light, follow the order in Essix manuals: check the power cord, check that the switch is on, check the pilot light, then unplug the unit and check the fuse. A spare fuse ships with some models. If the fault persists, stop. Scheu-Dental states that servicing must be done by instructed technicians using original spare parts, and Erkodent routes heater replacement to after-sales service.
In the EU, laboratory heating equipment is covered by the harmonised standard EN IEC 61010-2-010:2020, alongside the general EN 61010-1. Neither source we reviewed sets a recurring test interval for dental thermoforming machines, so ask your supplier and check national workplace rules in your country.
Read defects as maintenance signals
A bad tray is often the first symptom of a tired machine. Thermoforming troubleshooting guides link defects to specific causes:
| Symptom | Machine-side cause to check | Material or process cause |
|---|---|---|
| Lack of definition, sheet not hugging the model | Vacuum leaks, blocked holes, weak pump | Sheet too cold |
| Webbing between teeth | Insufficient vacuum | Overheated, sagging sheet; vacuum applied too fast |
| Thin spots, uneven thickness | Hot and cold spots from a failing heater | Too much pre-stretch |
| Bubbles or frosty look | Uneven heating | Moisture in the sheet |
Moisture is the one to rule out first because no repair fixes it. Keystone's manual says bubbles during heating come from absorbed moisture and can be removed by warming unformed sheet in an oven at 160°F (about 71°C) for roughly an hour, then storing it with desiccant in a cool, dry place. Our guide to thermoforming sheet shelf life and storage covers that side, and the troubleshooting guide for orthodontic thermoforming defects goes deeper on each fault. For settings, see pressure and temperature settings for orthodontic thermoforming.
Keep a log so drift shows up early
Dental equipment advisers repeat one point: get the manufacturer's manual, turn it into a checklist, name the person responsible and keep a log. For a former, add three columns: material and thickness, heating time, and whether the tray adapted first time. A log turns "the machine feels slower" into a number you can show a technician.
Print the table at the top of this article, pin it next to the machine, and compare it with your manual this week. If keeping forming equipment running is pulling time from clinical work, consider outsourcing production. Nordicdens makes thermoformed and 3D-printed appliances for clinics. Read our overview of orthodontic thermoforming, then contact the Nordicdens lab to discuss what you could hand off.