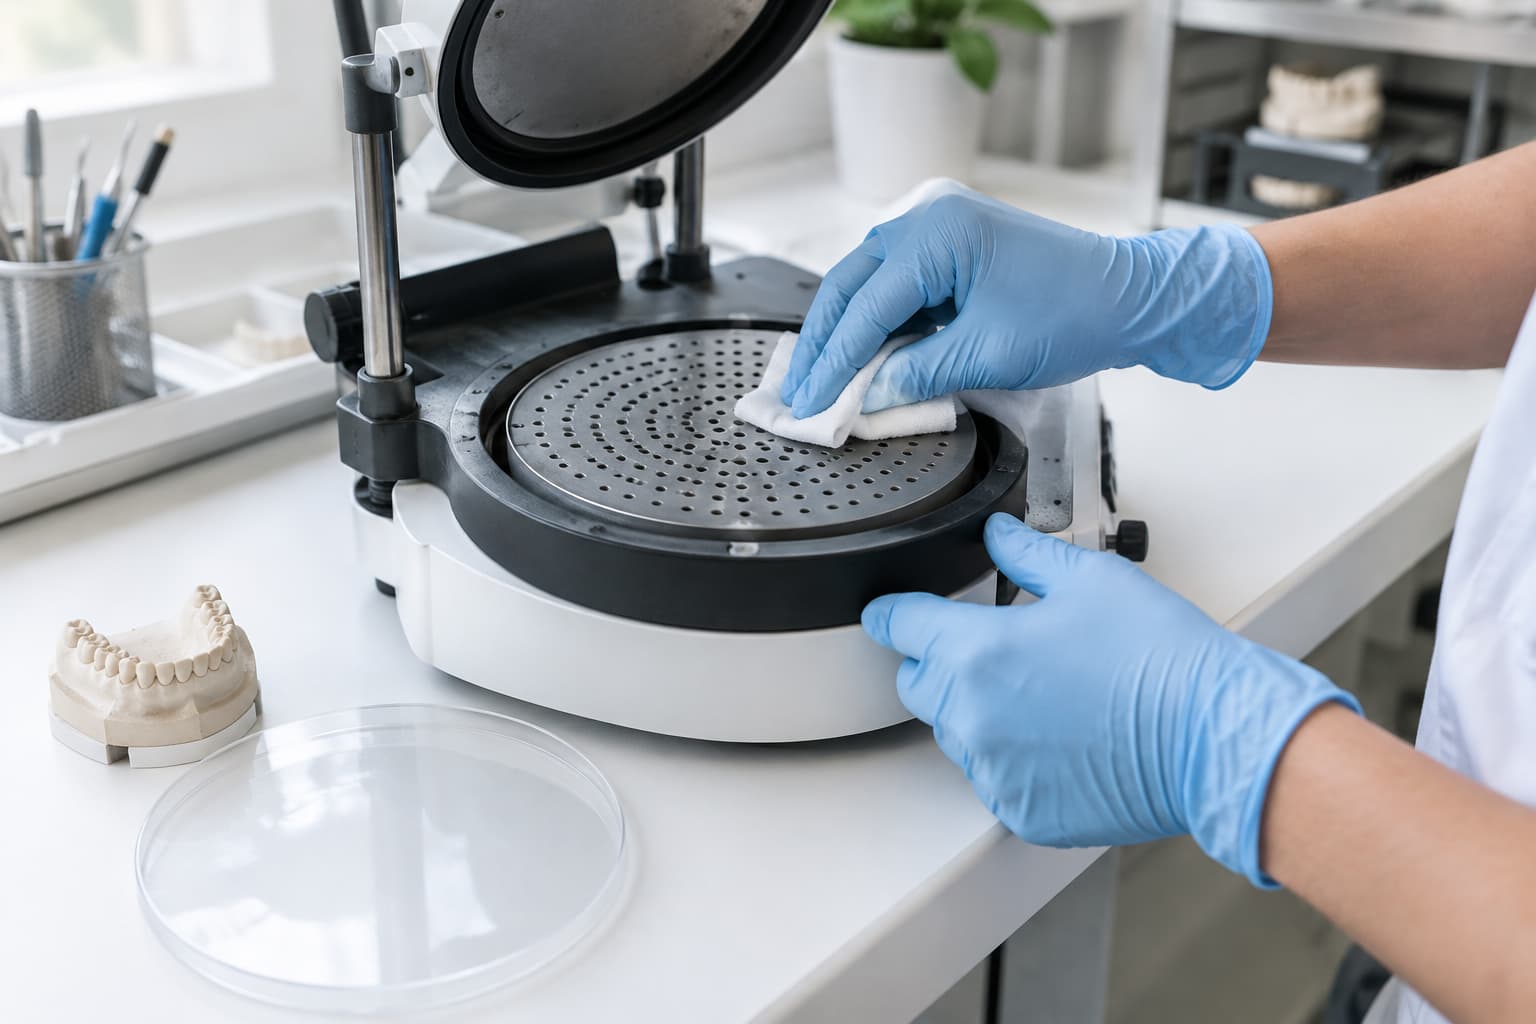
A thermoformed appliance can only be as accurate as the model under it. Before you touch the machine settings, check six things on the model: it is hard, air-permeable stone (or a fully cured, fully dry printed model), trimmed low, flat on the base, free of undercuts and bubbles, and treated with a release agent. Most "forming problems" that reach a lab bench (thin incisal edges, bubbles, vacuum lock, a retainer that will not come off) start here, not in the heater.
This guide covers how to prepare a model for vacuum or pressure forming of retainers, aligner-type trays and splints, why each step matters, and where manufacturers disagree.
The checklist at a glance
| Step | Target | What it prevents |
|---|---|---|
| 1. Material | Hard stone, class 3, air-permeable | Dust in the appliance, incomplete adaptation |
| 2. Height | About 19 mm (¾″) for Essix-type plastics; 20–25 mm in Zendura instructions | Excess thinning, thin incisal edges |
| 3. Base | Flat, sides at 90°, ideally flared a few degrees | Vacuum lock, wobbling on the platform |
| 4. Palate | Trimmed away on full-arch models | Needless draw depth |
| 5. Undercuts | Blocked out, large ones especially | Overstretched sheet, stuck appliance |
| 6. Surface | Bubbles removed or filled, sharp edges smoothed | Sheet defects, torn plastic |
| 7. Moisture | Not wet; follow the sheet maker | Bubbles and steam marks |
| 8. Separator | Release agent or silicone spray | Broken teeth on removal |
Start with the right model material
Erkodent's thermoforming guide specifies hard plaster, class 3, and Dentsply Sirona's vacuum manual asks for quality stone that gives a hard, dense model. The reason is practical: softer materials are dusty, and that dust can settle into the finished appliance.
There is a second, less obvious requirement. Erkodent notes that the plaster must be permeable to air. Plastic or varnished models are not, and air trapped between sheet and model cannot escape, which leaves the adaptation incomplete. So avoid sealing a stone model with varnish to "protect" it before forming.
If you are forming splints, Erkodent also suggests embedding the model in steel granules so that only the forming area plus 3 mm protrudes.
Trim for height and a vacuum-friendly base
Height is the single most influential dimension. Every millimetre the sheet has to travel is a millimetre it stretches.
Erkodent gives a rule of thumb you can use for planning: the material loses 20–25% of its thickness over 1 cm of model height, and 30–40% over 2 cm. For a 0.75 mm sheet, that works out as follows:
- Over a 1 cm area: about 0.56–0.60 mm left.
- Over a 2 cm area: about 0.45–0.53 mm left.
Those are planning figures, not guarantees. They match what research reports in practice: one PETG study measured a mean thickness of 0.41 mm after forming a 0.75 mm sheet (54.7% of the original).
Target heights depend on the system. Dentsply Sirona's Essix instructions say to trim all models to ¾″ (about 19 mm) high, and its vacuum manual lists a model taller than that as the first thing to check when the incisal edge is thin. Zendura's sheet instructions say about 20–25 mm. If the sheet maker states a height, follow it. If it does not, stay close to 19–25 mm.
Shape the base as carefully as the height:
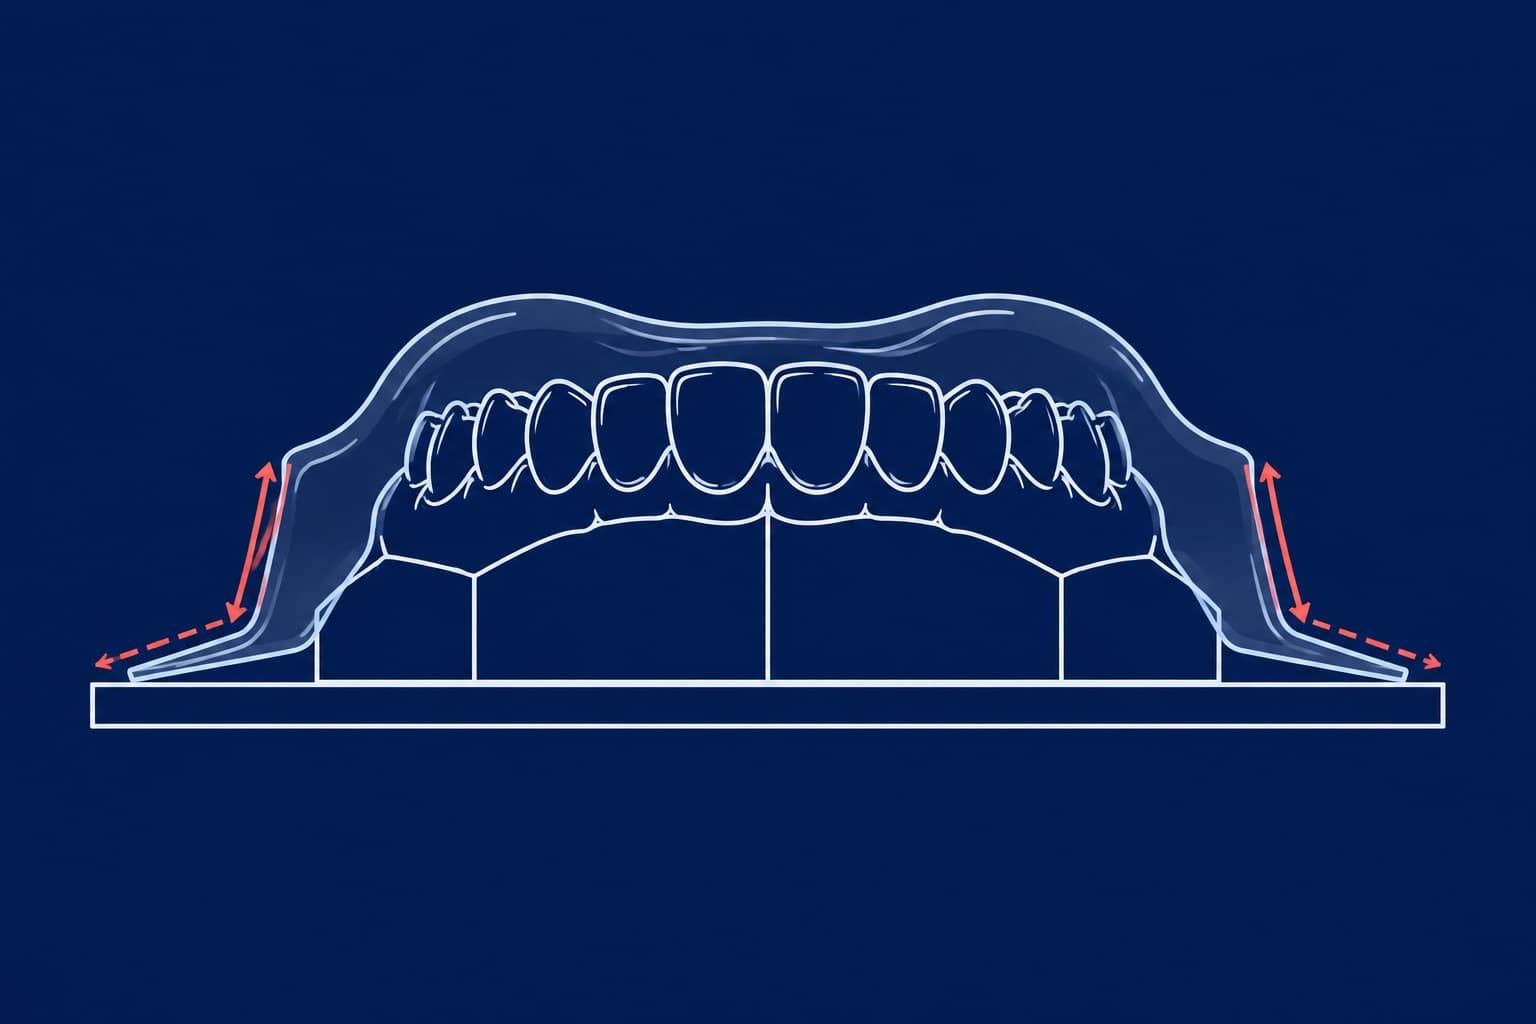
- Trim the base flat so the model sits stably on the platform (Erkodent and Scheu both call for a flat base).
- Cut the sides at 90°. Dentsply Sirona warns that undercuts and angles cutting into the base create a vacuum lock that makes removal difficult.
- If you can, flare the base outward by a few degrees during trimming.
- On full-arch models, trim the palate away (Dentsply Sirona's Essix instructions).
- Remove areas that obstruct forming, such as the outer vestibule and floor of mouth, plus sharp plaster edges (Erkodent).
Block out undercuts and repair the surface
Undercuts make the sheet stretch into hollows it cannot leave cleanly. Erkodent also advises inclining models with big undercuts, so the material does not thin out over a long forming distance. For hard materials, Scheu recommends a duplicate model, since undercuts on the working model can deform the material and break teeth.
Block out:
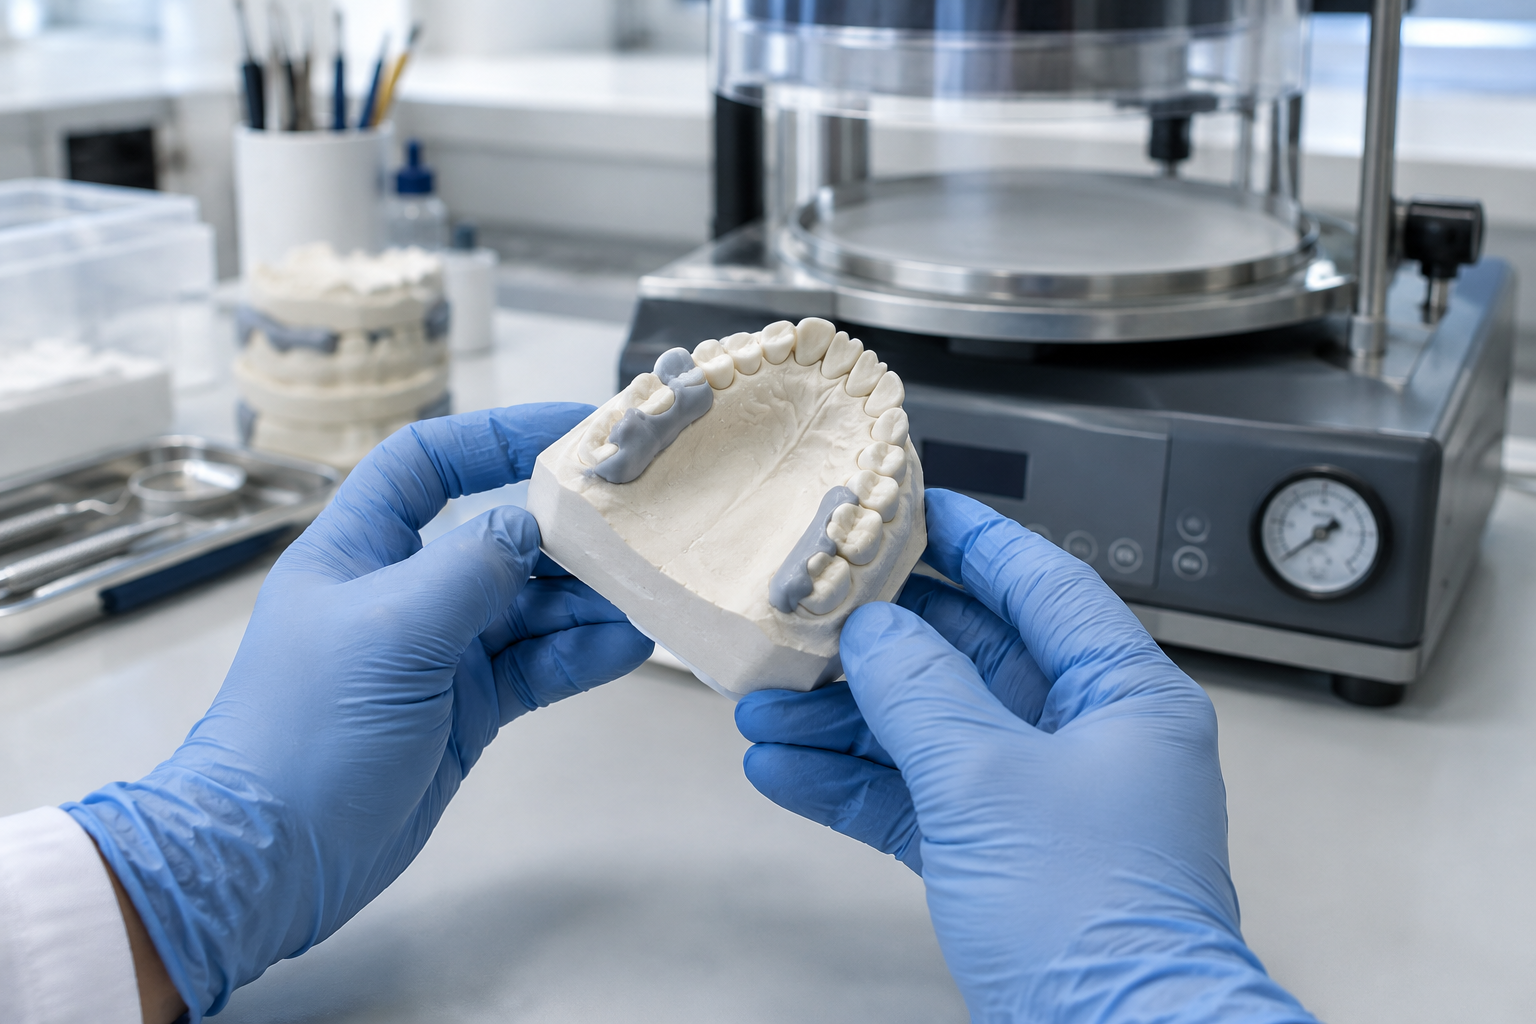
- Strong undercuts, using a blocking material such as Erkogum, or silicone-based block-out from Scheu (Sil-Kitt).
- Interdental spaces and bridge elements, as Scheu specifies for its pressure-moulding technique.
- Edentulous areas and any area too undercut for the appliance to seat and come off, as one retainer fabrication guide puts it.
Then deal with the surface. Remove positive bubbles on the plaster and fill negative bubbles and small defects with blocking-out wax, as Erkodent describes. A bubble on the stone becomes a nodule in the intaglio surface of the appliance.
One caution. Do not block out so generously that you change the fit. For aligner-type trays and attachment templates, the geometry is the point; only close the gaps the sheet cannot follow.
Moisture: the instructions disagree, so read yours
This is the step where sources conflict, and the honest answer is "check the sheet maker".
- Erkodent: hard plaster may contain residual moisture but must not be wet.
- Dentsply Sirona's vacuum manual and Zendura: the cast should be dry or well cured and dry.
- Scheu: for its hard-elastic Duran+ sheet, stone models should be wetted with water or insulated beforehand so the splint comes off easily. Its Bioplast instructions for plaster models say to soak the model briefly in water.
These are different materials with different release behaviour, so the contradiction is only apparent. A workable rule: never form on a model that is dripping or has just been poured, and treat water as a release aid only where the sheet maker says so.
Use a separator, then remove the model carefully
Dentsply Sirona recommends spraying the model with Trim-Rite or another biocompatible release agent so the plastic does not stick. Zendura suggests a foil liquid separator or model release agent. A practitioner guide for dentists suggests silicone spray and tapering the model ends to make removal easier. Their shared purpose: the model, not the appliance, should survive removal.
For removal, cut the plastic first rather than levering the model. Scheu's instruction for splints is to cut radially from the edges inwards and only then trim roughly. SprintRay's retainer workflow, written for printed models, makes a relief cut and alternates gentle pressure on the two sections, and it advises against twisting. The same logic applies to stone, which fractures at the teeth.
If your model is printed resin
Resin models change two of the rules above. They are not air-permeable, so Scheu advises embedding printed working models in the machine's pellets, including the palate, so that air can escape. They also bring a moisture risk of their own: residual IPA or uncured resin vaporises under the heater.
In our own lab guides we treat three things as non-negotiable for printed models: fully post-cured, completely dry after the IPA bath, and a base trimmed to 20–25 mm. Incomplete post-cure can let the model soften and flex under forming heat and pressure. For the detail, see our guides on troubleshooting orthodontic thermoforming defects and the 3D-printed resin model workflow in clear aligner fabrication.
Diagnose model-related defects
| Symptom | Likely model cause | Fix |
|---|---|---|
| Thin incisal edge | Model taller than about ¾″ | Re-trim the model, then re-form |
| Appliance will not release | Undercuts on the base, no separator | Flare base, add release agent |
| Dust or grit inside | Soft stone | Switch to hard, dense stone |
| Incomplete adaptation | Varnished or non-permeable model | Use permeable stone; embed printed models in pellets |
| Bubbles on the surface | Wet stone, or damp printed model | Dry the model; check the sheet is dry too |
| Broken teeth on removal | No separator, forcing the appliance | Release agent, cut the plastic first |
Model height also interacts with your machine. A positive-pressure unit adapts the sheet better than plain vacuum: an in-vitro micro-CT study of PETG aligners measured a mean thickness of 467 µm after pressure forming against 380 µm after conventional vacuum forming. That is useful margin, but it does not rescue an over-tall model. See our pressure and temperature guide and machine selection guide for the machine side.
When these rules bend
- Hard splints and mouthguards: thicker sheets and different release behaviour mean the sheet maker's instructions beat any generic height. Use Erkodent's or Scheu's documents for those systems.
- Attachment templates: the model carries attachment geometry, so you add it before forming rather than blocking it out. Our template guide covers it.
- Anything unspecified: none of the sources we reviewed set a single model height or drying rule that fits every machine and material. Test on one model, measure the result and write the settings down.
Take the model, not the machine, as your first suspect
Next time a retainer or tray comes out thin, cloudy or stuck, look at the model before touching heat or pressure: height, base, undercuts, bubbles, moisture, separator. If you would rather not run this checklist in-house, send Nordicdens your next case as a scan or impression with a prescription, and we will prepare the model and form the appliance for you. You can also read how our team approaches orthodontic thermoforming from sheet to finished appliance.