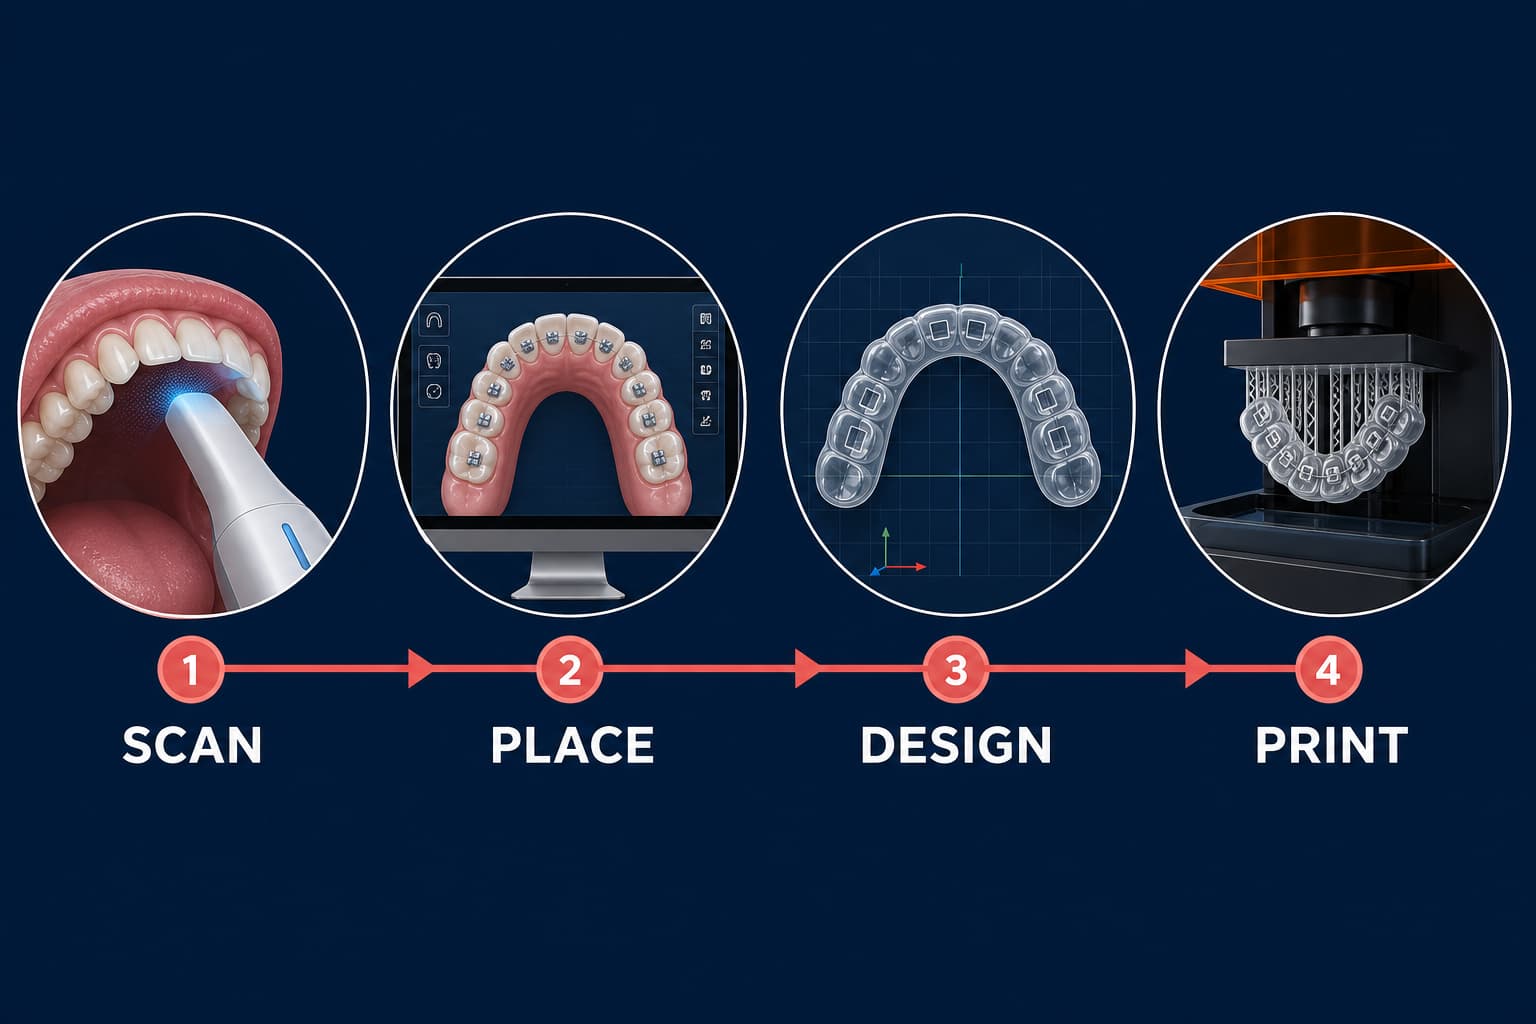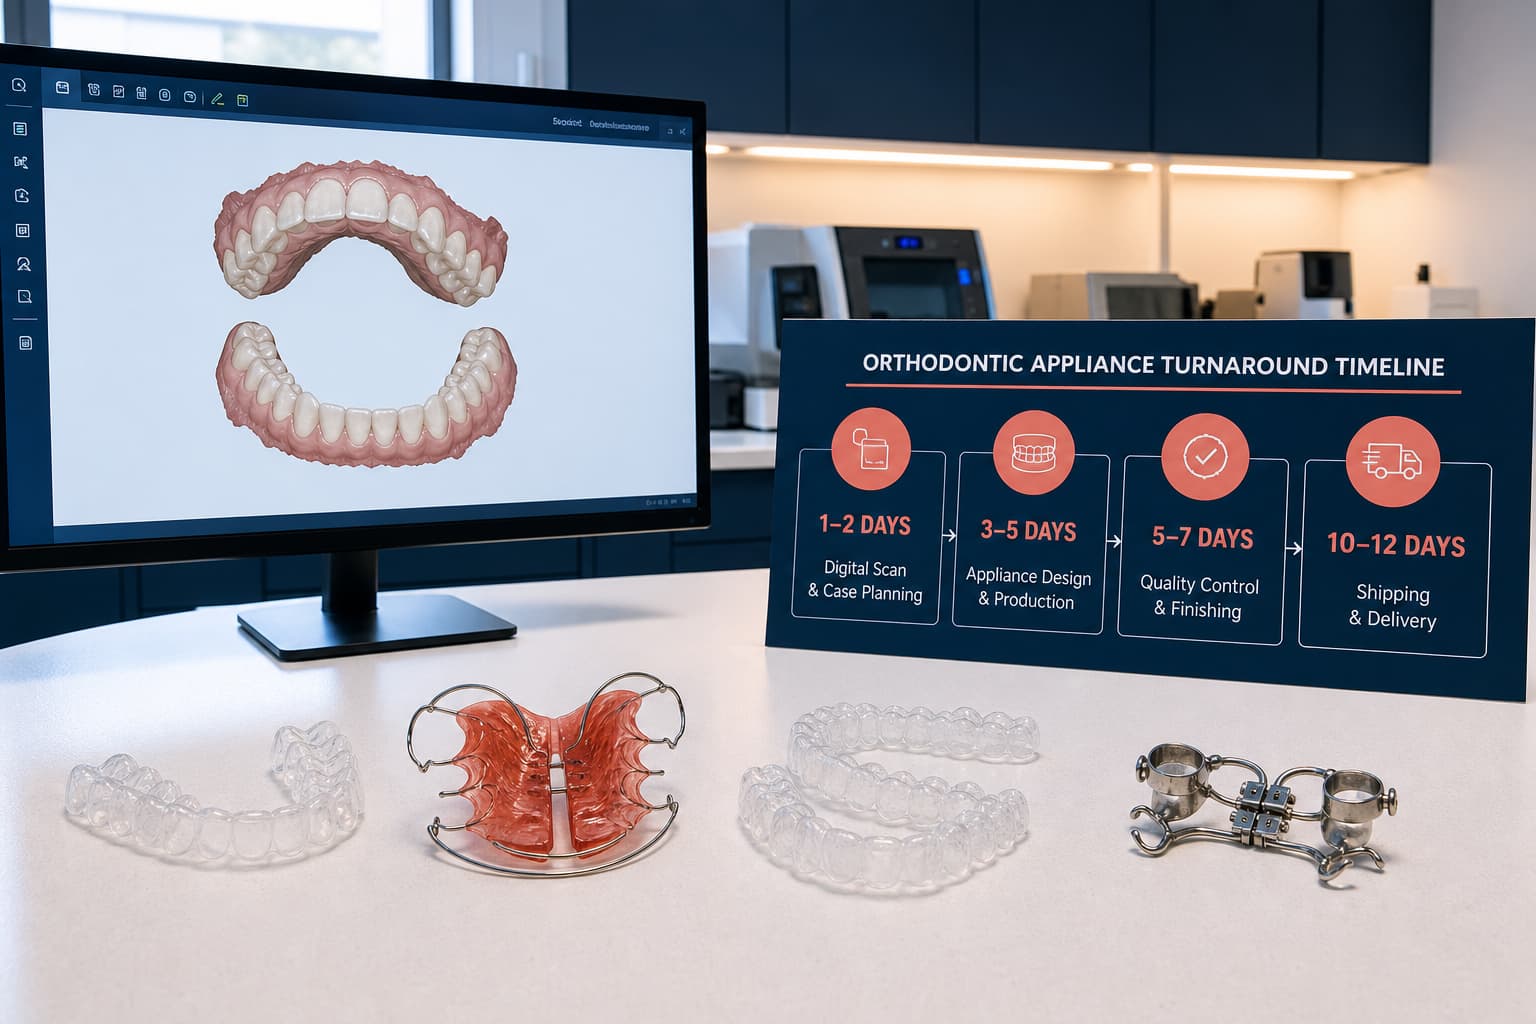
Over 80% of dental laboratory remakes and production delays stem from incomplete data transmissions rather than manufacturing flaws. Submitting complete 3D scans, verified interocclusal relationships, and precise prescription parameters allows technicians to move straight into computer-aided design without pausing for clarification. Thoroughly auditing digital files before transmission may feel like an extra step during a busy clinical schedule, but spending two minutes reviewing data on-screen eliminates days of production lag and costly remakes.
Following this seven-point checklist ensures your cases transition seamlessly through the digital orthodontic workflow for swift fabrication and predictable clinical delivery.
Validate Mesh Integrity and File Formats
An intraoral scan must produce a watertight 3D mesh before software can segment teeth or prepare models for 3D printing. Open holes, surface distortions, or floating scan artifacts prevent CAD systems from building accurate appliance geometry.
- Check mesh completeness: Confirm the digital mesh contains no gaps along critical tooth anatomy, particularly around gingival margins, cervical areas, and distal molars.
- Export compatible open formats: Ensure your scanner exports open formats such as STL, PLY, or DCM. While PLY files preserve color data to distinguish soft tissue boundaries, open STL files remain the universal standard across digital manufacturing platforms.
- Inspect file health: Review exported datasets to confirm files are uncorrupted, unencrypted, and fully rendered. For technical guidelines on preserving geometry across platforms, review our guide to managing STL files in orthodontics.
Verify Complete Anatomical Coverage
Omitting posterior teeth or missing the gingival third of the clinical crown severely restricts appliance design. Laboratories cannot accurately place clasps, establish aligner trim lines, or design indirect bonding trays without complete anatomical reference points.
- Full-arch extensions: Capture all erupted teeth, extending at least 3–5 mm apical to the free gingival margin across the entire arch.
- Terminal molars: Ensure full coverage of second and third molars, where cheek tissue often collapses against the crown and creates incomplete scans.
- Edentulous spans and pontics: Capture the complete edentulous ridge morphology without surface distortion when planning space maintainers or pontics.
Confirm Interocclusal Alignment and Bite Scan
High-resolution single-arch scans cannot compensate for an improper bite registration. Scanner stitching errors can introduce artificial open bites or lateral shifts if buccal scans are rushed or misaligned.
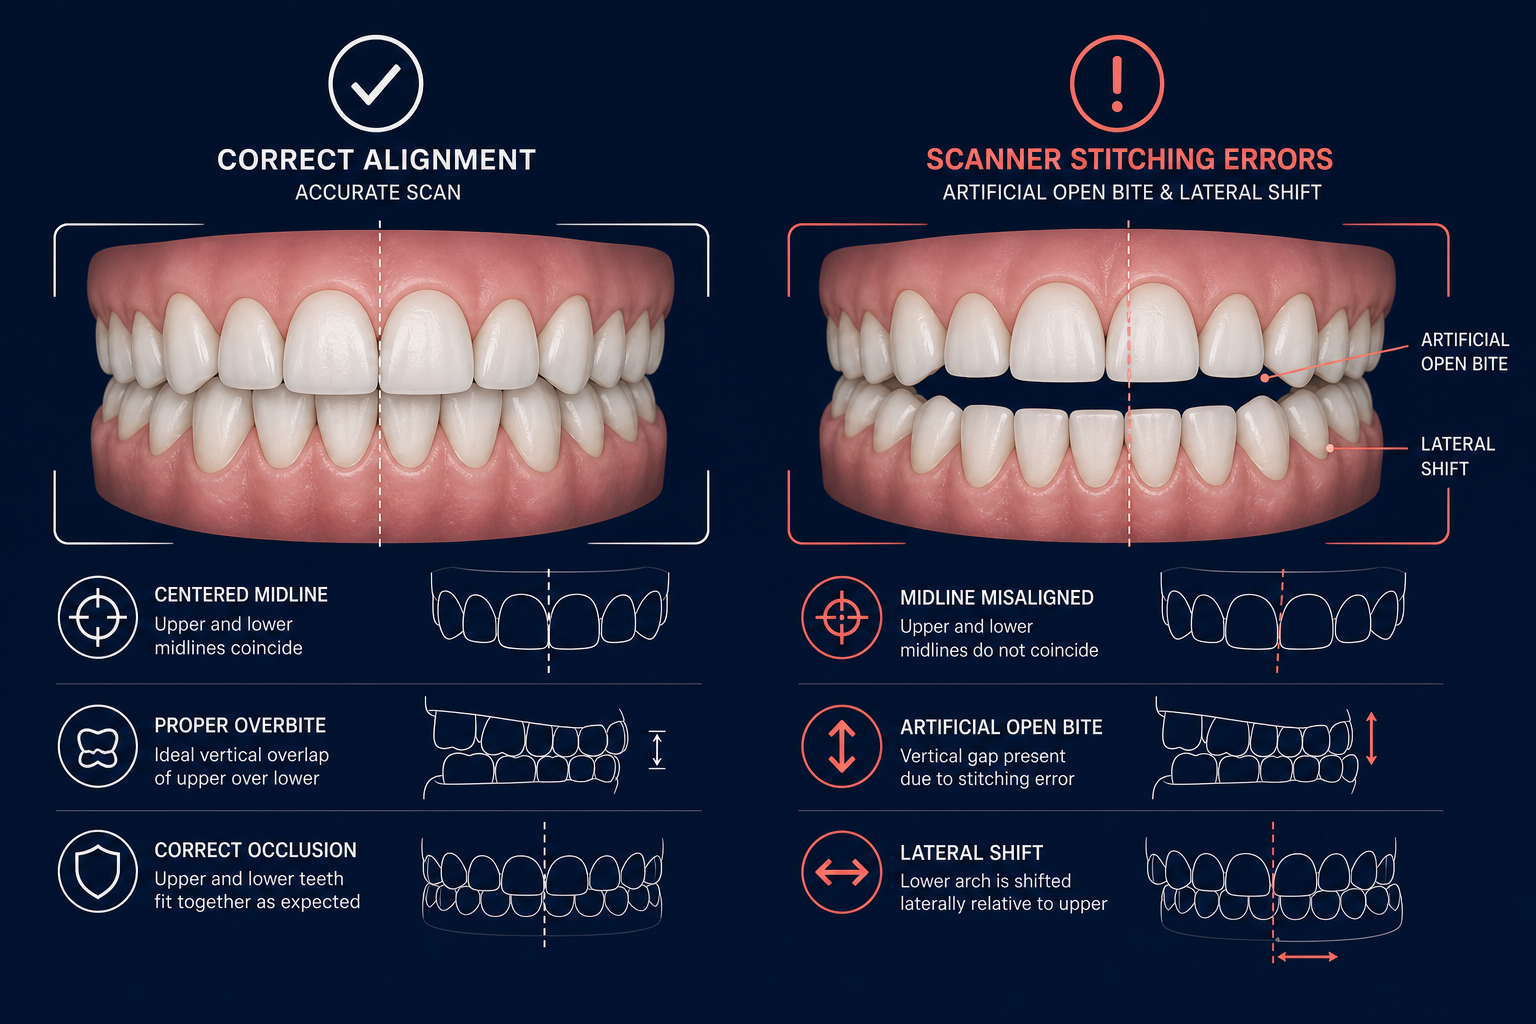
- Bilateral bite acquisition: Capture buccal bite scans on both sides while the patient maintains maximum intercuspation (MIC) or the target therapeutic posture.
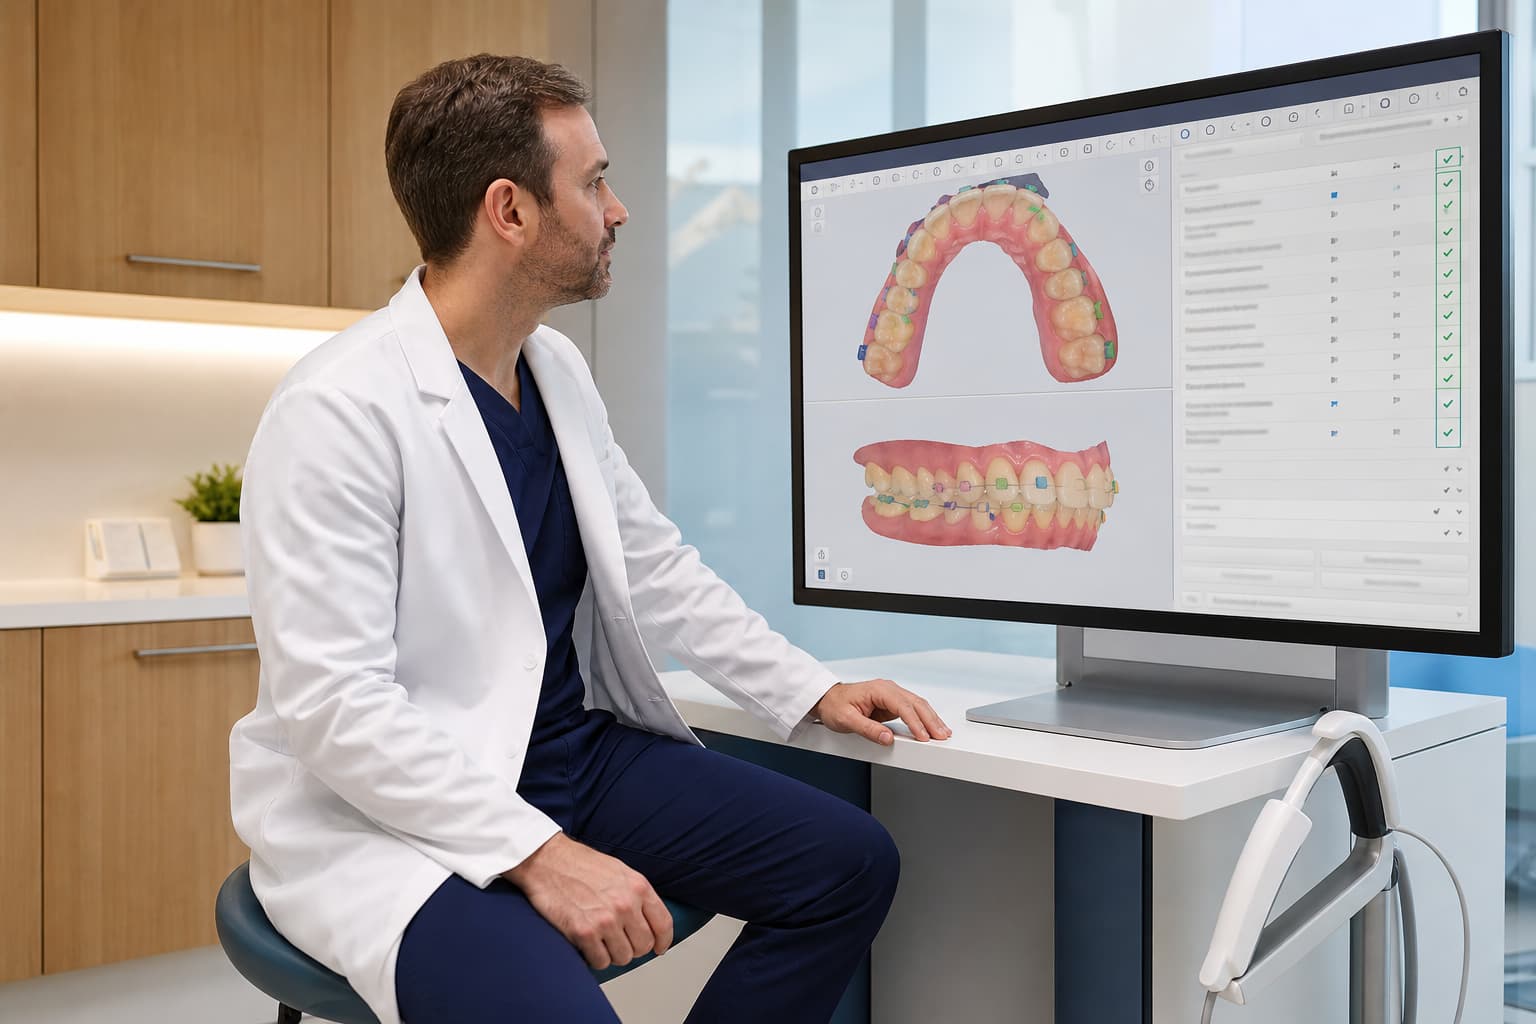
- Inspect for stitching drift: Review the digital occlusion on-screen to detect virtual collisions, heavy overlapping meshes, or unnatural open bites that conflict with actual clinical observations.
- Construction bites: Ensure the registration reflects the specific advancement or vertical opening requested in the prescription for functional appliances.
Eliminate Soft Tissue and Saliva Artifacts
Moisture and moving soft tissue cause severe scan distortion. Saliva pools form virtual bridges across interproximal spaces, while loose mucosa or tongue movement distorts clinical crown contours.
- Isolate and dry: Thoroughly isolate and dry each quadrant before passing the optical wand.
- Trim extraneous data: Use the scanner’s editing tools to slice away loose tongue data, mobile lip tissue, or cheek artifacts prior to saving. Clean scan data yields far greater digital impression accuracy than unedited captures.
Provide Detailed Prescriptions and Biomechanical Directives
Vague prescription instructions force technicians to rely on standard parameters that may not suit your patient's specific treatment objectives. Detailing your biomechanical directives prevents delays caused by back-and-forth email inquiries.
- Appliance type and architecture: Identify whether you require Hawley retainers, clear aligners, indirect bonding trays, or expansion devices.
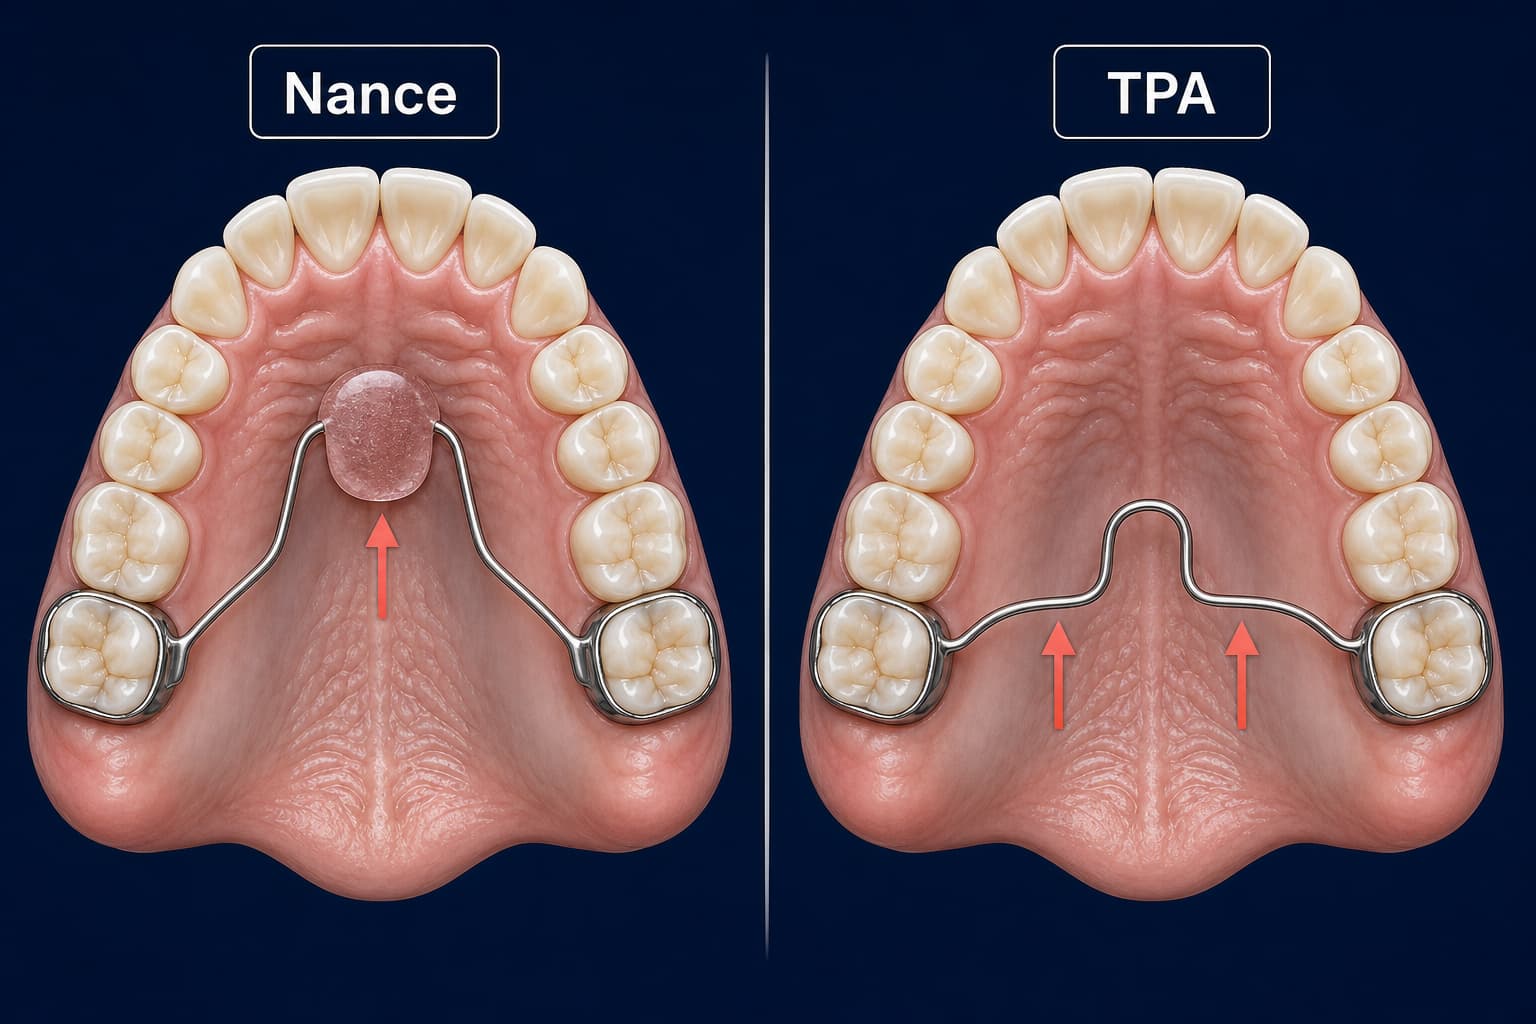
- Component specifications: Detail clasp choices (such as Adams, ball, or C-clasps), labial bow styles, expansion screw types, or wire gauges.
- Aligner directives: Outline tooth movement restrictions, staging requirements, attachment placements, or full digital staging visualization needs.
- Material preferences: State required acrylic colors, thermoforming material thicknesses, or direct-print resin specifications.
Mastering clinical communication protocols ensures your design intent translates directly into the finished device. Read our strategy guide on effective orthodontic lab-clinic communication to refine your prescription workflow.
Include Clinical Photographs and Diagnostic Media
While 3D meshes provide geometric precision, they do not convey facial esthetics, lip lines, or soft-tissue profiles. High-resolution clinical photographs give technicians essential clinical context for complex setups.
- Standard photographic series: Attach extraoral photos (full face at rest, smiling, profile) alongside intraoral views (frontal, left and right lateral, occlusal).
- Shade matching: Note specific shades using clinical photos under natural lighting whenever appliances incorporate anterior pontics or tooth replacements.
Audit Data Security and Transmission Protocol
Transmitting electronic protected health information (e-PHI) requires secure channels to safeguard patient privacy and comply with HIPAA and GDPR regulations. Sending unencrypted patient data via standard email exposes your practice to compliance risks.
- Encrypted upload channels: Transmit digital files through secure lab portals or encrypted file-transfer systems.
- Dataset linkage: Verify that raw 3D mesh files – which lack embedded patient metadata inside the code – are explicitly linked to the patient record within the portal.
Optimize Your Digital Lab Workflow
Adopting a systematic submission process transforms practice cadence, reducing chair time and eliminating preventable remakes. At Nordicdens, we integrate modern CAD/CAM orthodontic fabrication with advanced 3D printing technology to turn digital files into high-precision appliances.
Partner with us to streamline your digital cases, reduce turnaround times, and achieve predictable fits. Explore our full library of technical resources on the Nordicdens orthodontic blog or upload your next digital case directly through our secure client portal today.