3D-printed indirect bonding (IDB) trays convert digital bracket placement into chairside accuracy, reducing patient chair time by up to 70% and minimizing mid-treatment repositioning appointments. By transferring virtual setups directly to your patient's dentition, additive manufacturing eliminates the mechanical positioning errors inherent in traditional direct bonding. While transferring labor from the chairside to the virtual setup requires upfront design time, the resulting precision reduces wire bending, prevents emergency appointments, and accelerates overall treatment progression.
The Digital Workflow: Intraoral Scan to Physical Tray
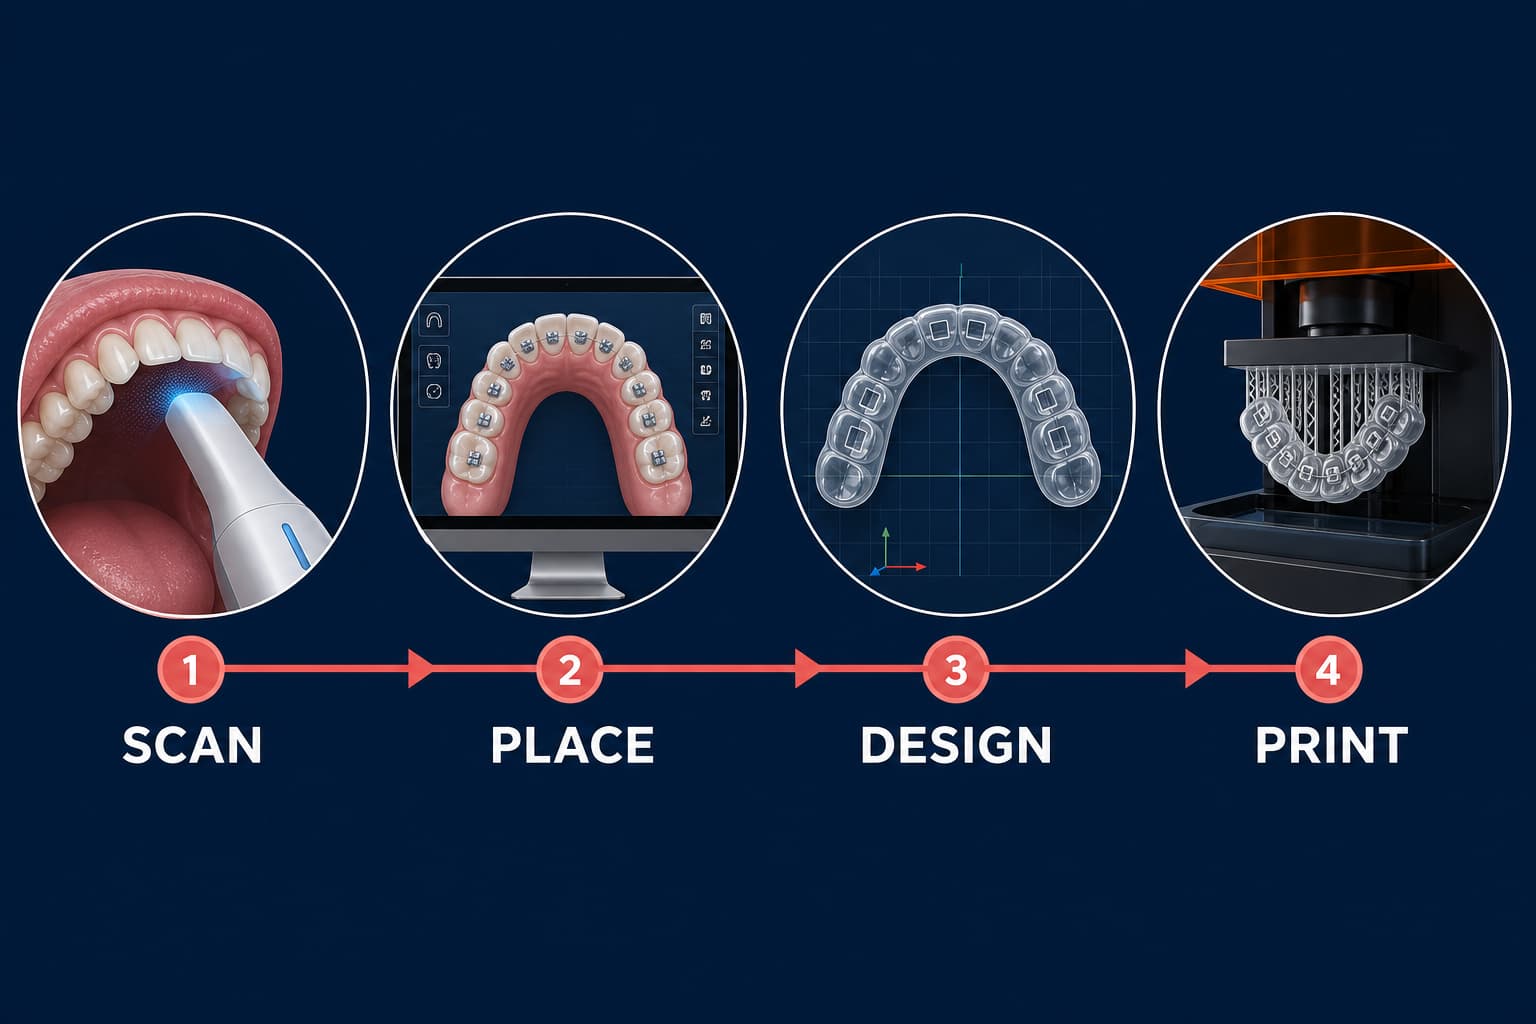
Transitioning from direct bonding to a digital indirect bonding workflow shifts clinical labor from the chairside environment to the virtual planning phase. This process relies on a continuous digital thread across four distinct stages:
- Data Acquisition: Capture the patient's pretreatment dentition using an intraoral scanner. Export the raw geometry as an unencrypted mesh, utilizing open STL files in orthodontics or PLY formats to maintain micron-level surface fidelity without spatial distortion.
- Virtual Bracket Placement: Import the scan into specialized orthodontic CAD software. Segment individual teeth, establish archforms, and position virtual brackets on the digital model according to your exact prescription values. Virtual placement allows you to evaluate occlusal contacts, root axes, and final alignments before committing to physical placement.
- Tray Architecture Design: Generate the transfer matrix directly over the digital setup. The software creates offset inner and outer walls, relief windows around bracket wings, and blockouts for undercuts and bracket slots. You can design trays as continuous full-arch transfer matrices or split them into segmental transfer jigs for severely crowded arches.
- Slicing and Direct Fabrication: Export the completed tray geometry to slicing software, calibrate support structures, and send the file directly to an additive manufacturing system. Bypassing physical working models entirely accelerates production, as detailed in our guide to the digital workflow from scan to appliance.
Material Selection: Rigid vs. Flexible Photopolymers
Selecting the right photopolymer resin dictates both placement accuracy and chairside handling. In modern CAD/CAM orthodontics, clinicians choose between flexible elastomeric materials and rigid photopolymer resins, balancing elastic deformation against tactile seating feedback.
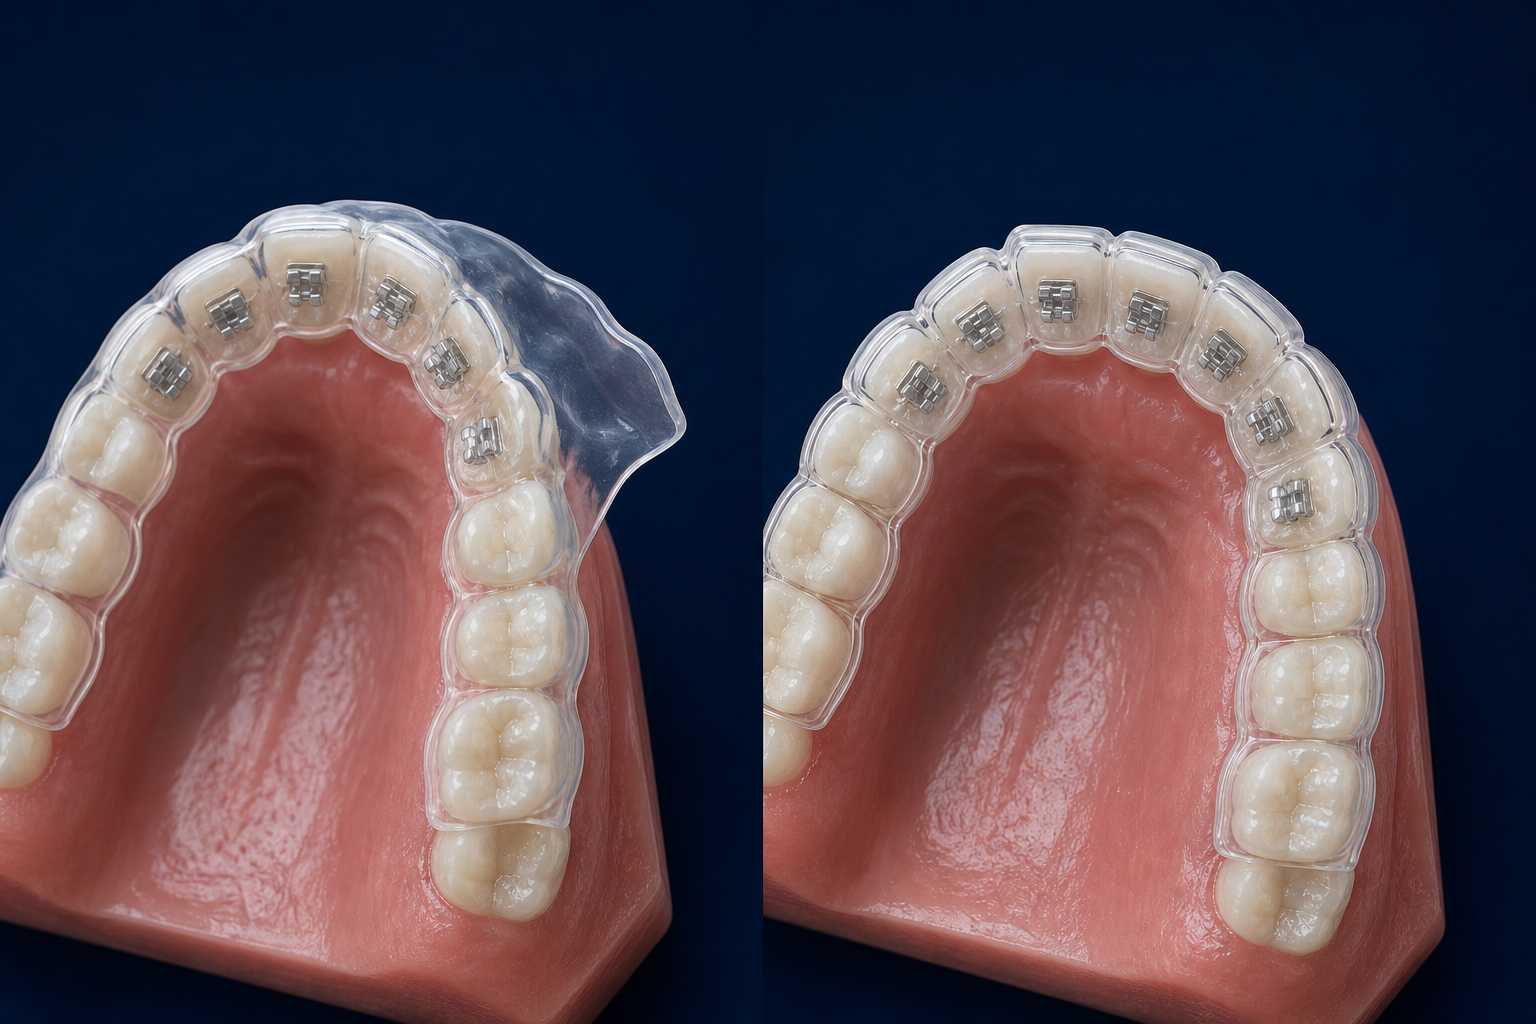
Flexible Photopolymers
Flexible resins deform elastically during tray removal, protecting the initial bond strength of newly cured adhesive. They adapt forgivingly across arches with pronounced undercuts or severe crowding. However, excessively flexible matrices can deform during seating if you apply uneven pressure, introducing rotational placement errors.
Rigid Resins
Rigid materials offer a crisp, tactile snap-fit against occlusal surfaces, guaranteeing precise vertical placement. The primary drawback occurs during removal: rigid matrices require relief scoring or sectioning with carbide burs to avoid exerting high shear forces that can dislodge newly bonded brackets.
Accuracy Metrics and Optical Translucency
Clinical trials confirm that both rigid and flexible printed trays achieve exceptional placement accuracy. Median translational errors remain at or below 0.10 mm, with rotational errors under 1.0°. Over 90% of linear measurements fall comfortably within the 0.25 mm threshold required for orthodontic 3D printer accuracy. Furthermore, immediate bracket loss rates remain nearly identical across both material types at approximately 2.3% to 2.4%.
Regardless of material hardness, transfer resins must exhibit high optical translucency. Clear orthodontic 3D printing materials allow light to penetrate the matrix effectively, securing complete depth-of-cure for light-activated bracket adhesives.
Post-Processing and Biocompatibility Protocol
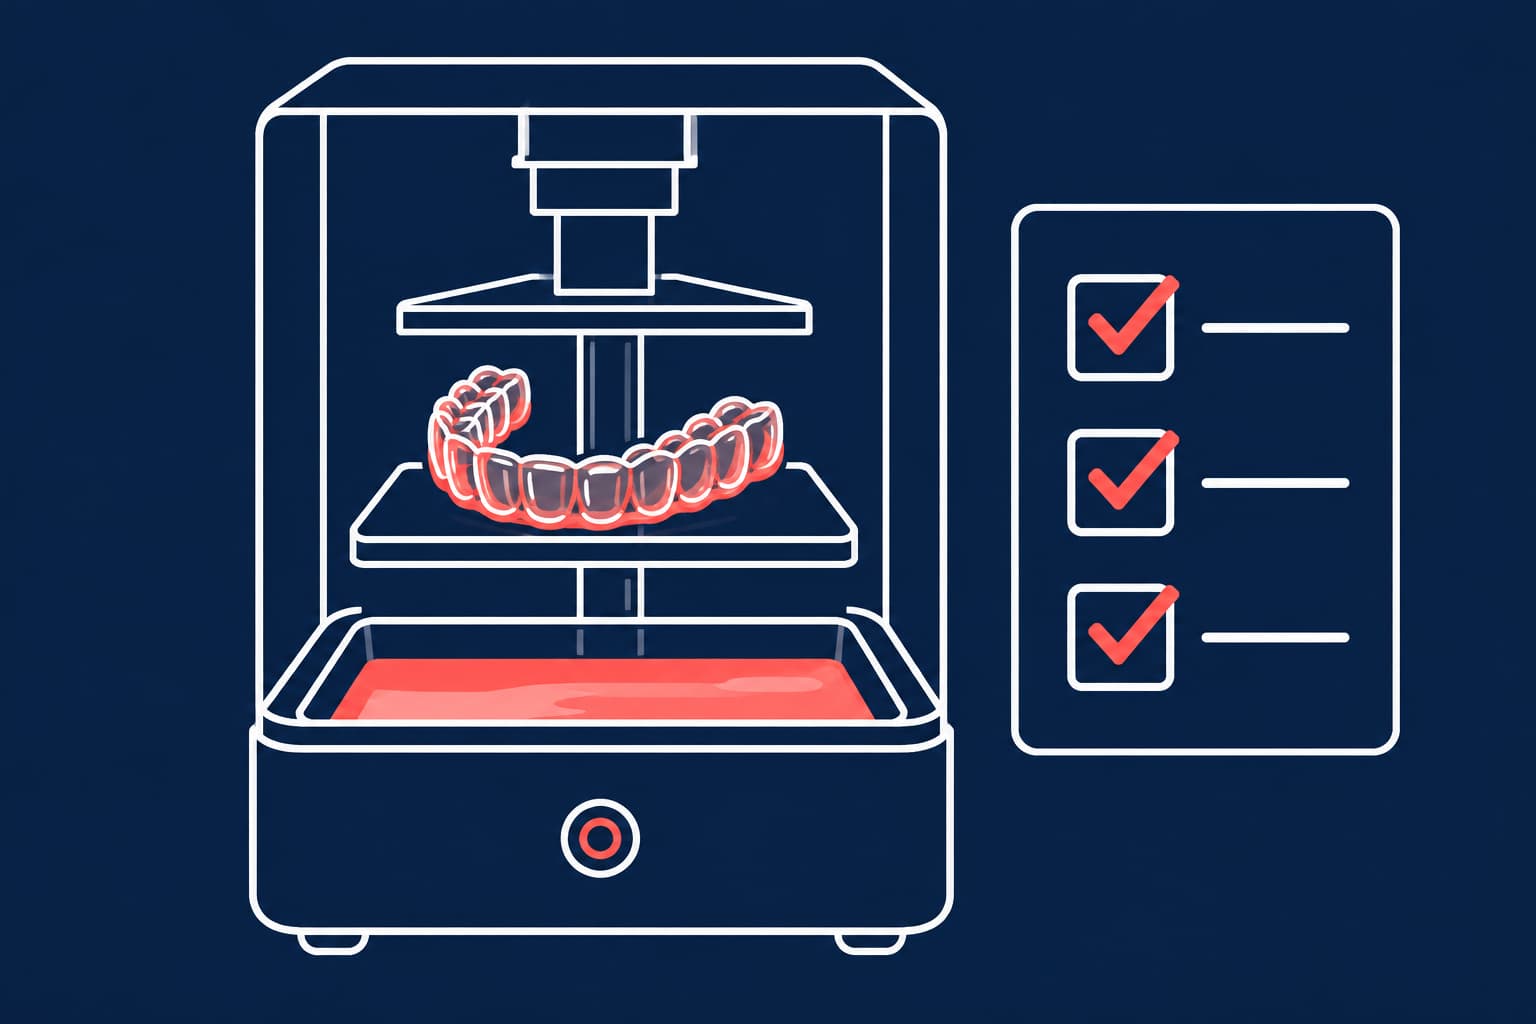
Fabricating a biocompatible appliance requires strict adherence to post-processing standards. A newly printed "green" tray retains unreacted cytotoxic monomers on its surface. Following a validated 3D printing post-processing protocol is imperative to ensure patient safety and structural fidelity:
- Dual-Stage Solvent Wash: Submerge the printed tray in a primary bath of isopropyl alcohol (IPA) to strip heavy resin residue, followed by a secondary clean IPA bath. Over-washing degrades the polymer matrix, whereas under-washing leaves residual monomers that compromise fit and biocompatibility.
- Controlled Secondary UV Curing: Cure the washed tray inside a validated UV post-curing unit. Thermal and light curing completes the polymer cross-linking, converting liquid resin into an inert, Class IIa medical-grade intraoral appliance.
- Finishing and Mechanical Inspection: Remove support structures, smooth attachment points, and seat physical brackets into the flexible slots to verify complete fit prior to patient arrival.
Clinical Protocol for Indirect Bonding Placement
Executing a seamless indirect bonding appointment requires systematic clinical execution:
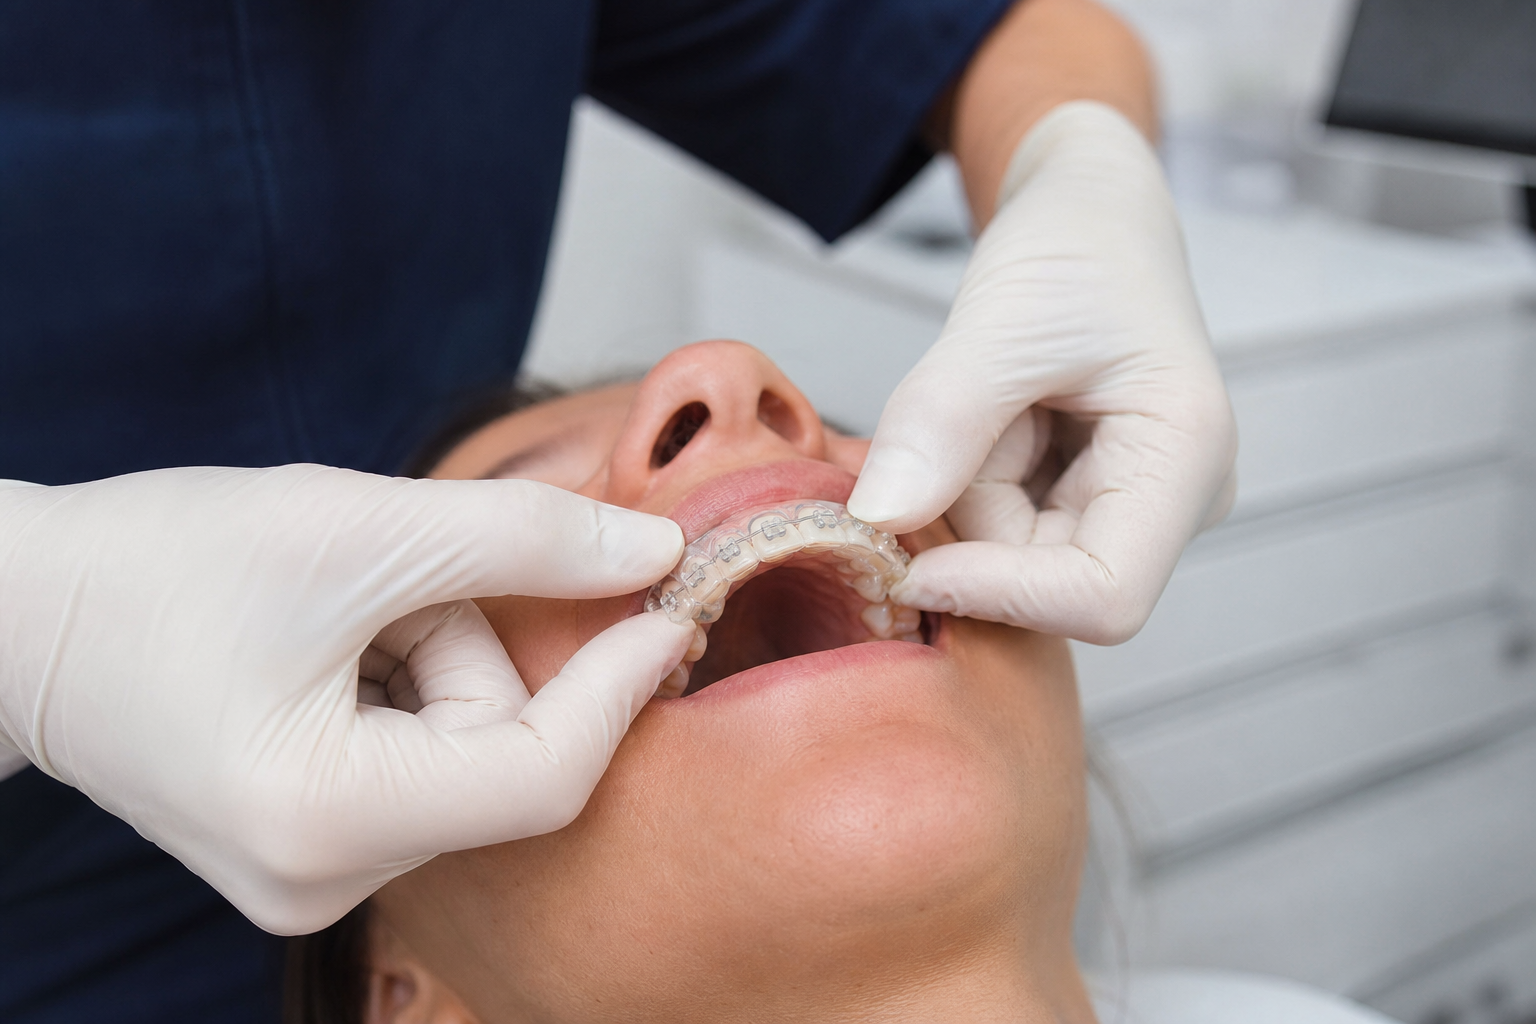
- Matrix Loading: Insert individual brackets into the printed tray slots, verifying full seating into relief windows. Apply your preferred light-cure adhesive or custom resin bases to the bracket mesh pads.
- Prophylaxis and Etching: Clean enamel surfaces thoroughly, apply phosphoric acid etch according to manufacturer guidelines, rinse completely, and dry until enamel exhibits a uniform frosted appearance.
- Primer Application: Apply a thin, uniform layer of orthodontic primer to the etched enamel and air-thin to prevent pooling.
- Seating the Tray: Position the loaded transfer tray over the dental arch. Apply firm, balanced pressure along the occlusal surfaces to ensure complete seating without distorting matrix walls.
- Light Curing: Direct the curing light through the translucent tray material, adhering strictly to exposure times for each tooth surface.
- Tray Removal: Peel flexible transfer trays away starting from the distal lingual or buccal margins, using a scaler or hand instrument to support individual brackets if necessary.
In-House Production vs. Laboratory Partnership
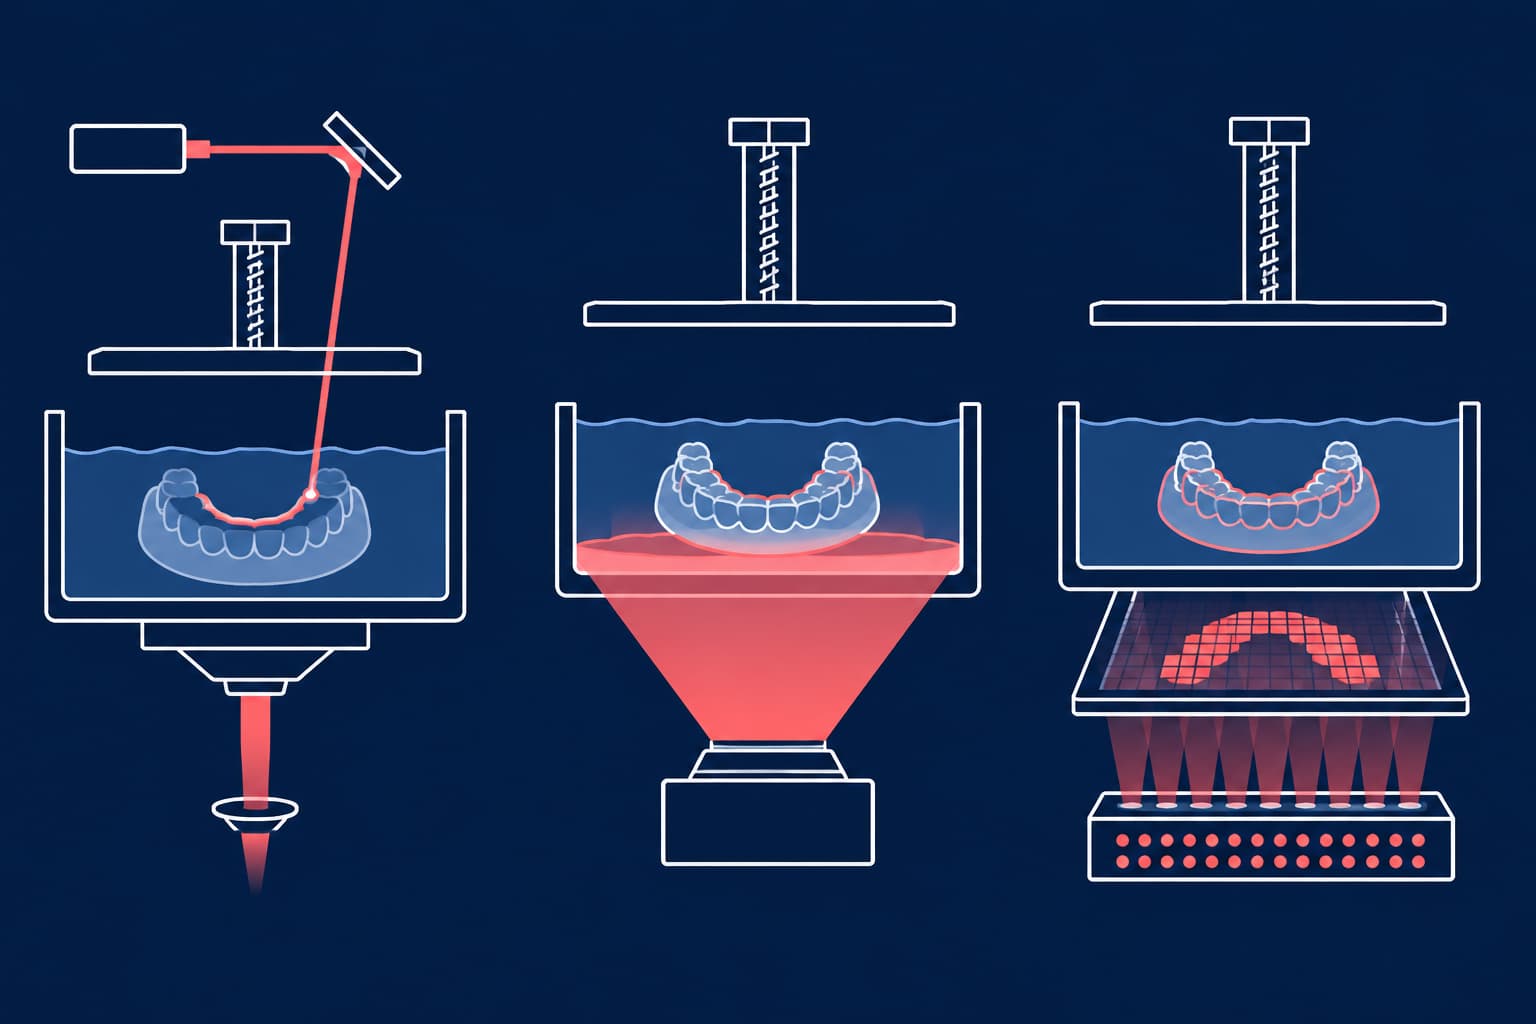
While in-house printing gives practices immediate turnaround control, it introduces significant operational overhead. In-house fabrication requires investing in specialized hardware – such as those evaluated in our analysis of SLA vs DLP 3D printing – maintaining software licenses, managing chemical inventories, and adhering to strict regulatory requirements for intraoral medical devices.
Partnering with a specialized orthodontic laboratory shifts the technical, regulatory, and calibration burden away from your clinic. You retain complete treatment control by reviewing and approving virtual bracket setups through a secure portal, while experienced lab technicians manage precision additive manufacturing, post-processing validation, and quality control.
Streamline Your Bracket Placement Workflow
3D-printed indirect bonding trays combine digital planning with predictable chairside execution, elevating clinical efficiency and patient comfort. Explore how digital indirect bonding trays and the broader 3D printing revolution in orthodontics can transform your clinical practice.
Submit your next intraoral scan to the NordicDens laboratory team today to receive precision-engineered, patient-specific indirect bonding trays tailored to your clinical preferences.