Choose the application first, the printer second. A printer that makes excellent aligner models can be the wrong machine for direct-printed appliances, because direct printing should only run on a printer and resin pair that the resin maker has validated. Everything else on the spec sheet, from resolution to price, is secondary to that decision.
Use this table to narrow the field before you compare brands.
| If your main output is... | Prioritise | Technology that usually fits |
|---|---|---|
| Study models and models for thermoforming | Trueness, build-plate capacity, low cost per model | Professional SLA, DLP or a well-calibrated LCD printer |
| Splints, indirect bonding trays | Biocompatible resin support, post-curing control | SLA or DLP with a certified medical-device resin |
| Direct-printed aligners and retainers | Validated printer-resin pair, open parameter access, regulatory paperwork | Only the printers the resin maker lists |
| Low or irregular case volume | Whether you should buy at all | Outsourcing to a lab |
The sections below explain each criterion with numbers you can test against your own caseload.
Criterion 1: Match the printer to the appliance
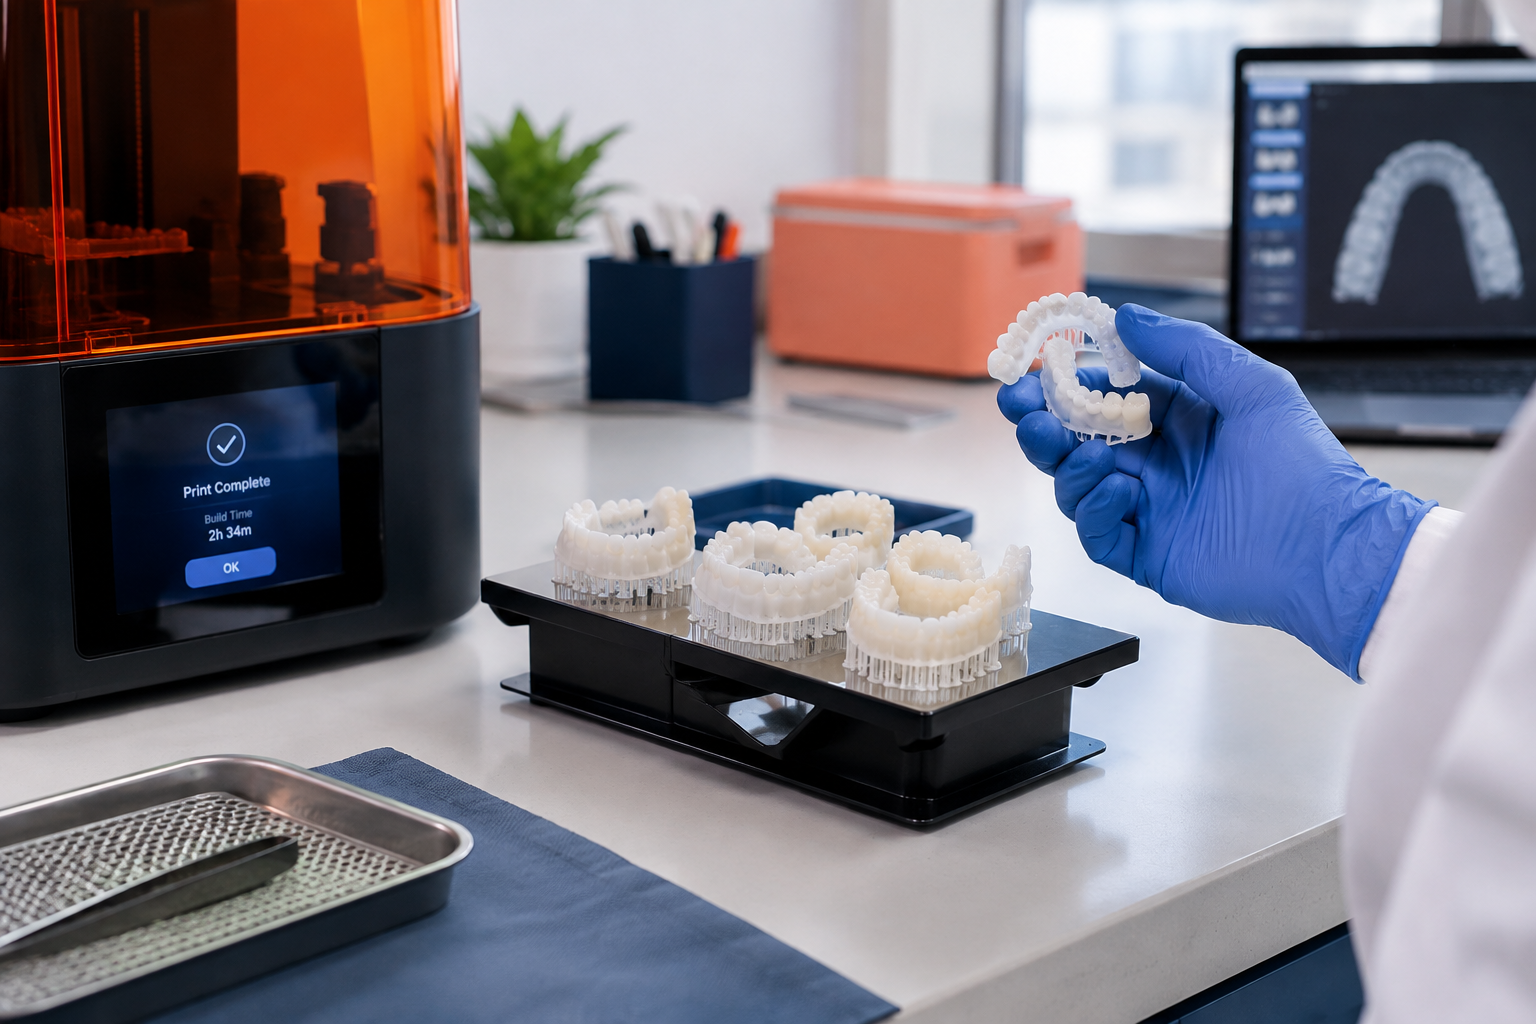
Orthodontic printing has three distinct jobs, and they stress a printer differently.
- Models (diagnostic, study, aligner molds) need dimensional accuracy and volume. The material is not worn in the mouth, so biocompatibility is irrelevant.
- Intraoral devices such as splints and indirect bonding (IDB) trays touch the patient. They need a resin registered as a medical device and a post-cure you can control.
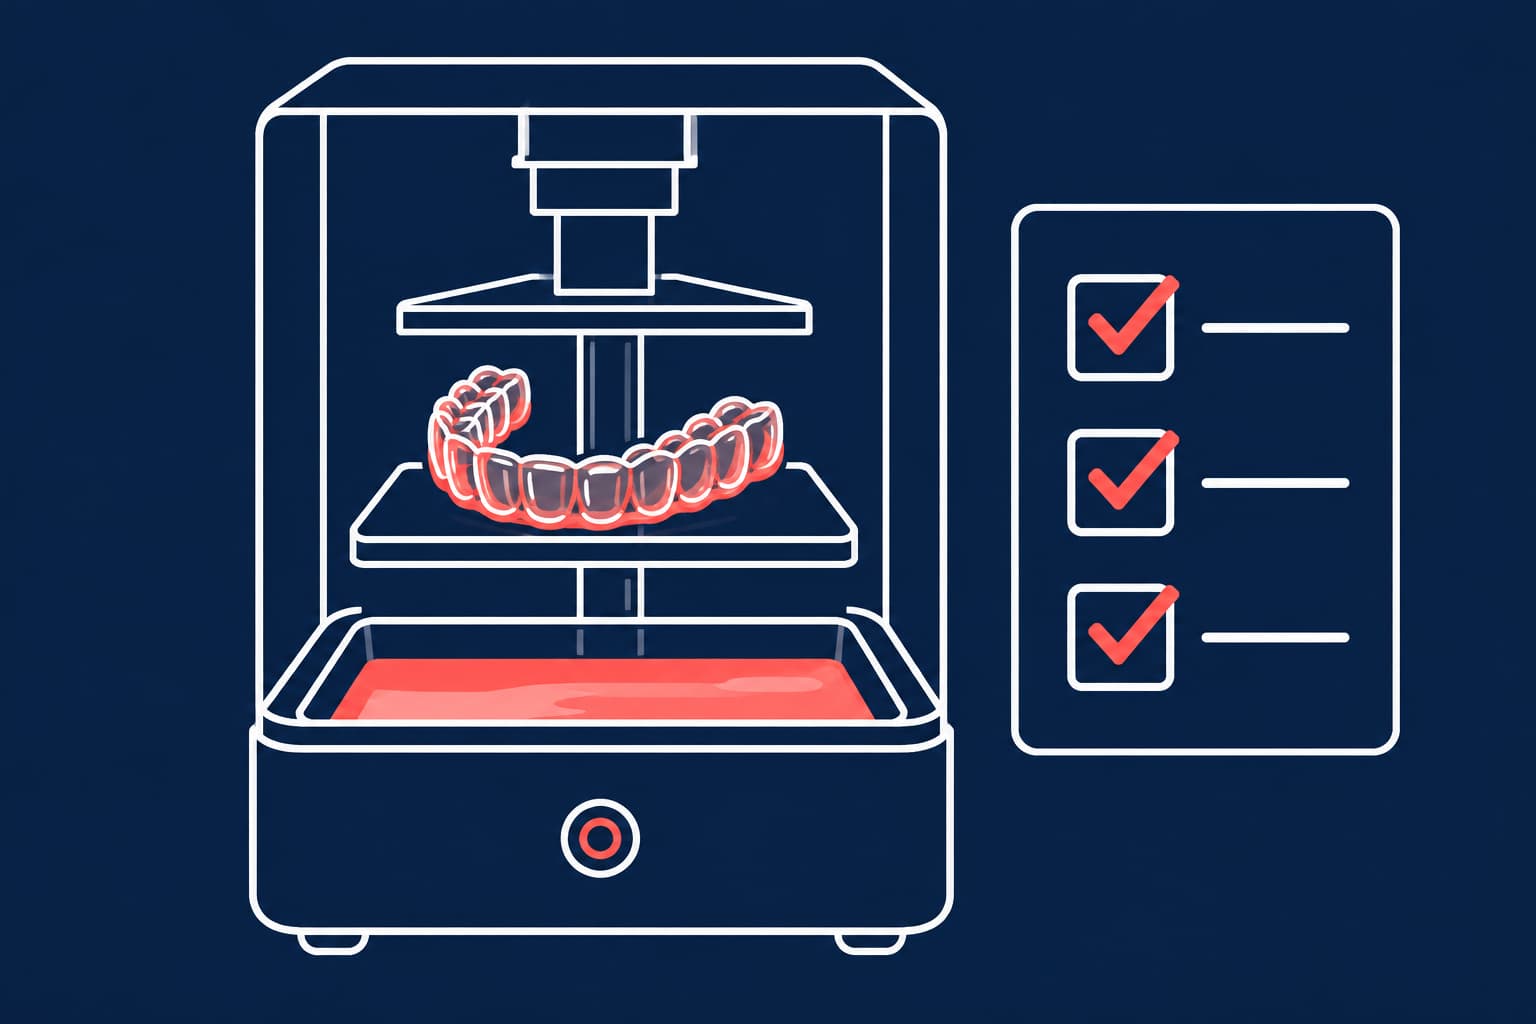
- Direct-printed aligners and retainers are worn for long periods. They need the strictest pairing of printer, resin, wavelength and post-processing.
Most labs begin with models, then add devices. If direct printing is on your two-year roadmap, buy for it now: check that the printer offers an open material mode, or is on the resin maker's validated list. Our guide to direct 3D printed orthodontic appliances shows how that workflow differs from thermoforming.
Criterion 2: SLA, DLP or LCD
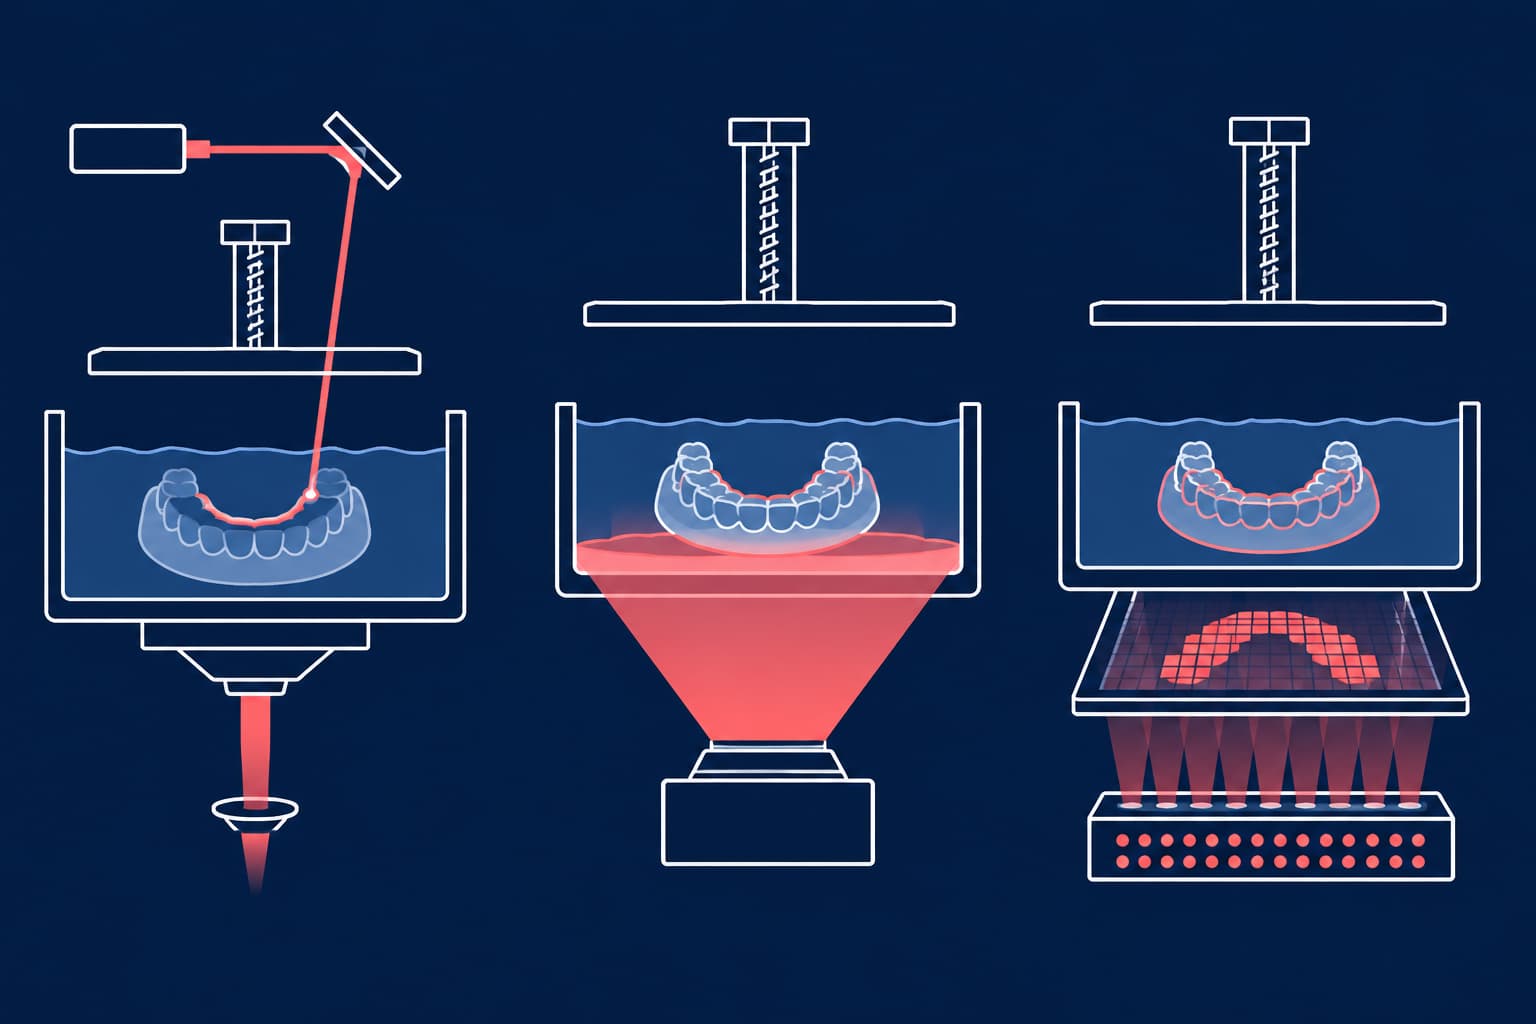
All three cure liquid photopolymer layer by layer. They differ in the light source.
- SLA traces each layer with a laser. Time grows with the amount of cross-section on the plate.
- DLP projects a whole layer at once through a micromirror device.
- LCD (MSLA) exposes a whole layer through an LCD mask lit by LEDs. It is usually the cheapest route.
Formlabs notes that DLP and MSLA expose the entire layer at once, so speed depends only on part height rather than on how many models share the plate. That favours them for full platters of aligner models. Evidence on accuracy is less clear-cut than marketing suggests. A 2023 comparison of orthodontic models for clear aligners found lower trueness error from the two SLA printers than from a DLP and an entry-level LCD printer, though every printer stayed within the 0.25 mm clinical error limit used for aligner manufacturing. A separate 2022 study found a DLP printer more accurate than an LCD printer for models, with the LCD printer's larger plate fitting more models per run.
The honest reading: the printer model matters more than the category. A reviewer of orthodontic literature in the Journal of International Oral Health concluded that there is insufficient evidence to say one printing type is more accurate and efficient than the others. Our own comparison of SLA vs DLP in orthodontic labs goes deeper on the workflow differences.
Criterion 3: Accuracy you can verify
Resolution on a spec sheet is not accuracy. Ask for trueness (how closely a print matches the digital file) and precision (how repeatable it is), both measured as root mean square (RMS) deviation.
Published numbers show why the distinction matters. In a 2022 study of orthodontic models, a professional SLA printer reached a trueness RMS of 75 µm at 50 µm layers, while two entry-level LCD printers reached 192 and 179 µm. The authors concluded entry-level LCD printers are not as accurate as professional ones. Even 0.19 mm is under the 0.25 mm aligner threshold, but you lose most of your margin before thermoforming, trimming and tooth movement add their own error.
Layer thickness and build angle also play a role, but the evidence is mixed:
- The same entry-level LCD study found layer thickness did not significantly change trueness or precision.
- A DLP study with 20, 50 and 100 µm layers at 0°, 30°, 60° and 90° found build angle and layer height interact. The least accurate models used 0° at 20 µm.
- A study of horizontally printed models reported deviations of around 20 µm at 50 and 100 µm DLP layers.
So do not pay for a finer layer height by default. Test your own parameters, and read our rules on build orientation and supports and on clinical accuracy.
Test before you buy: ask the vendor to print one of your own scanned cases, then scan the result and superimpose it on the source file. A deviation map tells you more than any brochure.
Criterion 4: Resin ecosystem and validation
The resin decides what the printer can legally and clinically do.
- Open vs closed systems. Graphy states that not every resin printer can process its materials: the printer needs an open mode for setting parameters, or the parameters must be pre-programmed, and the light-source wavelength must match the resin. LuxCreo, in contrast, describes its direct-aligner resin as a closed workflow that cannot be run on a third-party printer such as a Formlabs.
- Check the pair, not the logo. The FDA 510(k) summary for Graphy's Tera Harz Clear (TC-85DAC), dated 3 November 2022, classifies it as Class II and names the UNIZ SLASH 2 and SprintRay Pro 95 as compatible printers. Graphy's own material sheet also lists the Asiga MAX and SprintRay Pro 55. Always get the current validated list from the resin maker rather than relying on a distributor.
- Read the indication. Formlabs Dental LT Clear Resin V2 is a hard splint and occlusal guard material, not an aligner resin. A "clear, biocompatible" label does not make a resin suitable for every intraoral job.
If you work in the EU, ask for the CE certificate under MDR for the specific resin and confirm it covers your intended use. Sources describe the certification status of direct-aligner resins differently, so do not take a brochure's word for it. See our guide to orthodontic printing resins for material properties.
Criterion 5: Throughput and build volume
Throughput is the criterion buyers over-weight. Printing is rarely the bottleneck; washing, curing, support removal and trimming are.
Take a worked scenario. A clinic starts 25 aligner cases a month with 10 stages per arch and two arches: 500 models a month. Formlabs advertises printing 11 aligner models in 9 minutes. At that rate you need 46 runs, or about 7 hours of print time. Assume real-world times three times longer and it is still about 21 hours spread over a month. A single printer is enough; what costs you is the labour around those 46 runs.
Build volume matters when you scale, or when you print arch-sized appliances such as splints. Ask:
- How many arches fit on the plate in the orientation you actually use, not in the brochure's ideal layout?
- What happens to throughput if you add a second material?
- Does the printer offer a platform large enough for your biggest device, so you never print in two runs?
If a printer's data sheet lists a time per model, find out which resin and layer height produced it. Fast model resins are tuned for speed, not for every use.
Criterion 6: Total cost of ownership
The sticker price is only one line of the budget. Published reference points, mostly in US dollars:
- Printer: the American Dental Association's 3D printing guide lists dental printers from $5,000 to more than $100,000. Formlabs lists its Form 4B basic package at $7,699 and describes its complete package, with automated post-processing, at $12,006.
- Post-processing: one German dealer lists a dental wash unit at €2,950, and a US dealer lists curing units at $1,600 and $2,850. Prices vary by unit and seller.
- Resin: Formlabs states material-only costs of $2-3 per aligner model, excluding equipment and labour.
- Wear parts: for one LCD printer family, a German dealer lists a build platform at €229, an nFEP film at €29.90 and an LCD display at €249.50, all excluding VAT and shipping. LCD screens and vat films are consumables.
- Service: Formlabs lists Form 4B service plans at $1,269 for one year, $2,549 for three or $3,799 for five.
Our own breakdown, the real price of orthodontic 3D printing, puts the initial investment for a practice between €5,000 and €25,000, with biocompatible resins, software and skilled labour driving the ongoing cost. Budget labour as a cost line. Someone must wash, cure, inspect and log every build.
A cheaper printer is not automatically a false economy, and an expensive one is not automatically safe. The test is cost per accepted part: divide all annual costs by the models and devices that pass inspection.
Criterion 7: Regulation and quality control
A printer is manufacturing equipment, but what you make with it can be a medical device. Under the EU Medical Device Regulation (MDR), a device made to a written prescription for one patient is a custom-made device. Annex XIII requires the manufacturer to draw up a statement identifying the manufacturer and sites, the device, the patient, the prescriber and conformity with the general safety and performance requirements. The documentation must let a competent authority understand the design, manufacture and performance, and the statement must generally be kept for at least 10 years.
Do not assume the in-house exemption in Article 5(5) covers you. It applies only if the device is made and used within the same EU health institution, never transferred to another legal entity, and made under a suitable quality management system, among other conditions. Whether a given clinic or commercial lab qualifies is a legal question. Involve a regulatory adviser before you print anything worn by a patient. Our overview of orthodontic lab compliance under MDR covers the QA side.
Practical consequence for your purchase: pick a printer whose software logs build parameters and resin batches, and plan a post-cure routine you can document. See our notes on post-processing for biocompatible prints.
Three mistakes that cost the most
- Buying on resolution alone. Pixel size says nothing about shrinkage, calibration or resin behaviour. The 2022 entry-level LCD study shows a gap of more than 100 µm in trueness against a professional printer. Fix: demand a measured deviation on your own case.
- Mixing printer and resin without validation. Wavelength and exposure mismatches can leave under-cured resin, which is a problem for any device worn in the mouth. Fix: use the resin maker's validated printer list and parameter set only.
- Underbudgeting the workflow around the printer. Washing, curing and file preparation take longer than printing. Fix: check that your CAD software and STL file handling feed the printer without manual repair, and review the CAD platforms you plan to use.
When buying a printer is the wrong move
Seven criteria can still end in the answer "not yet". If your case volume is low, you need direct-printed appliances that require specific post-processing equipment and chemical-safety routines, or lack someone to own validation and documentation, buying adds cost without adding capability. Outsourcing gives you access to biocompatible, validated materials without managing resin handling yourself.
Nordicdens is an orthodontic laboratory in Tallinn that serves clinics across the Nordics and Baltics with 3D-printed models, splints, IDB trays and other appliances, built from your intraoral scan and prescription. That is also a low-risk way to judge print quality before you commit.
Your next step
Choose by application, verify accuracy on your own case, confirm the printer and resin are validated as a pair, and cost the whole workflow rather than the printer. If you cannot answer those four points yet, send us a real case. Talk to Nordicdens about a trial case, so you can measure printed output against your own digital file before you commit to hardware. For more reading, browse our blog on orthodontic lab production.