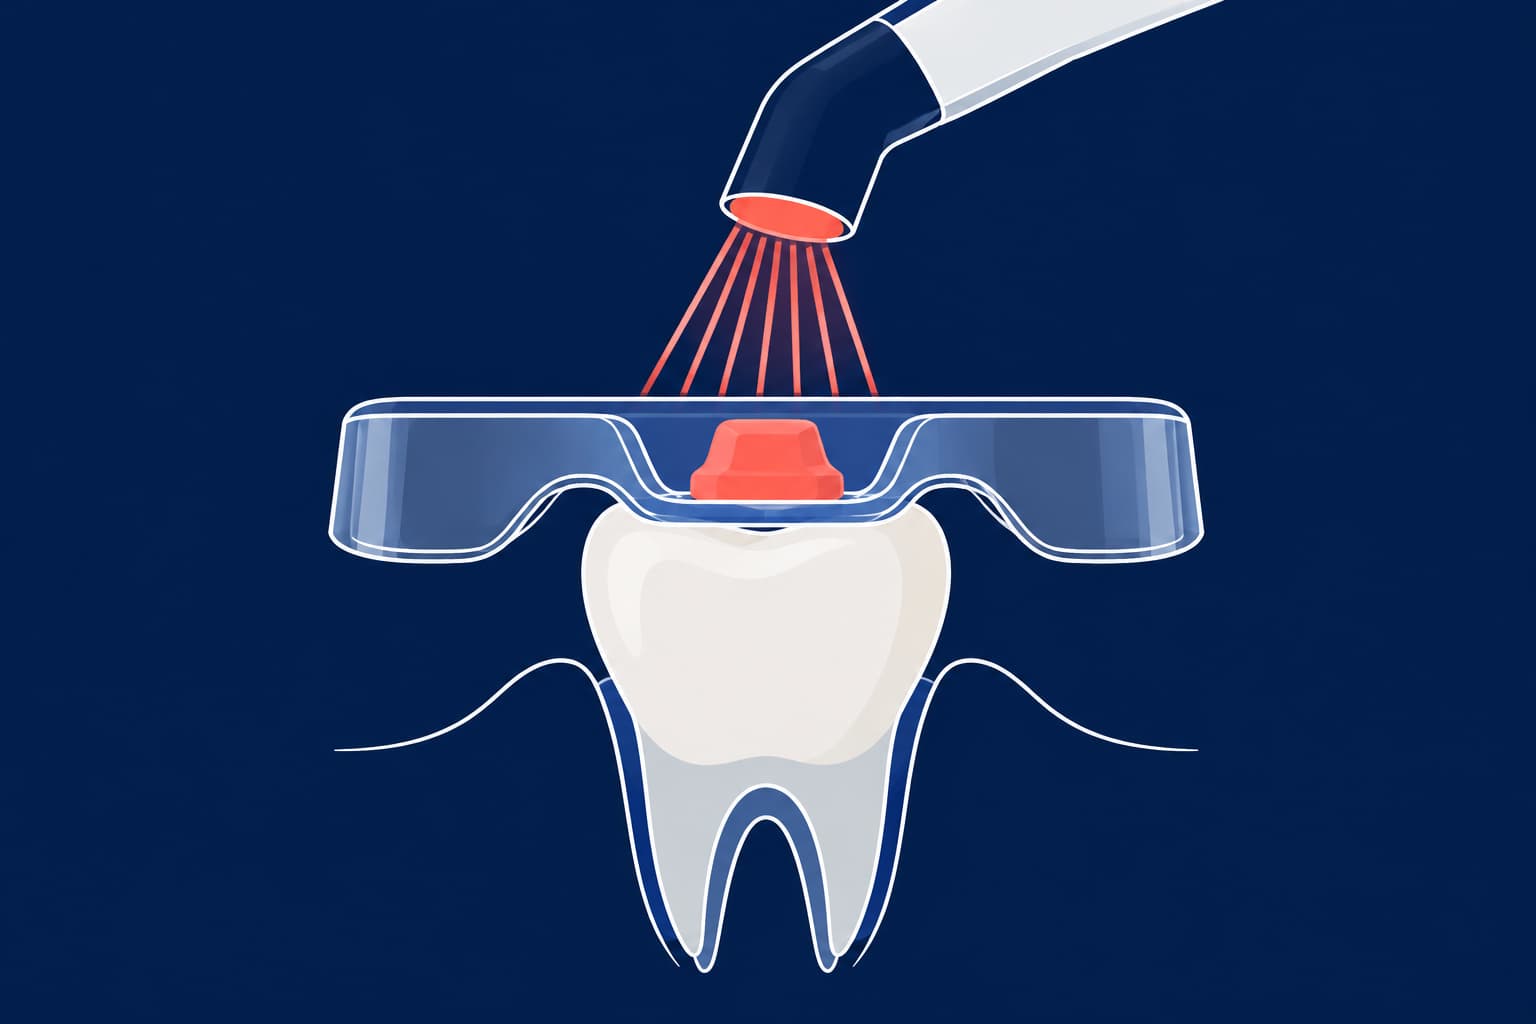
An aligner attachment template is a thermoformed tray with small reservoirs shaped like your planned attachments. You fill the reservoirs with composite, seat the tray on prepared enamel, cure through it and peel it away. Accuracy depends on three decisions: sheet material and thickness, composite viscosity, and how the template is vented and seated. The evidence points toward a rigid, thicker PET-G sheet (0.75–0.8 mm in the studies) for the best shape transfer, with a trade-off you should know about before you order.
Most of that evidence comes from in vitro studies, not from clinical trials, so treat it as guidance for specification rather than proof.
| Decision | What studies suggest | Watch out for |
|---|---|---|
| Template sheet | Thicker, more rigid PET-G gave lower transfer error than thin or soft sheets | Softer templates are reported to seat more easily, so rigidity costs you some convenience |
| Composite | High-viscosity paste is precise; flowable is fast but less forgiving | Flowable composite produces more flash and, in one study, more debonding |
| Venting | A perforation in the reservoir lets excess composite escape | Follow the maker's instructions before modifying a commercial template |
| Seating | Test-fit the template and aligner 1 first; keep the template dry | A wet or half-seated template causes most early failures |
What an attachment template does, and why the lab's part matters
Attachments are small composite structures bonded to the crowns to improve aligner retention and to enable movements such as rotation and extrusion. The aligner can only push on them if their shape and position match the digital plan. The template is the only thing carrying that plan from screen to enamel.
The lab makes it in four steps:
- The attachment geometry is added to the digital stage model.
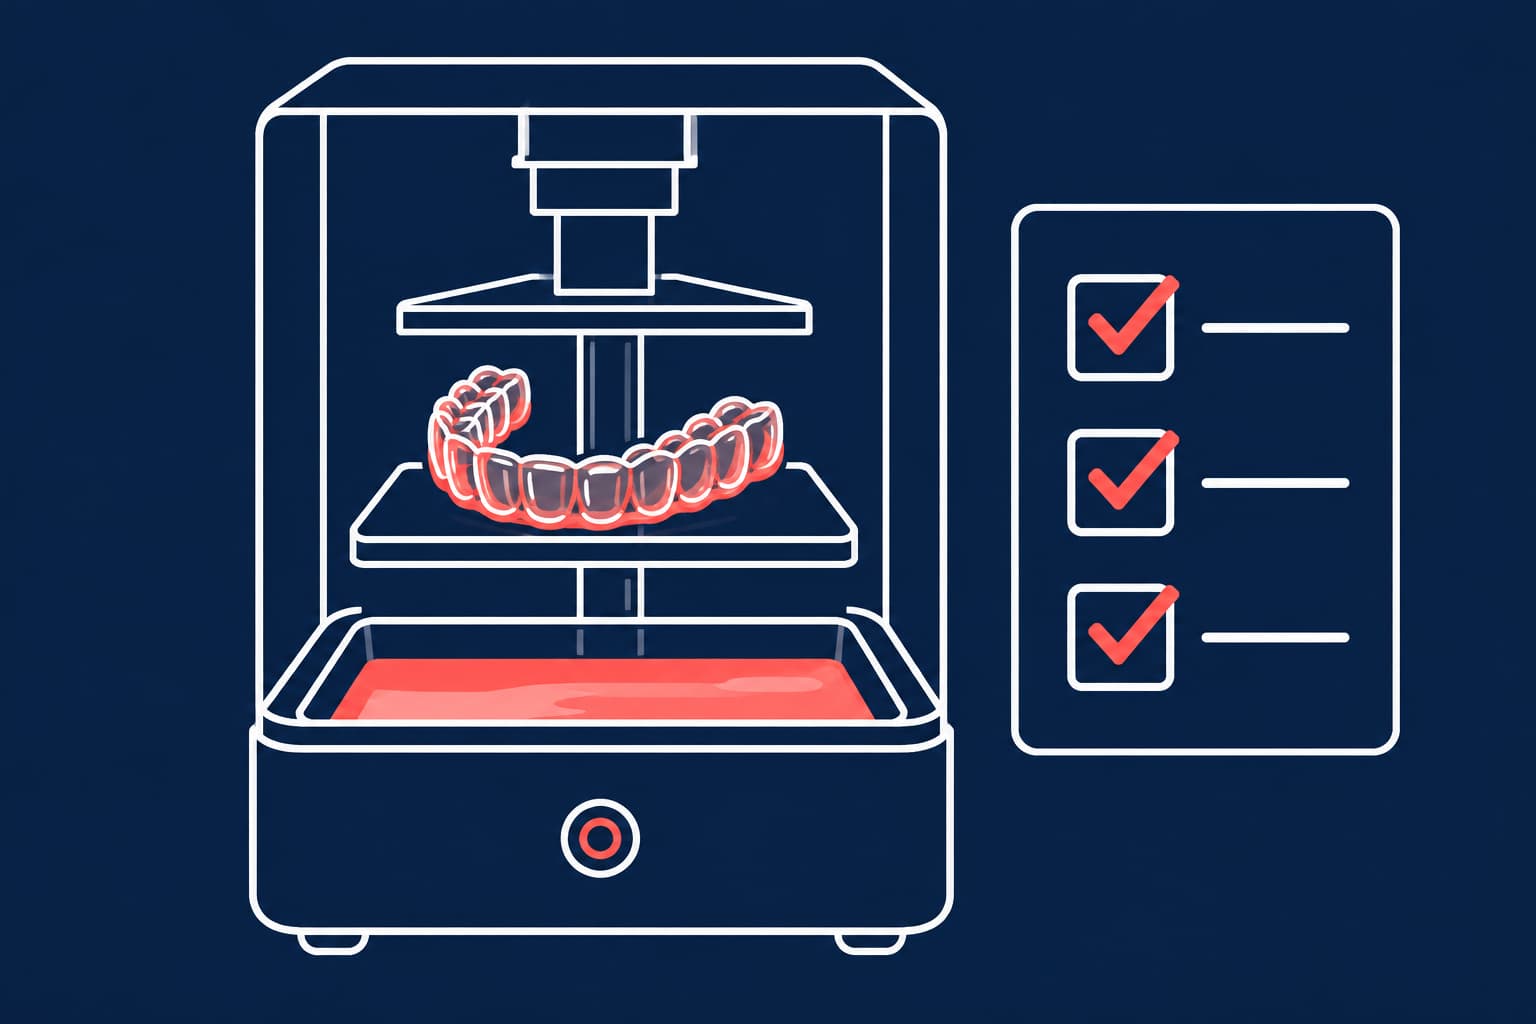
- The model is printed in resin.
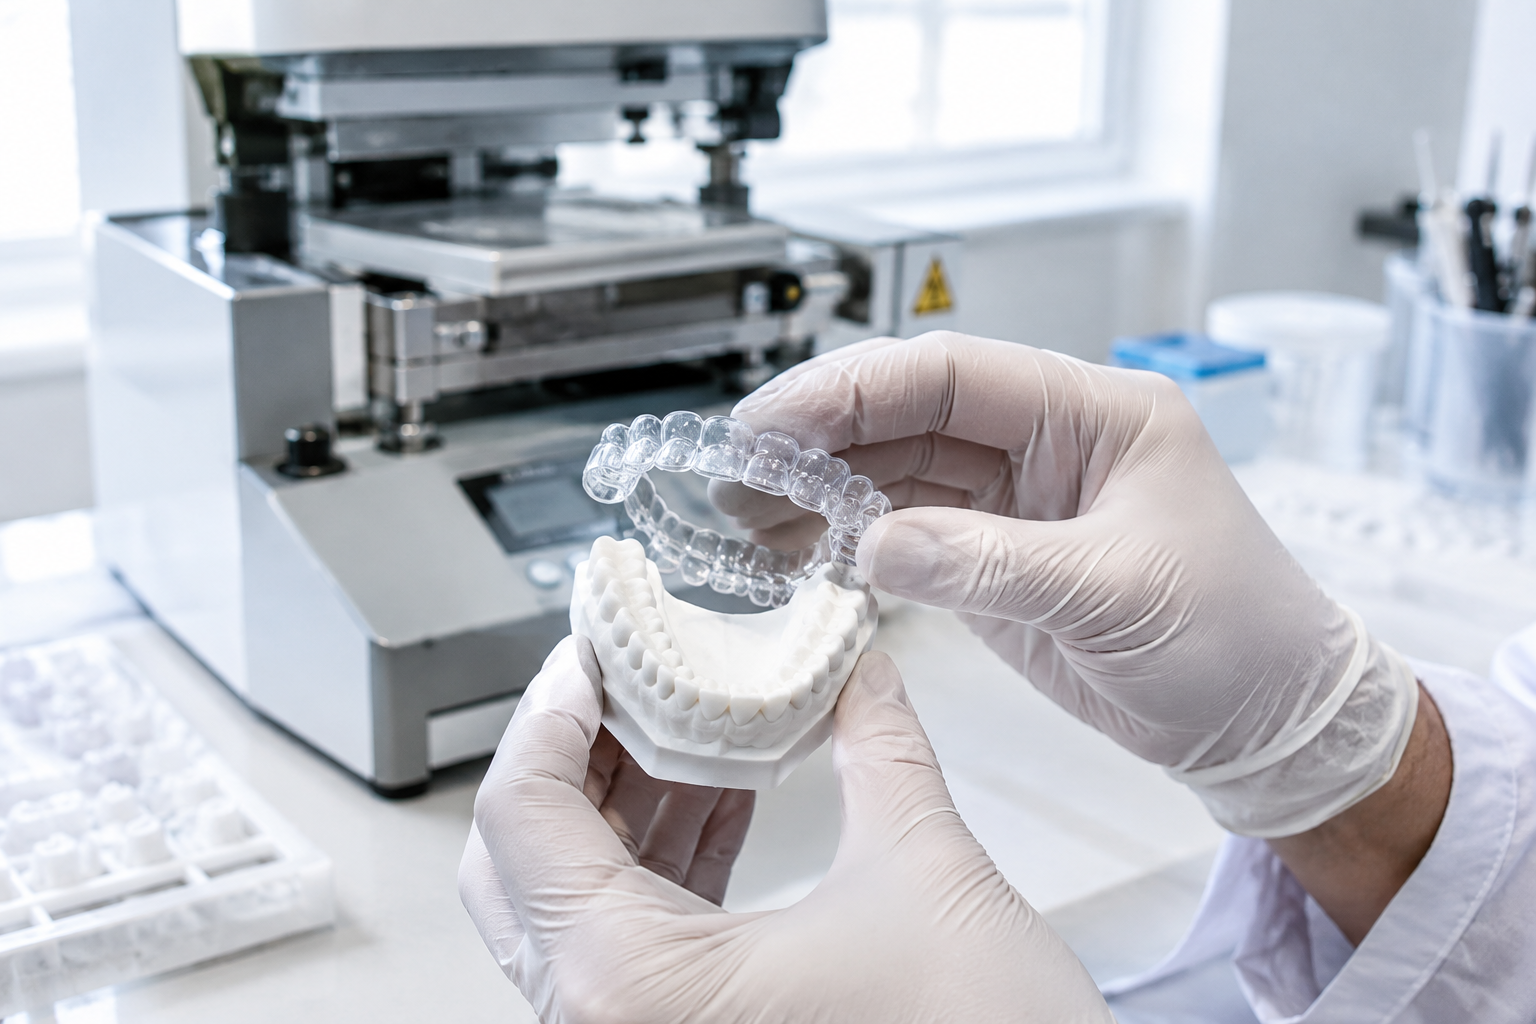
- A sheet is thermoformed over it, so the attachment bumps become hollow reservoirs.
- The tray is trimmed and sent to the clinic.
The forming step is where accuracy is won or lost. If you want the machine side first, our guide to selecting a dental thermoforming machine explains why positive-pressure units suit this work, and our overview of thermoforming in orthodontics covers the process end to end.
Which sheet material and thickness work best?
Published studies use a range of sheets, and no single standard exists:
- 0.8 mm polyethylene (Erkolen) and 0.8 mm PET-G (Erkodur) in a 2023 Materials study
- 0.76 mm trilayer PET-G in a 2025 accuracy study using Scheu Biostar forming
- 1 mm EVA and 0.5 mm PETG laminates in a 2024 laboratory study
- 0.3, 0.5, 0.75 and 0.8 mm sheets in a 2025 American Journal of Orthodontics and Dentofacial Orthopedics study
Within that spread, three findings are consistent enough to act on.
Rigidity helps accuracy. In a 2022 comparison of four template and composite combinations, a rigid template with a high-viscosity paste (Transbond XT) gave the lowest reproduction error. A soft template with the flowable Tetric EvoFlow gave the highest. The 2025 AJODO study agrees: thicker sheets generally produced lower transfer deviations, with the 0.8 mm sheet beating the 0.3 mm one. A 2023 review of the literature reached the same conclusion, that harder, thicker transfer trays transfer attachments more accurately.
PET-G beats polyethylene. In the 2023 Materials study, PET-G reproduced attachments more precisely, and pressing on the tray during curing reduced accuracy when low-viscosity composite was used. The authors recommend PET-G for that reason.
Softer is not simply worse. In the 2024 laboratory study, 0.5 mm PETG positioned anterior attachments more accurately, while 1 mm EVA gave better adaptation of the finished aligner to the attachments. A commercial troubleshooting guide from Active Aligners also reports using a template softer than the aligner because it seats more easily. You are trading shape fidelity against ease of seating and removal.
A practical note on gauge: thermoforming thins the sheet. In the 2022 study, a 2.0 mm hard/soft foil pressure-formed at 6 bar ended up 1.5 ± 0.5 mm thick, so the variation across one template can be as large as 0.5 mm. Our article on thickness loss in thermoforming explains where the thinning concentrates. For a compact comparison of the two main sheet families, see PETG vs polypropylene.
How to choose for your case
- Many attachments, tight rotations or extrusions: specify a rigid PET-G sheet in the 0.75–0.8 mm range and pair it with a high-viscosity composite.
- Template that will not seat during try-in: consider a thinner or softer sheet, accept slightly lower shape fidelity, and test-fit before the patient is in the chair.
This is our reading of the studies above, not a published protocol, so confirm it against your own aligner system's instructions.
Model preparation: the step labs sometimes rush
The template can never be better than the model underneath it. Formlabs advises keeping thermoforming models 15–20 mm tall to make removal easier, and avoiding sheets thicker than 1.5 mm, which need higher forming temperatures and longer cooling and can distort the model. Wash residual resin off the model, including the interproximal areas, before forming; our clear aligner fabrication workflow describes the IPA wash and post-processing steps.
Positive-pressure forming also matters. In one proof-of-concept study of aligner forming, positive-pressure thermoforming cut maximum deviations from 1.06 mm to 0.4 mm. Our pressure and temperature guide covers the settings, and the defect troubleshooting article helps if a formed sheet shows defects.
Composite choice and loading technique
Composite viscosity changes accuracy, excess and speed, so it deserves the same attention as the sheet.
- Accuracy: In a 2020 Journal of Orofacial Orthopedics study, high-viscosity composite in an unperforated reservoir was the least accurate protocol. Low-viscosity composite, or a two-phase procedure using high-viscosity composite, did better.
- Excess composite: For the ellipsoid attachment, the two-phase method gave a median deviation of 0.13 mm and 7.40 mm² of excess. Low-viscosity composite without a perforation also gave 0.13 mm but 33.50 mm² of excess.
- Speed: One study of five composites measured manipulation time at 1.08 minutes for flowable material against 4.57 minutes for high-viscosity material.
- Retention: An in vitro study found debonding in 31.3% of flowable attachments against 14.1% of conventional composite attachments, with more than half of the failures at first aligner removal.
The two-phase method is worth asking about if you want precision with little excess. The sources we reviewed did not give a step-by-step version, so follow your composite manufacturer's guidance.
Loading technique matters as much as the material. Fill each reservoir slightly over the brim and pack it firmly, because trapped air leaves voids with sharp edges that irritate the cheek and stop the aligner from engaging. Dry the template thoroughly first: a slightly wet template weakens the bond. If you prefill templates ahead of time, store them away from ambient light, for instance in an orange-tinted case.
Chairside protocol, and where it goes wrong
Protocols vary between manufacturers, so check yours. The studies and guides we reviewed share this skeleton:
- Try in the template and aligner 1 before touching enamel. The template must seat fully without rocking.
- Isolate and polish the teeth, then etch the enamel. Published protocols use 30–35% phosphoric acid for 30 seconds, then rinse and dry until the surface looks frosted.
- Apply bonding agent and cure it as the manufacturer directs.
- Load and seat the template, then press gently around each attachment without moving the tray.
- Cure through the template. Reported times range from 10 to 20 seconds per attachment, so follow the composite's instructions and your lamp's output.
- Remove the template, starting posteriorly, then remove flash and inspect for voids, cracks or bubbles.
Three failures account for most re-work:
- Flash. Excess composite around the perimeter can stop the aligner from seating fully. An in vitro study found that flash was associated with greater unintended lingual force and less predictable intended force. One clinical monitoring guide suggests drilling a small hole of about 0.75 mm in the centre of a template reservoir so excess composite is expressed through it. On commercial templates, follow the maker's instructions before cutting anything.
- Template not seating. If the template rocks or the first aligner binds, stop and resolve the cause before bonding. The same guide advises improving the quality of the initial records, since a distorted scan or impression is a common root cause.
- Debonding. The usual causes are moisture contamination, a wet template or a moving template during cure. Flowable composite also raised debonding in the study above.
Finish the surface carefully. An in vitro study found that the method used to remove excess composite significantly changes surface roughness and microbial colonisation.
When this advice does not apply
The sheet recommendations come from in vitro models with 3D-printed teeth, not from patients' mouths. They do not cover polypropylene sheets, because the research we found did not compare polypropylene with PETG or EVA for transfer accuracy. Some aligner systems supply their own templates and require specific composites, in which case the manufacturer's protocol overrides everything here. The 2025 AJODO study also found that 3D-printed attachments had the highest geometric accuracy, so thermoformed templates are not the only route to precision.
Your next template order
Before your next case, decide three things: sheet type and gauge, composite viscosity, and whether the reservoirs get a vent. Write them on the lab prescription so the result is repeatable. Nordicdens is an orthodontic lab in Tallinn serving clinics across the Nordics and the Baltics, with thermoforming, aligner and digital planning services. Send the lab your STL files and attachment design, and ask whether a rigid or soft template suits the case.