Precision Post-Processing for Biocompatible Orthodontic 3D Prints

The clinical success of a 3D-printed orthodontic appliance is determined long after the printer platform stops moving. While the printing stage captures the intricate geometry of a patient's anatomy, the post-processing workflow – washing, drying, and curing – dictates the final biocompatibility and dimensional accuracy of the device. Deviating from a validated workflow introduces significant risk, potentially resulting in appliances with residual cytotoxic monomers or a compromised fit. At NordicDens, we treat post-processing as the most critical stage of medical device manufacturing, ensuring every part is safe for intraoral use.
The Invisible Threat of Residual Monomers
A common objection to integrating 3D printing into the clinic is the perceived risk of chemical leaching. This concern is valid because biocompatibility is not an inherent property of the resin itself; it is a result of a correctly executed manufacturing process. When resin is light-cured during the printing phase, the polymerization remains incomplete. The resulting "green" part contains unreacted monomers that are inherently cytotoxic.
Without rigorous washing and controlled secondary UV curing, these monomers remain mobile and can pose a safety risk to the patient. Adhering to a proper processing sequence ensures that biocompatible materials meet ISO 10993 standards for sensitization and irritation. By fully converting these monomers into a stable polymer network, you transform a chemical hazard into a safe, clinical tool.
Validated Washing Protocols for Surface Integrity
The primary objective of washing is to remove all liquid, uncured resin from the surface of the appliance without degrading the underlying polymer matrix. This requires a disciplined approach to solvent management and timing.
- Solvent Selection: You should use ≥99% Isopropyl Alcohol (IPA) or high-grade ethanol. Lower concentrations or contaminated solvents leave a sticky residue that interferes with the final cure and compromises surface quality.
- Two-Stage Washing: Implementing a "dirty" wash followed by a "clean" wash is essential. The first stage removes the bulk of the liquid resin, while the second ensures no film remains, preventing the formation of a tacky surface.
- Timed Agitation: Limit washing to the duration specified in the manufacturer’s Instructions for Use (IFU), typically between three to five minutes. Over-washing can lead to solvent absorption, which often causes dimensional deviation and undesirable surface softening.
- Mechanical Removal: For complex geometries such as Rapid Palatal Expanders (RPEs) or direct-printed aligners, using soft brushes or ultrasonic cleaners helps reach recessed interproximal areas that solvent alone might not clear.
Secondary Curing and Polymerization Standards
Post-curing is the stage where the appliance achieves its final mechanical properties and clinical safety profile. This step uses high-intensity UV light and, frequently, controlled heat to complete the chemical cross-linking of the polymer.
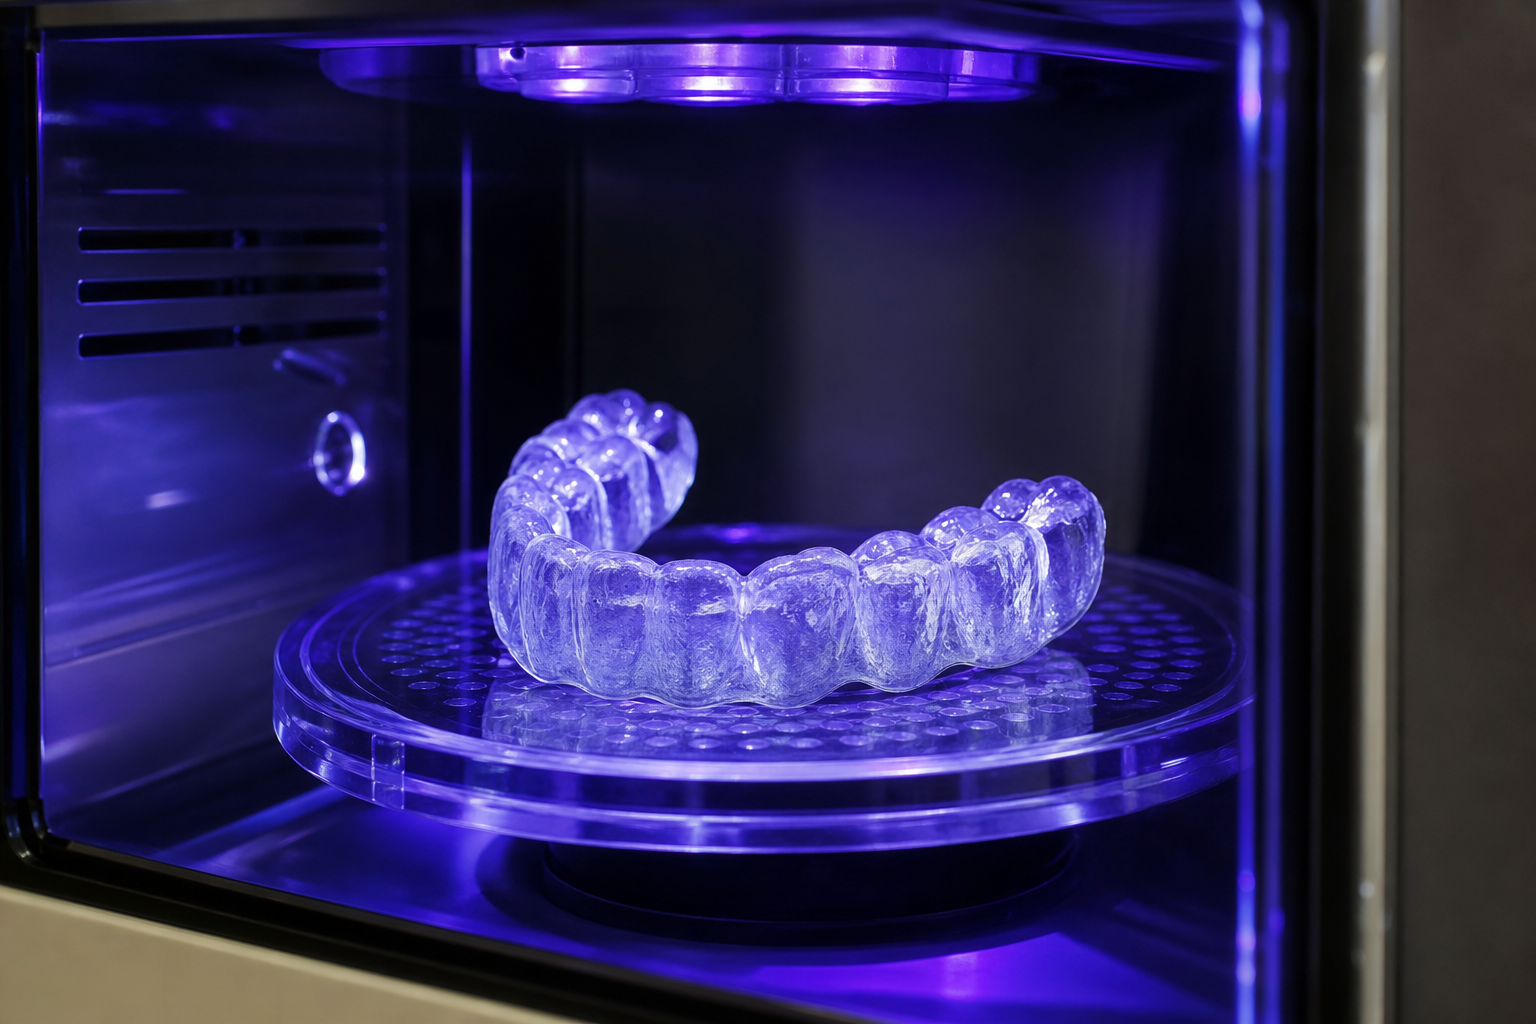
- Wavelength Matching: Your curing unit must specifically match the photoinitiators used in the resin. Using generic UV lamps instead of validated units often leads to under-curing, leaving the appliance brittle or chemically unstable.
- Oxygen Inhibition: High-performance resins, such as those used for direct-print appliances, benefit from curing in a nitrogen-purged environment. Oxygen can inhibit the curing of the surface layer, which might leave it slightly under-polymerized and less resistant to wear.
- Thermal Control: Precise temperature regulation during the curing cycle prevents warping. This thermal stability ensures that the entire digital workflow maintains the high level of accuracy captured by the initial intraoral scan.
Finishing Techniques for Patient Comfort
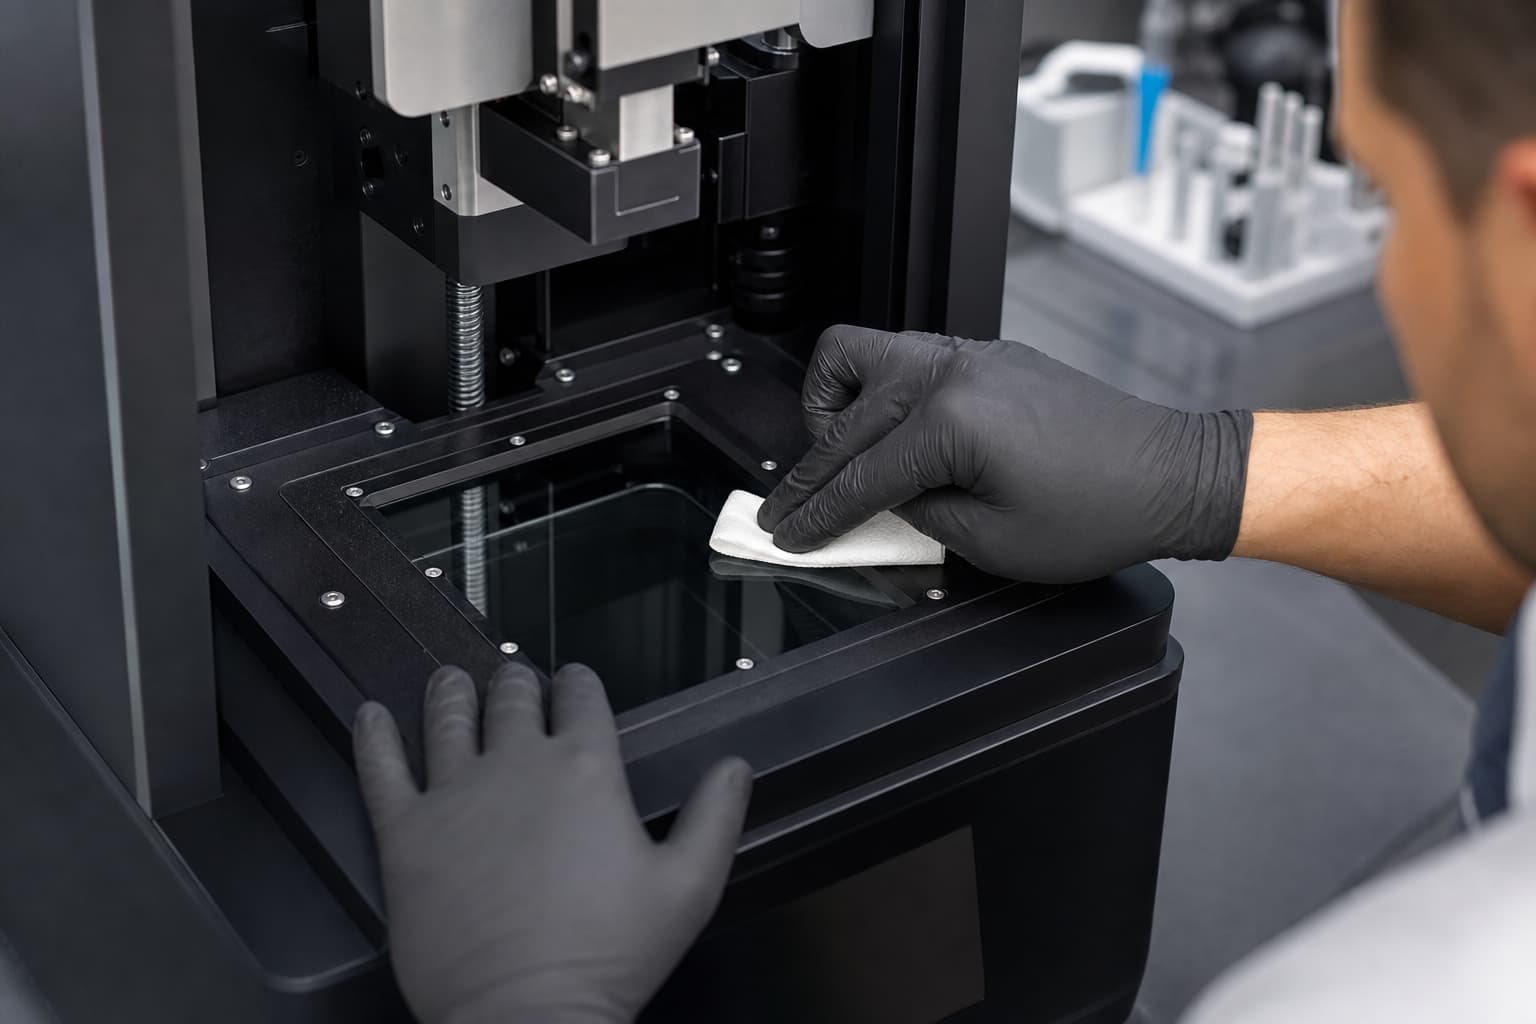
Once the appliance is fully cured and chemically safe, it requires mechanical finishing to ensure patient comfort and hygiene. This process involves careful support removal and surface polishing to prevent plaque accumulation.
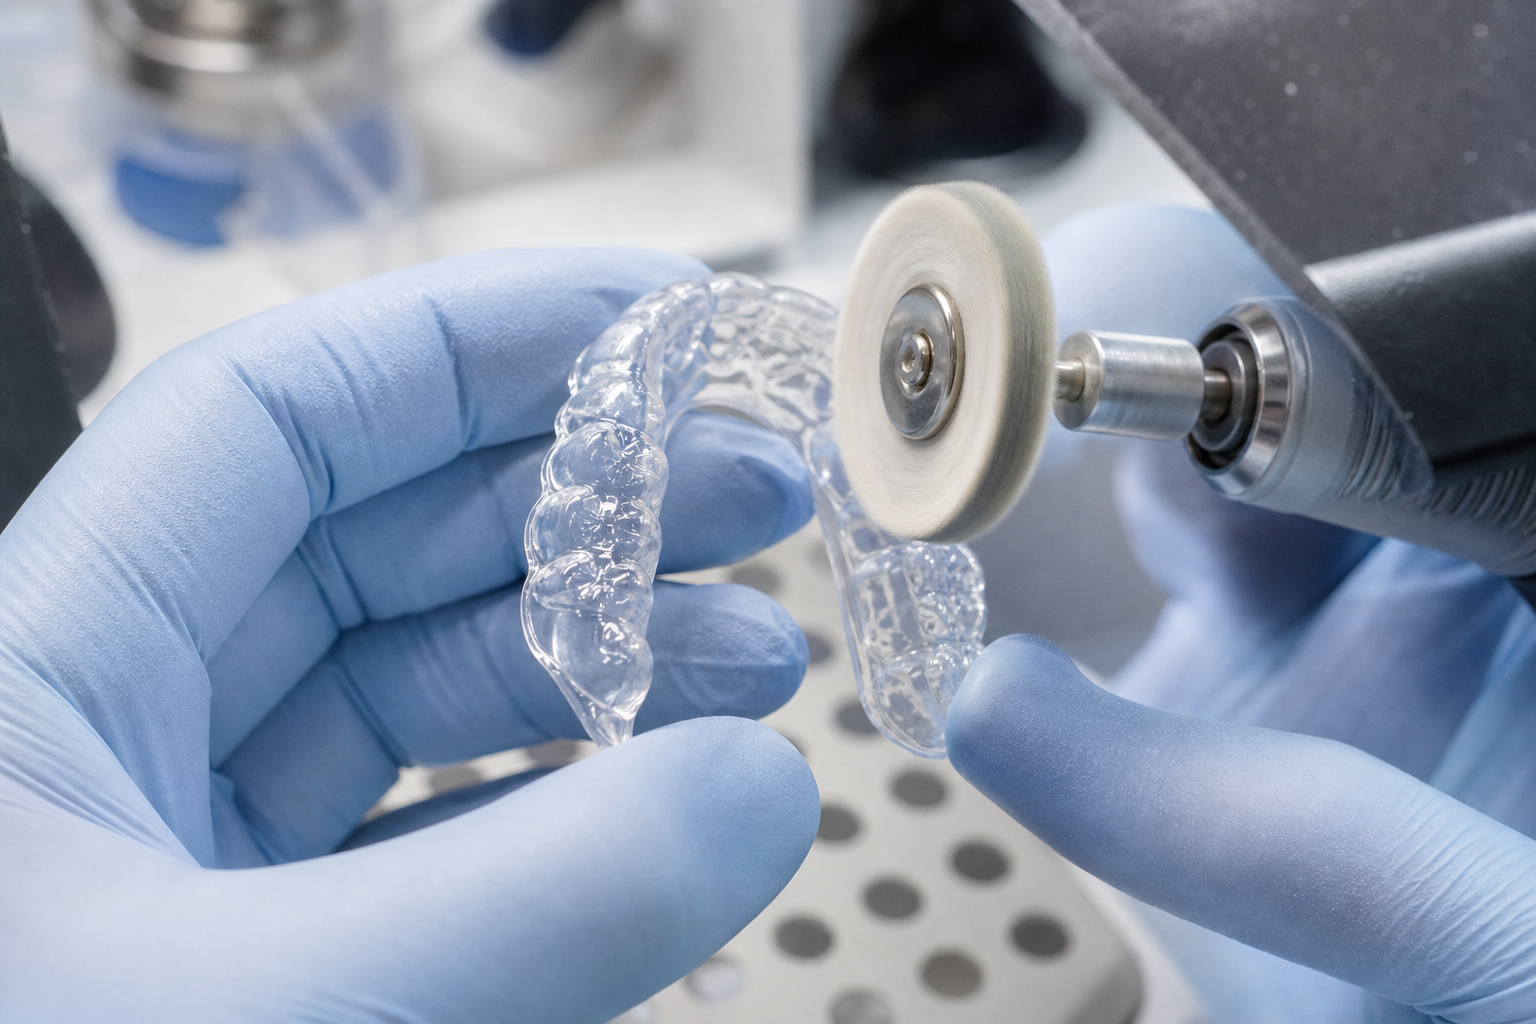
- Support Removal: Use flush cutters or fine burs to remove support structures. It is generally safer to remove these after the initial wash but before the final cure to minimize the risk of micro-fractures in the fully hardened material.
- Surface Smoothing: Use tungsten carbide burs at low RPM to smooth support attachment points, ensuring the appliance contours match the digital design exactly.
- Polishing: For appliances such as retainers or splints, traditional laboratory polishing wheels with pumice or specialized resin compounds should be used to achieve a high-gloss finish. A smooth surface is critical for long-term comfort and reducing bacterial adhesion.
Achieving Predictability with Professional Validation
Maintaining a consistent post-processing workflow requires calibrated equipment and strict adherence to orthodontic lab quality control protocols. While in-office printing offers rapid turnaround, the technical burden of validating every wash and cure cycle can be significant for a busy clinical team.
By partnering with a specialized laboratory, you ensure that every appliance – from a simple working model to a complex direct-printed device – undergoes a validated manufacturing sequence. This professional oversight guarantees both a predictable fit and absolute biocompatibility for your patients.
Ready to integrate precision-printed appliances into your clinic? Explore our range of 3D-printed orthodontic solutions and see how our validated production workflow can improve your clinical outcomes.
NordicDens is a modern orthodontic laboratory in Tallinn, Estonia, serving clinics across the Nordics and Europe with precision appliances and digital workflows.