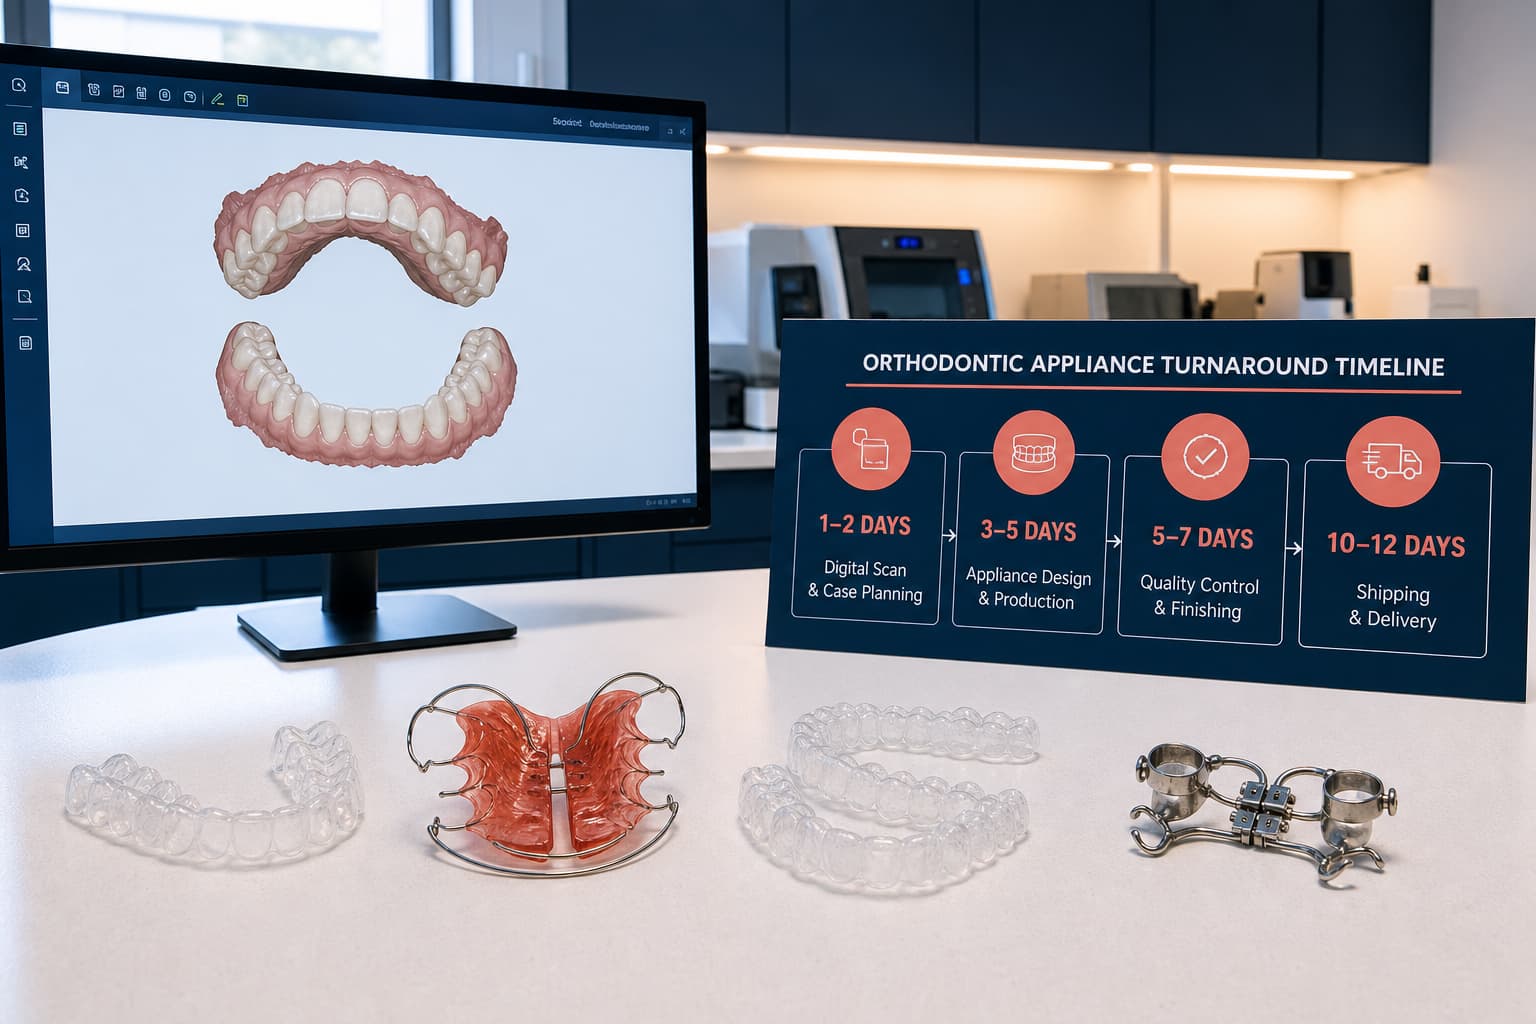
Custom-fitted mouthguards are a clinical necessity for patients with fixed appliances, as standard "boil-and-bite" options often interfere with active tooth movement and risk damaging brackets upon removal. To ensure maximum protection and appliance integrity, you must utilize a workflow that accounts for the dynamic architecture of the arch while maintaining at least 3 mm of occlusal thickness for adequate impact absorption. While the fabrication of these devices requires more clinical time than stock alternatives, the reduction in soft-tissue lacerations and bracket debonding justifies the investment for any athletic patient.
Clinical Data Acquisition: Scans and Impressions
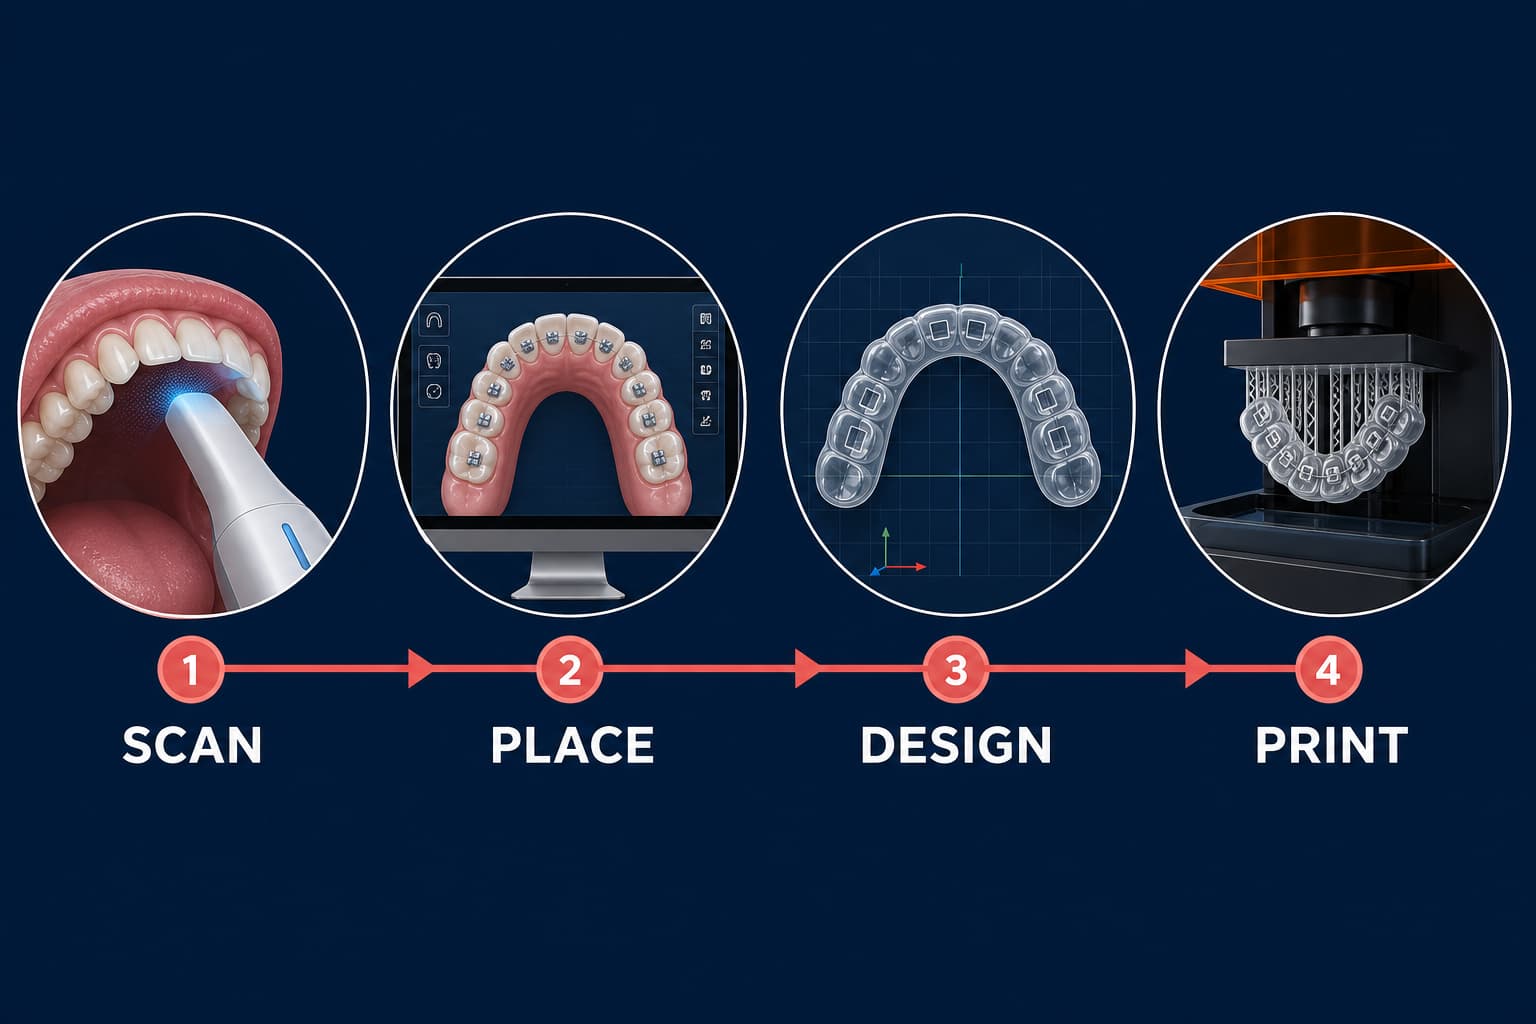
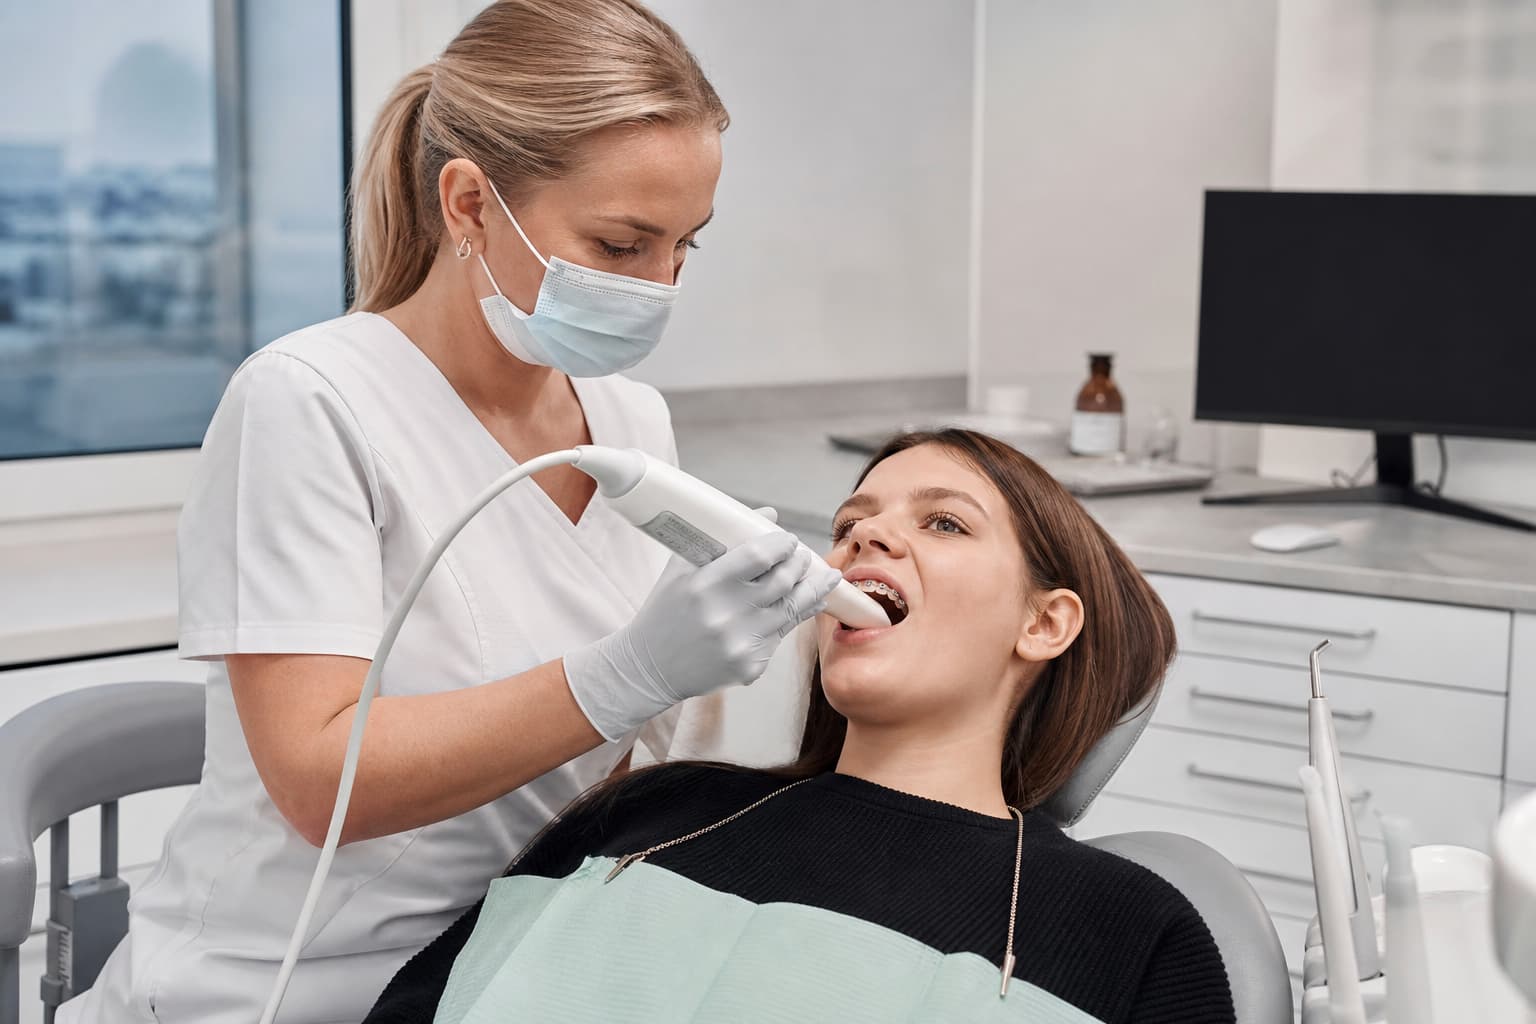
The fabrication process begins with a high-fidelity record of the patient’s dentition and hardware. While traditional alginate impressions remain a fallback, the digital workflow from intraoral scan to appliance offers a significantly more comfortable experience for the patient and provides superior dimensional stability.
When capturing these records, you should focus on the following parameters:
- The scan or impression must capture the full depth of the vestibule, ideally extending within 2 mm of the vestibular reflection to ensure a stable labial flange.
- All bonded attachments, auxiliaries, and archwires must be clearly defined to allow for precise laboratory relief.
- If you are utilizing physical materials, you must remove the tray with extreme care to avoid distorting the archwire or inadvertently debonding brackets.
Transitioning to digital impressions versus physical impressions allows your clinic to bypass the risks of material tearing around complex orthodontic hardware, ensuring that the lab receives a "watertight" mesh for production.
Laboratory Technical Workflow
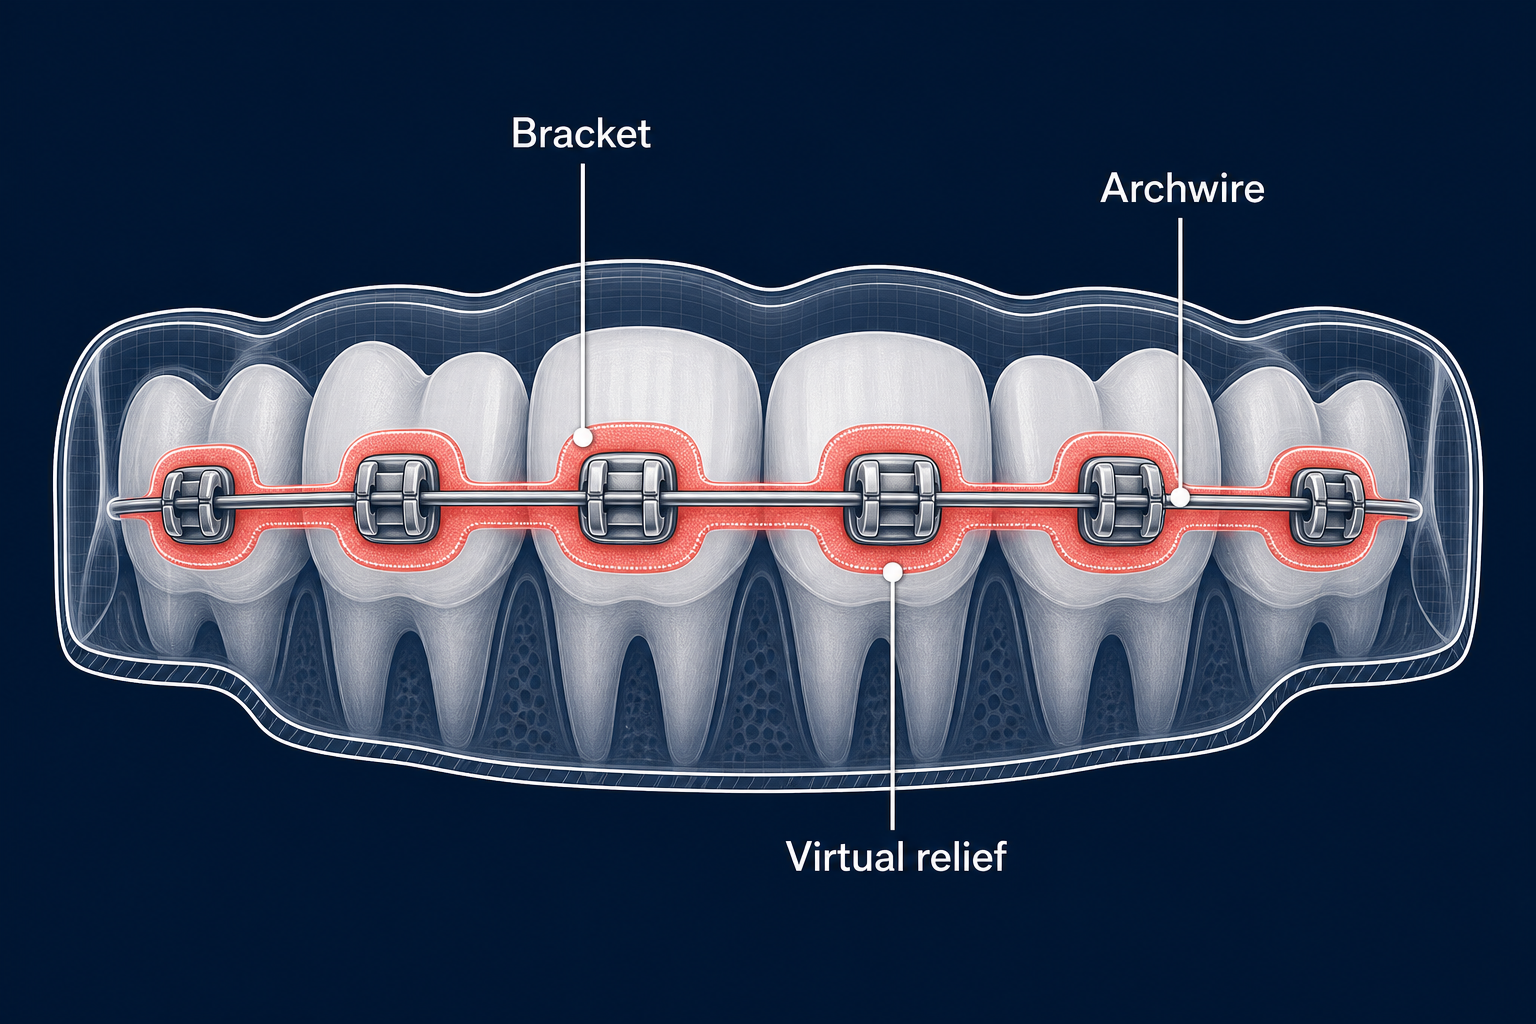
Once the STL files or physical models reach the lab, the technician must prepare a "relief" or "block-out" to accommodate the braces. This step is what distinguishes a professional orthodontic guard from a standard sports guard.
The Block-Out Phase
The most critical step in orthodontic mouthguard production is creating a void for the brackets. In a traditional laboratory setting, utility wax or a 1 mm relief material is applied manually over the brackets and wires. In a digital environment, this is achieved by adding a virtual offset to the mesh before 3D printing the working model. This creates a protective shell that does not mechanically lock onto the orthodontic hardware, preventing the guard from pulling on the braces during insertion or removal.
Incorporating Tooth Movement
You must inform the laboratory of any planned orthodontic movements or growth expectations. Technicians can then build additional space into the mouthguard design – often referred to as "prospective relief" – to allow for dental migration during the competitive season. Without this foresight, the mouthguard may become excessively tight or unwearable within weeks as the treatment progresses.
Material Selection and Thermoforming
Ethyl-vinyl-acetate (EVA) remains the industry standard for protective guards due to its resilience and energy-absorption properties. The technical execution during the heating phase determines the final protective value of the device.
- A 5 mm triple-layered sheet is typically recommended for contact sports.
- During the thermoforming process, the material typically thins to approximately 3 to 4 mm on the occlusal surfaces.
- For superior adaptation and fit, positive-pressure machines are preferred over vacuum units, as they ensure the material adapts closely to the blocked-out model.
- Clinicians should be aware that thermoforming material thickness varies across the arch, with the material often stretching most over the anterior teeth – the very area most vulnerable to impact.
Finishing and Clinical Delivery
After the thermoforming process is complete, the guard is trimmed to ensure patient comfort and safety. The labial flange should extend high into the vestibule with rounded edges to prevent soft-tissue irritation. The palatal edge is typically tapered and should extend approximately 10 mm above the gingival margin to provide stability without interfering with the gag reflex.
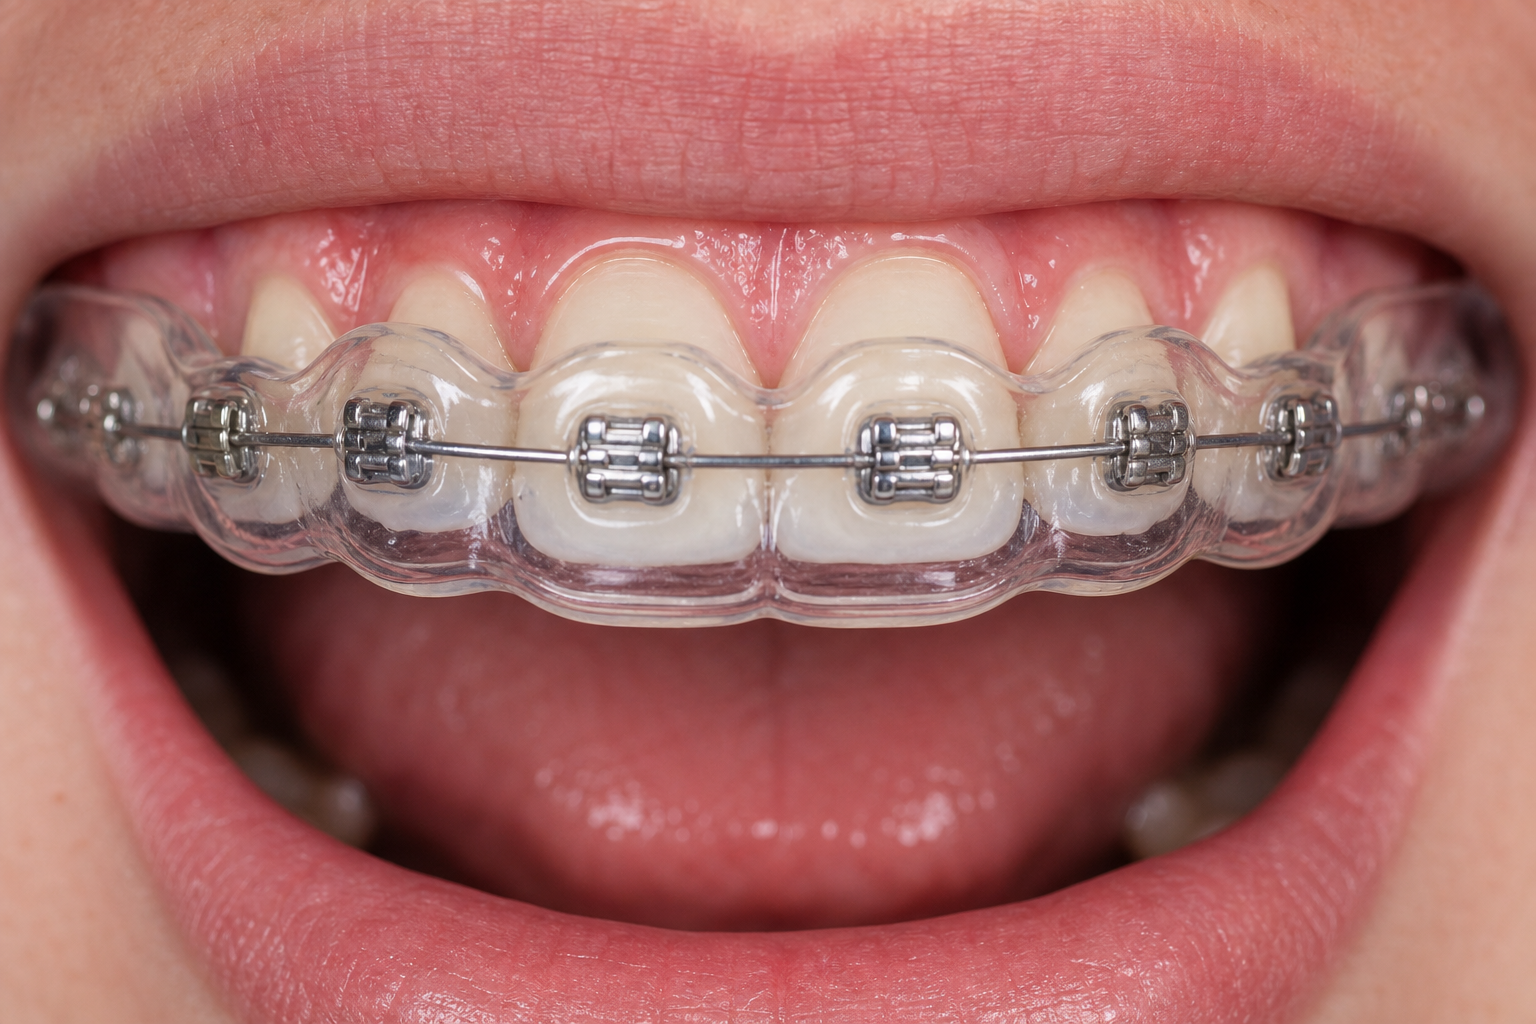
At the delivery appointment, you should verify the following:
- The guard should remain securely in place during speech and mouth opening but be easily removable without tension on the braces.
- You must ensure even occlusal contact throughout the guard to prevent TMJ strain or localized pressure on specific teeth.
- If the patient reports pressure on a specific bracket, localized heat-relief or minor trimming may be necessary to resolve the interference.
Maintenance and Long-Term Protection
Because orthodontic treatment is a dynamic process, the fit of the mouthguard must be reassessed at every adjustment appointment. Significant tooth movement can render an initially well-fitting guard ineffective or uncomfortable. In such cases, the guard may require internal modification or a complete replacement to maintain its protective function.
Modern production methods, similar to those pioneered in clear aligner fabrication, have paved the way for more precise and reproducible mouthguard manufacturing. By combining digital precision with orthodontic expertise, you can provide your athletic patients with the protection they need without compromising their treatment progress.
Ready to streamline your clinic's appliance production? Partner with NordicDens today to leverage our advanced 3D-printing and thermoforming workflows for your custom sports guards and orthodontic appliances.