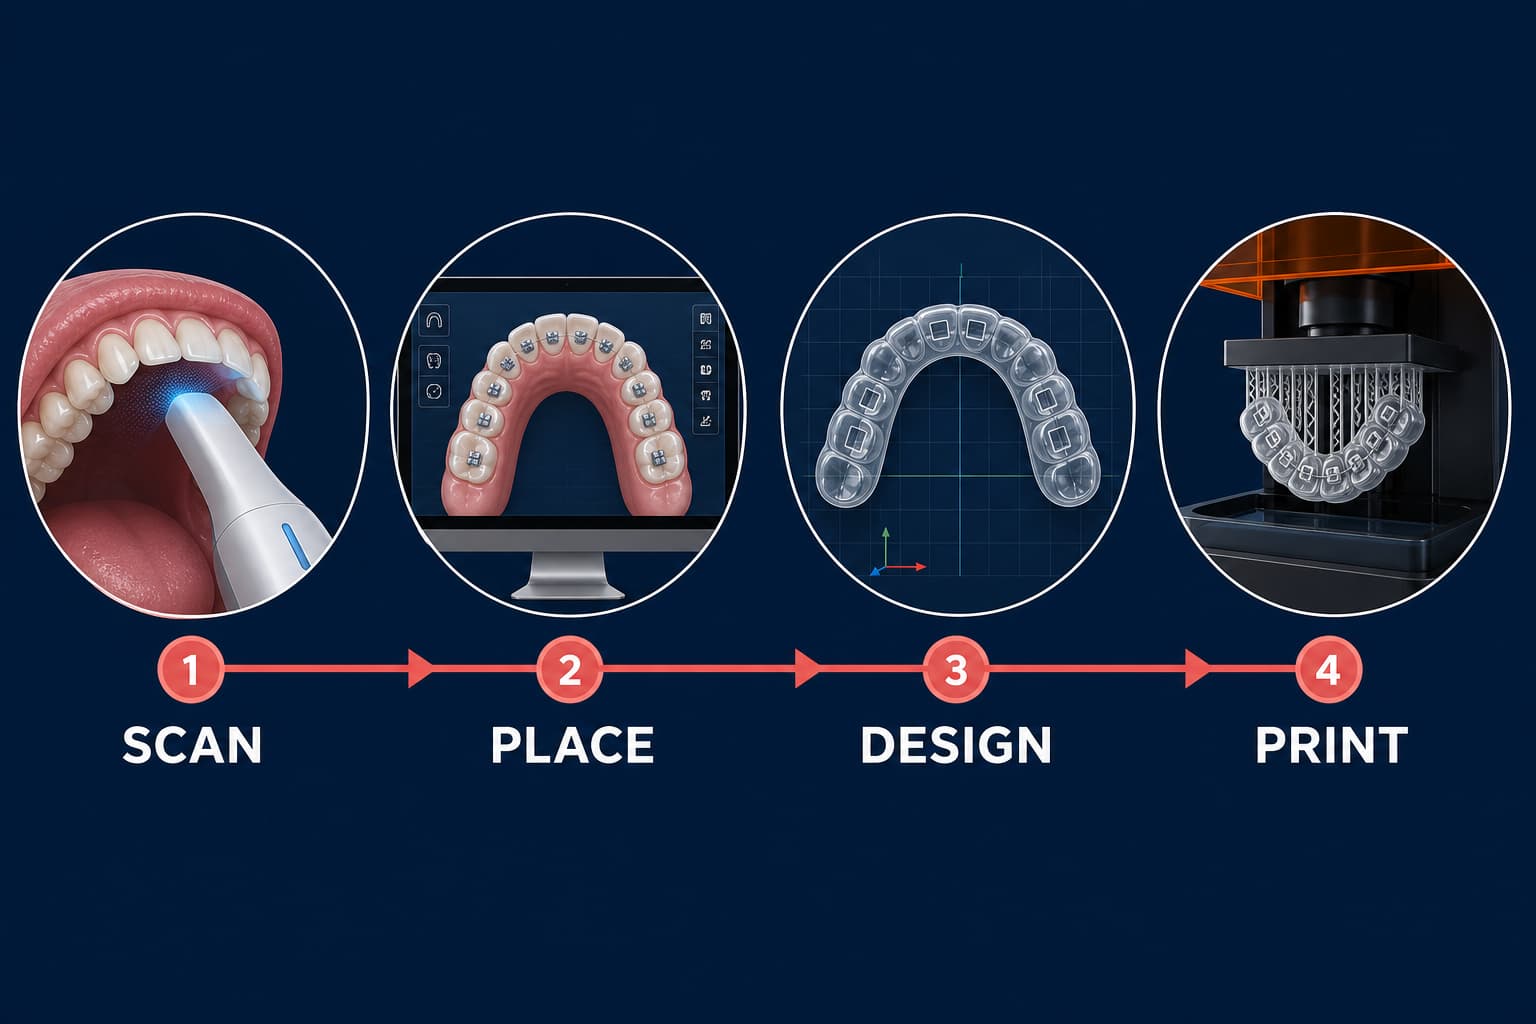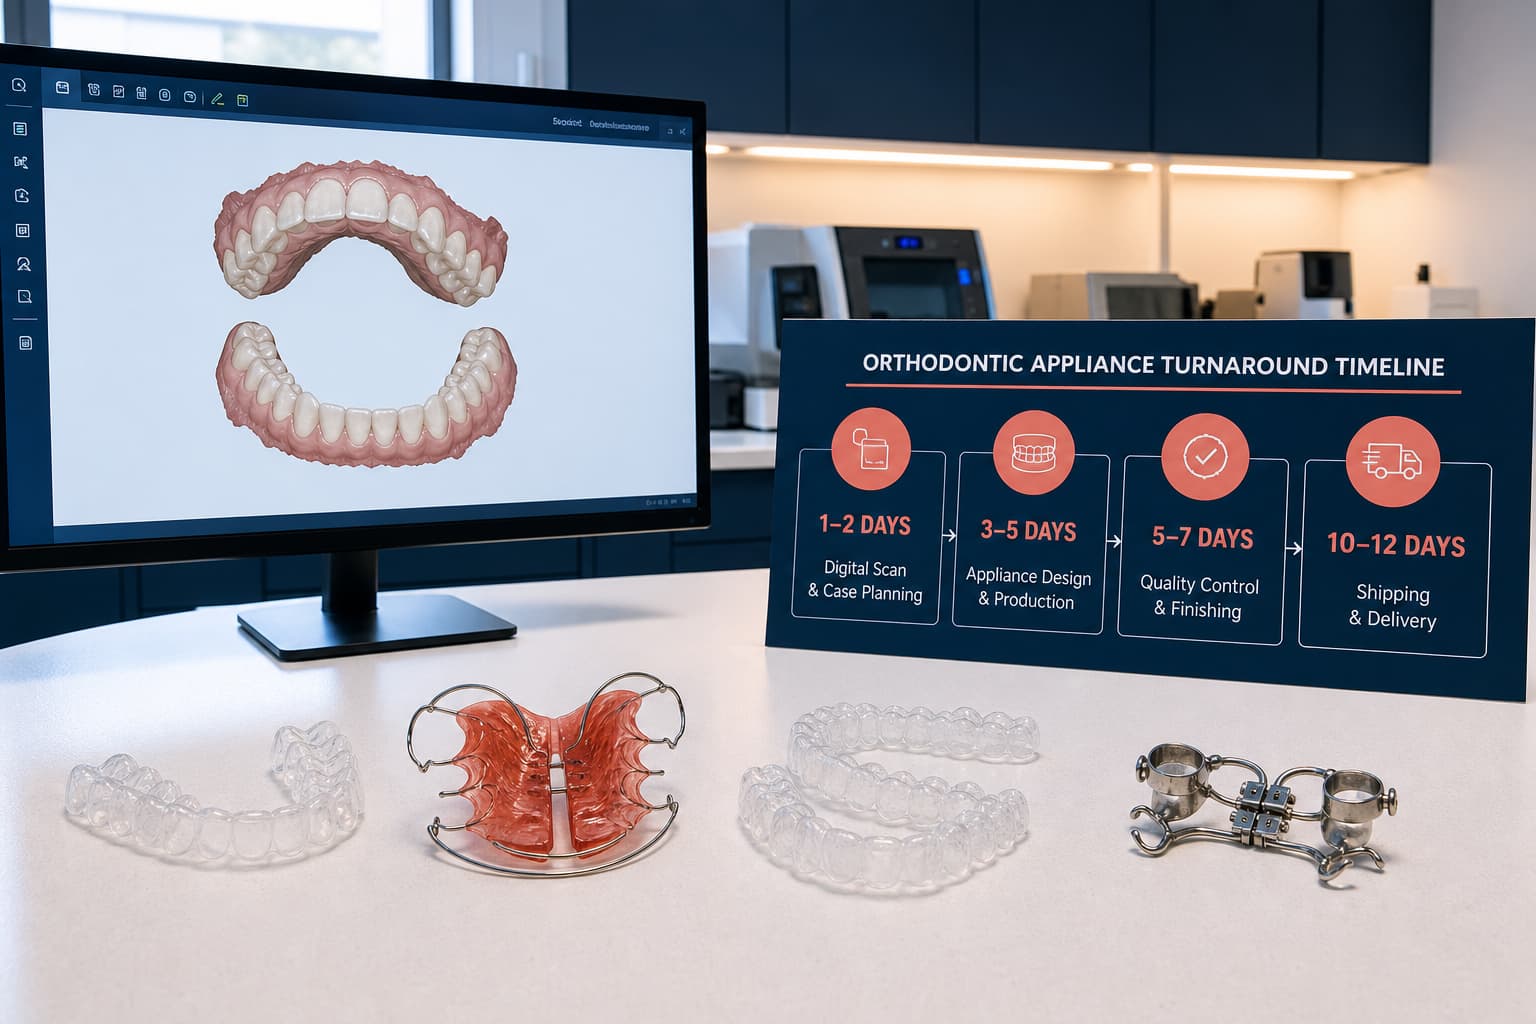
Precision in digital orthodontics is a mechanical variable, not just a digital one. While your intraoral scans may be flawless, the physical appliance only matches the digital file if you maintain your 3D printer within strict tolerances. For most orthodontic applications, maintaining a dimensional tolerance within ±0.25 mm for individual teeth is the benchmark for a predictable fit. A single smudge on the optical window or a slightly worn resin tank can compromise this accuracy, leading to costly chairside adjustments or complete remakes.
Preventing production downtime requires a proactive maintenance protocol that targets the three pillars of additive manufacturing: the optical path, resin integrity, and mechanical calibration.
The Daily Maintenance Routine
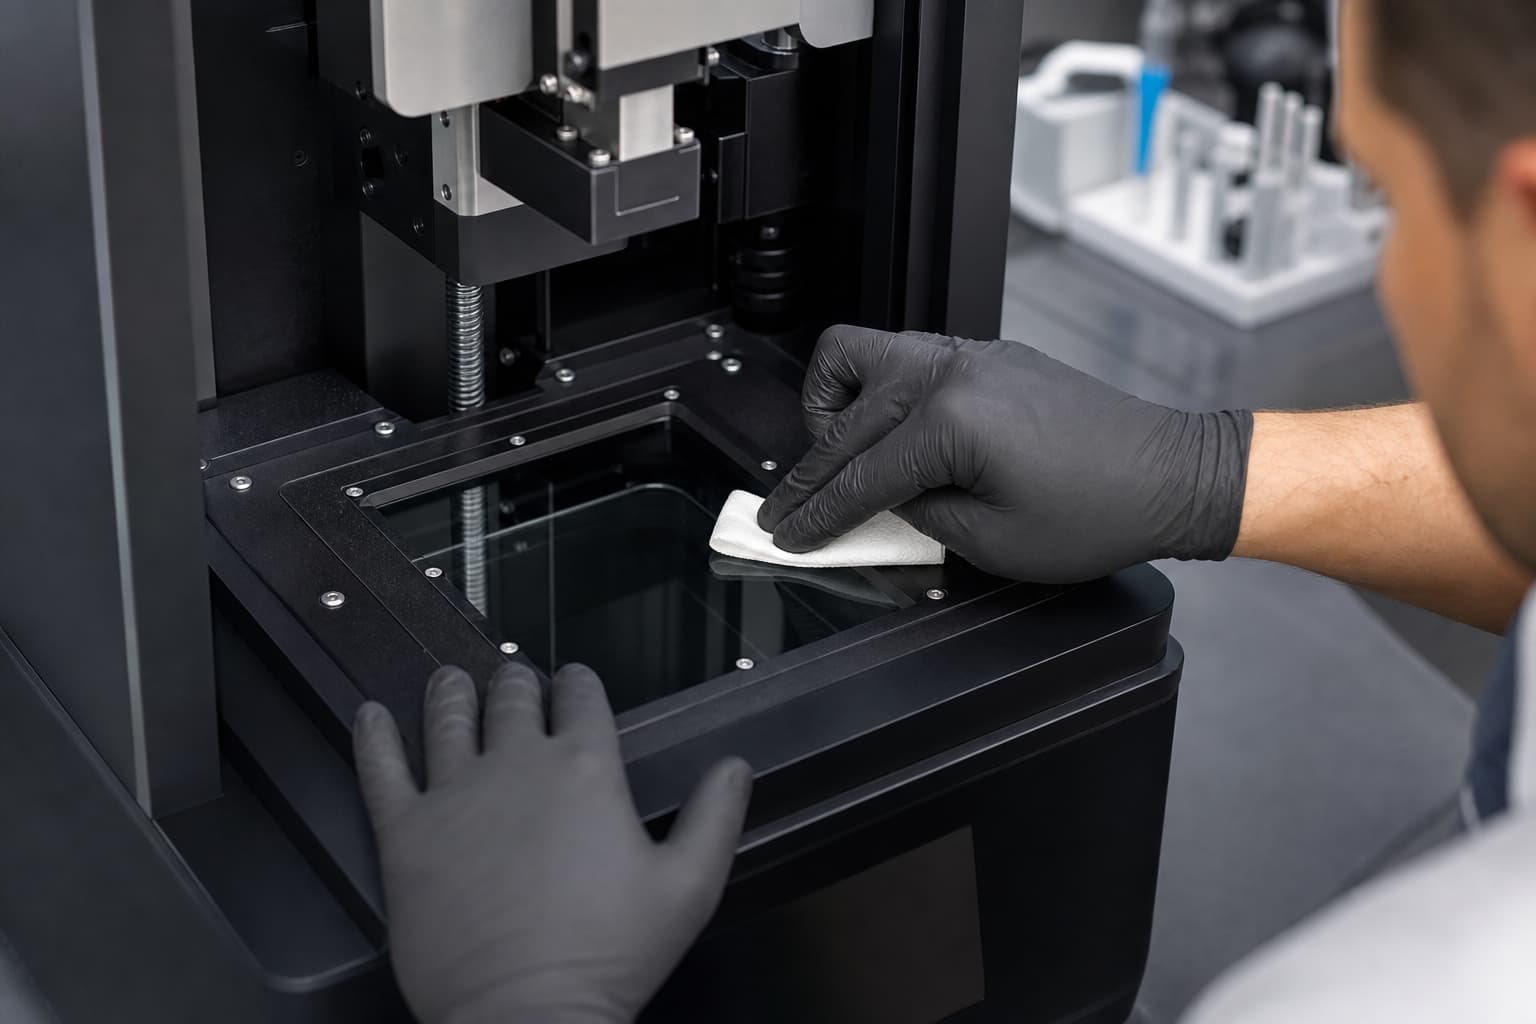
The most frequent cause of print failure is contamination within the optical path. For DLP and SLA printers, any obstruction between the light source and the resin results in under-cured layers or "ghosting" on the appliance surface. You must treat the printer's optics with the same care as a high-end intraoral scanner lens.
- Inspect the Optical Window: Before every print, use a rubber bulb blower or a dry photographic wipe to remove dust from the projector glass or LPU window. If resin has dripped onto the glass, apply a small amount of high-purity isopropyl alcohol and wipe in slow, straight strokes to avoid streaking.
- Clear the Build Platform: Ensure the build surface is completely free of cured resin or tackiness. Use a metal scraper for hardened debris and follow up with a lint-free cloth soaked in alcohol. Even a microscopic layer of old resin can prevent the first layer of a new print from adhering correctly, causing the job to fail in the first ten minutes.
- Stir the Resin: Resin components settle over time. Use a soft silicone spatula to stir the resin in the tank, ensuring the mixture is homogenous. This is also your opportunity to check for "pancakes" or cured debris stuck to the bottom film that could damage the printer during the next cycle.
Resin Management and Tank Longevity
Orthodontic 3D printing materials are highly specialized. Resins used for direct-printed aligners or surgical guides require specific temperature and light exposure parameters to maintain their biocompatibility and shape-memory effects. Neglecting material handling directly translates to clinical failure.
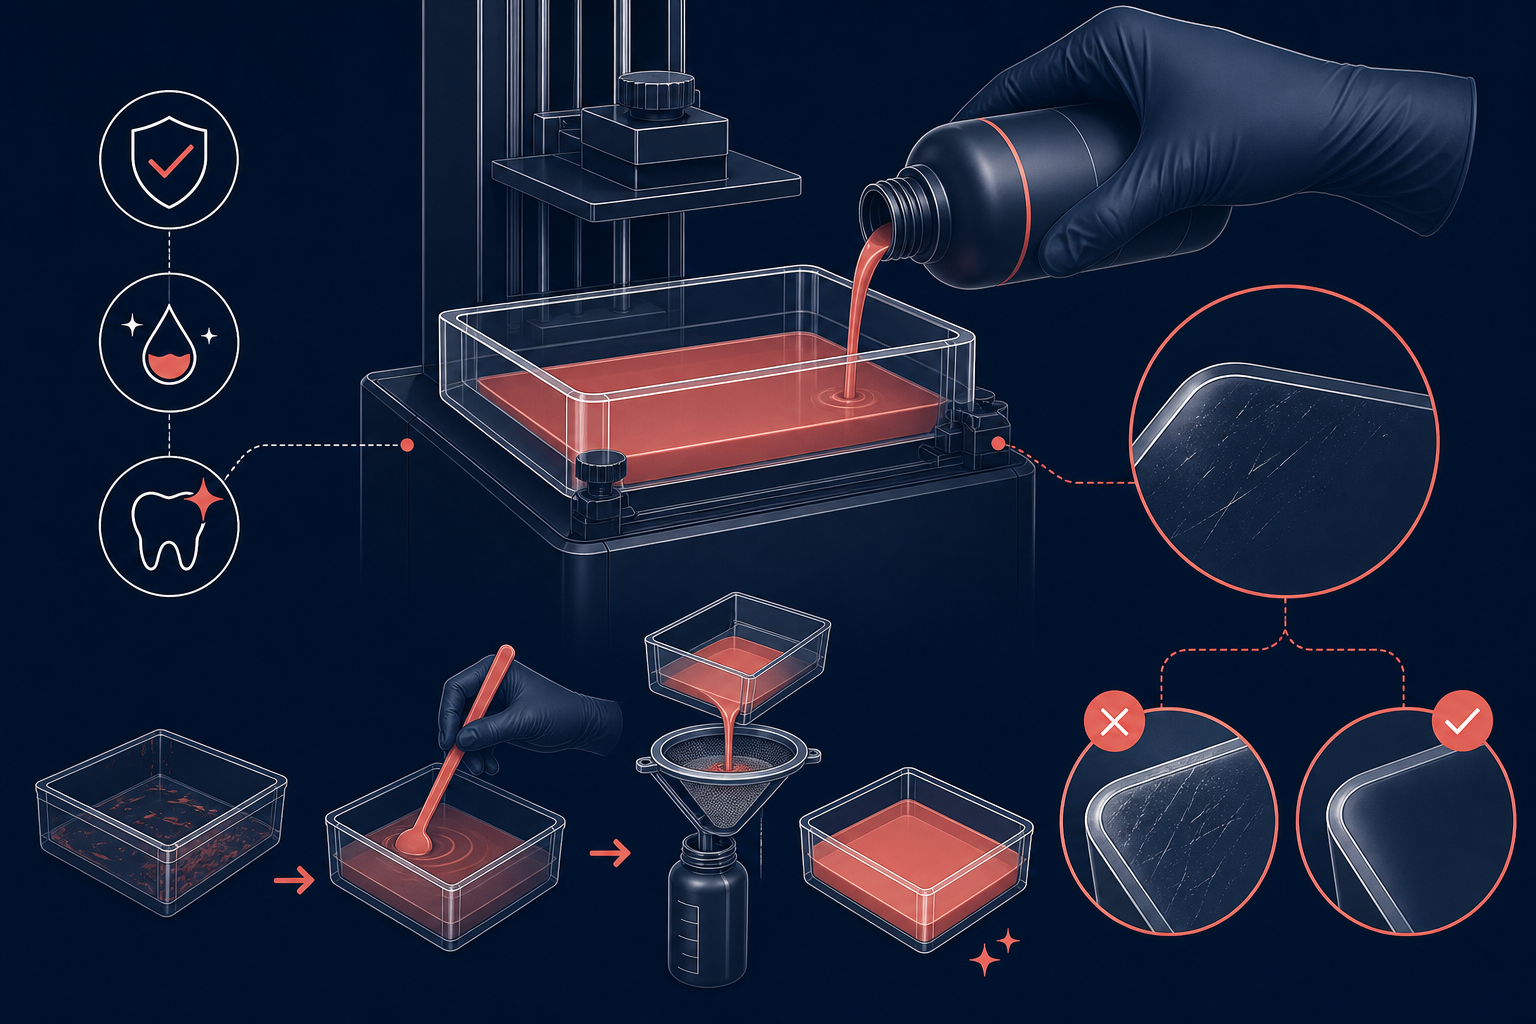
- Validate the Resin Profile: Always confirm that your software's selected resin profile matches the material physically in the tank. Incorrect exposure settings are a leading cause of dimensional deviations and failed polymer conversion.
- Filter After Failures: If a print fails to adhere to the platform, you must filter the remaining resin through a fine mesh of approximately 190 microns. Undetected cured fragments floating in the resin will cause subsequent prints to fail or, in the worst-case scenario, puncture the resin tank film during the build cycle.
- Monitor Tank Wear: Resin tanks are consumables, not permanent fixtures. Inspect the film regularly for "hazing," wrinkles, or scratches. In orthodontic 3D printer accuracy tests, worn tanks are often responsible for vertical dimension deviations, such as inconsistent canine heights on shell models.
Troubleshooting Common Production Failures
When production halts, systematic troubleshooting prevents the frustration of repetitive failed builds. You should approach hardware errors by isolating the digital file from the mechanical process.
Adhesion Issues
If a print does not adhere to the platform, it is usually caused by an unlevel build plate or a contaminated optical path. If the hardware is clean, review your digital workflow from scan to appliance to ensure the STL files are watertight. Gaps in the mesh or "holes" in the CAD model can prevent the slicer from generating a proper first layer, leading to a total build failure.
Visible Layer Lines and Distortions
Visible lines often indicate a mechanical obstruction on the Z-axis lead screw. Clean the screw with a lint-free cloth to remove old grease and debris, then apply a fresh layer of lithium grease. Additionally, ensure you place your printer on a stable, level surface away from direct natural light, which can cause premature curing and surface artifacts.
Persistent Dimensional Errors
If your appliances are consistently too tight or too loose, your printer may require recalibration. Regular validation using a known calibration file is essential. Research indicates that DLP technology typically maintains 98% of measurements within the required ±0.25 mm threshold, but only when the system is calibrated to the specific shrinkage characteristics of the resin being used.
Post-Processing and Appliance Quality
Maintenance does not end when the printer finishes its cycle. The final clinical properties of the device depend heavily on 3D printing post-processing. Validated washing and curing units must be maintained with the same rigor as the printer itself.
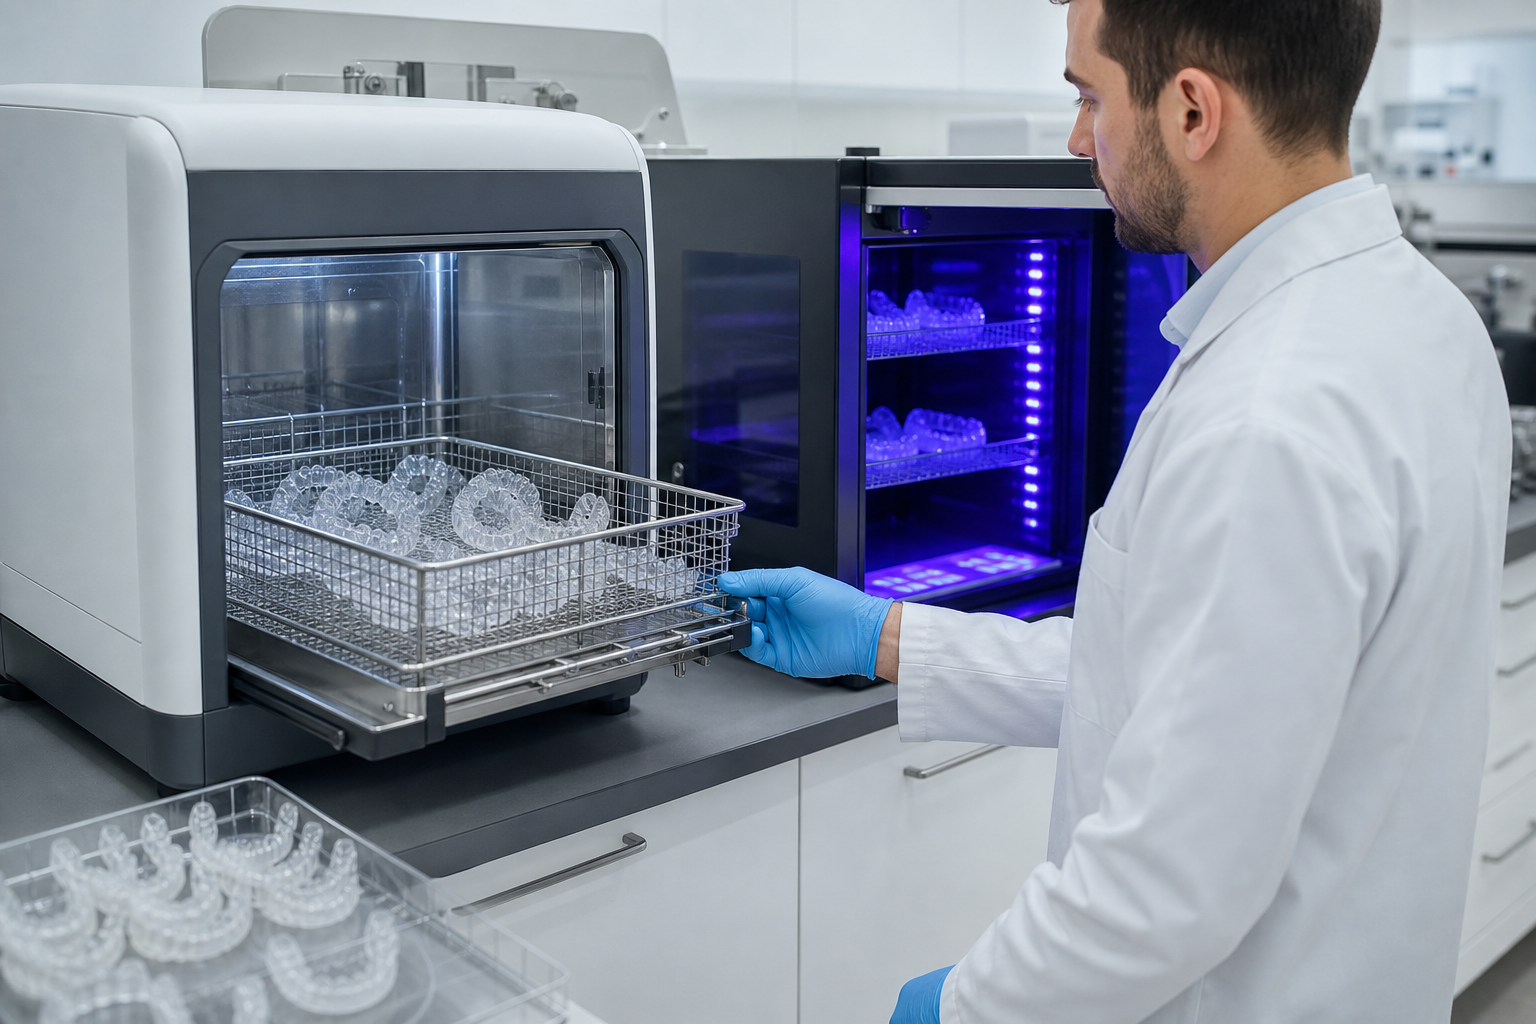
Contaminated alcohol in the wash station leaves a sticky monomer residue that compromises the fit and safety of the appliance. Similarly, the UV bulbs in your curing unit have a finite lifespan. Once they degrade, direct 3D-printed orthodontic appliances may not achieve their full mechanical strength, leading to premature breakage or leaching of reactive monomers into the oral environment.
Shifting the Technical Burden
Maintaining a fleet of 3D printers and ensuring constant accuracy requires significant time and technical expertise. For many clinics, the orthodontic 3D printing cost – including labor, equipment depreciation, and the risk of failed prints – makes in-house production less efficient than outsourcing.
By partnering with a specialized laboratory like NordicDens, you move the responsibility of calibration, resin chemistry management, and hardware maintenance to experts. This ensures that every appliance is an exact physical manifestation of your digital treatment plan without the overhead and frustration of printer downtime.
Ensure your clinic maintains peak precision without the maintenance burden.
If you are facing persistent printing errors or want to streamline your digital workflow, contact our lab team today to discuss how our validated manufacturing processes can support your clinical goals.