Build orientation and support placement directly dictate whether your 3D-printed orthodontic appliances maintain the required ±0.25 mm clinical tolerance, require excessive manual finishing, or fail entirely on the build platform. Positioning digital meshes at a 30° to 60° incline balances surface fidelity with peel force mitigation, while keeping support touchpoints strictly off intaglio and functional surfaces prevents fitting discrepancies.
Admittedly, printing models flat at 0° minimizes total Z-height and delivers the fastest single-part cycle times, whereas stacking parts vertically at 90° maximizes throughput for high-volume production. However, these boundary orientations introduce severe cross-sectional suction forces or lateral instability unless your support geometry is meticulously engineered.
How Build Orientation Impacts Accuracy and Surface Quality
The inclination angle of a digital mesh relative to the build plate governs how UV light cures each layer and how mechanical peel forces act upon the part during platform elevation. Managing these physical variables requires evaluating distinct trade-offs between speed, surface roughness, and volumetric stability.
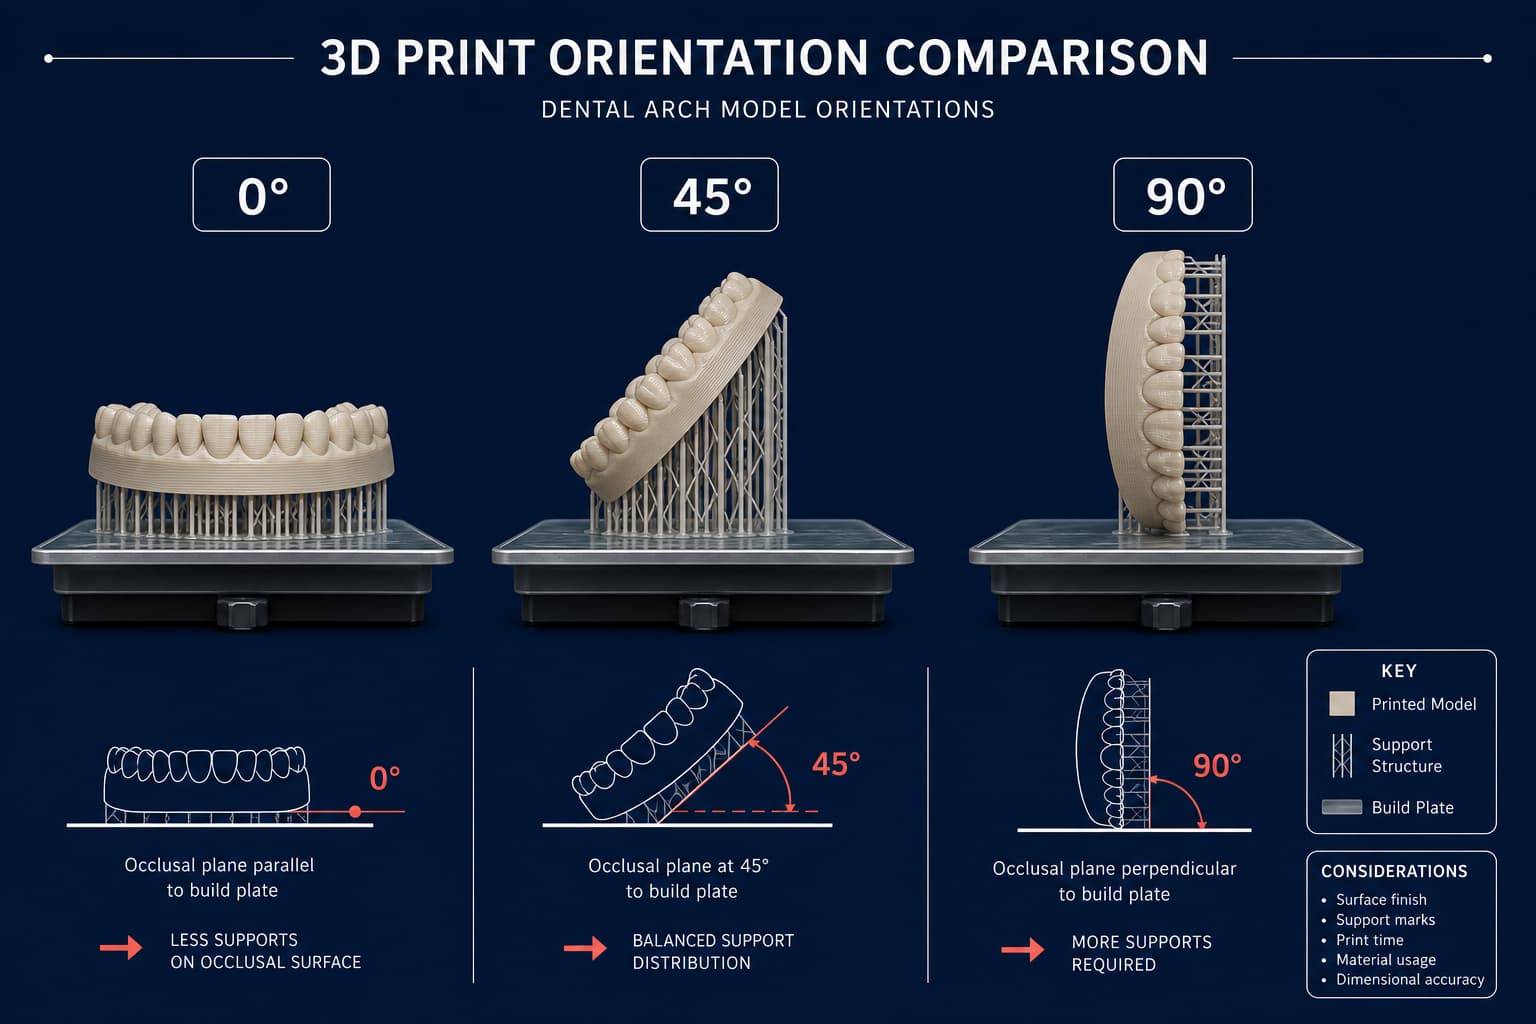
Horizontal Orientation (0°)
Positioning models flat against the platform minimizes total build height, offering the briefest print duration for single-part runs. This setup creates smooth occlusal surfaces because print layers run parallel to cusp tips. However, flat printing maximizes the surface area cured per layer, generating intense suction stress against the vat membrane during release cycles. On SLA and DLP systems, 0° orientation frequently causes vertical height compression and base distortion, compromising baseline orthodontic 3D printer accuracy.
Angled Orientation (30° to 60°)
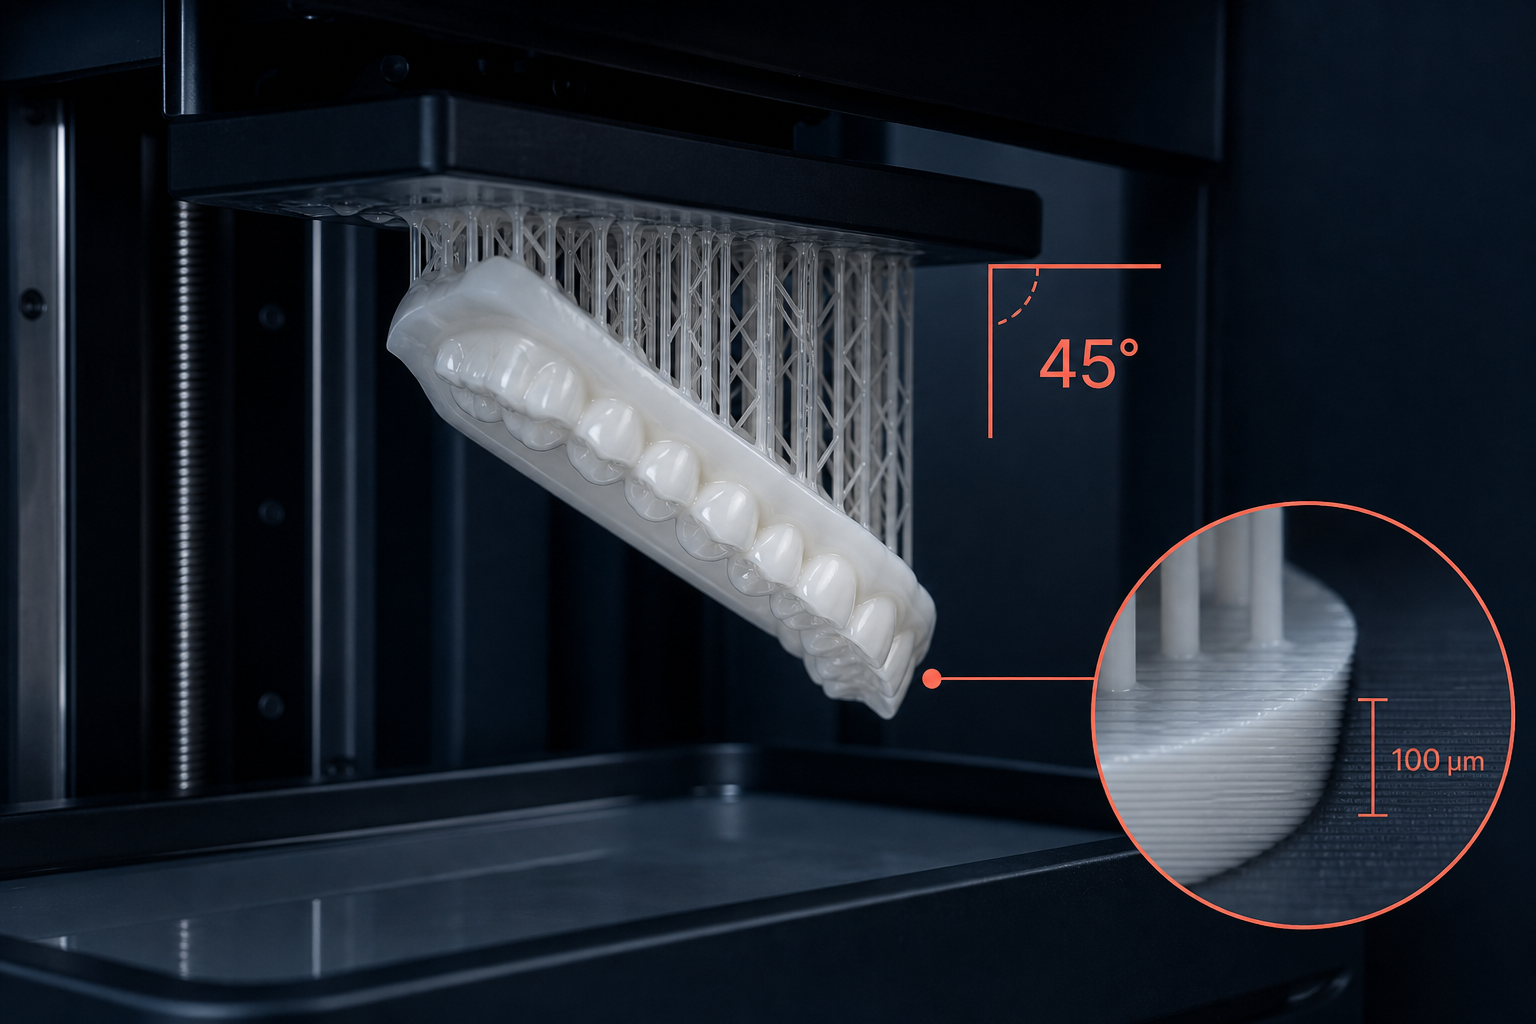
Angling models between 30° and 60° reduces the surface area exposed per layer cycle, substantially lowering mechanical peel stress. This incline balances dimensional stability with surface smoothness, mitigating the Z-axis distortion common in flat prints. While angled printing introduces subtle stair-stepping along rounded anatomical slopes, maintaining layer thickness between 50 µm and 100 µm keeps these micro-step deviations well within clinical limits. For most working arches, an angled setup delivers the optimal compromise between accuracy and surface quality.
Vertical Orientation (70° to 90°)
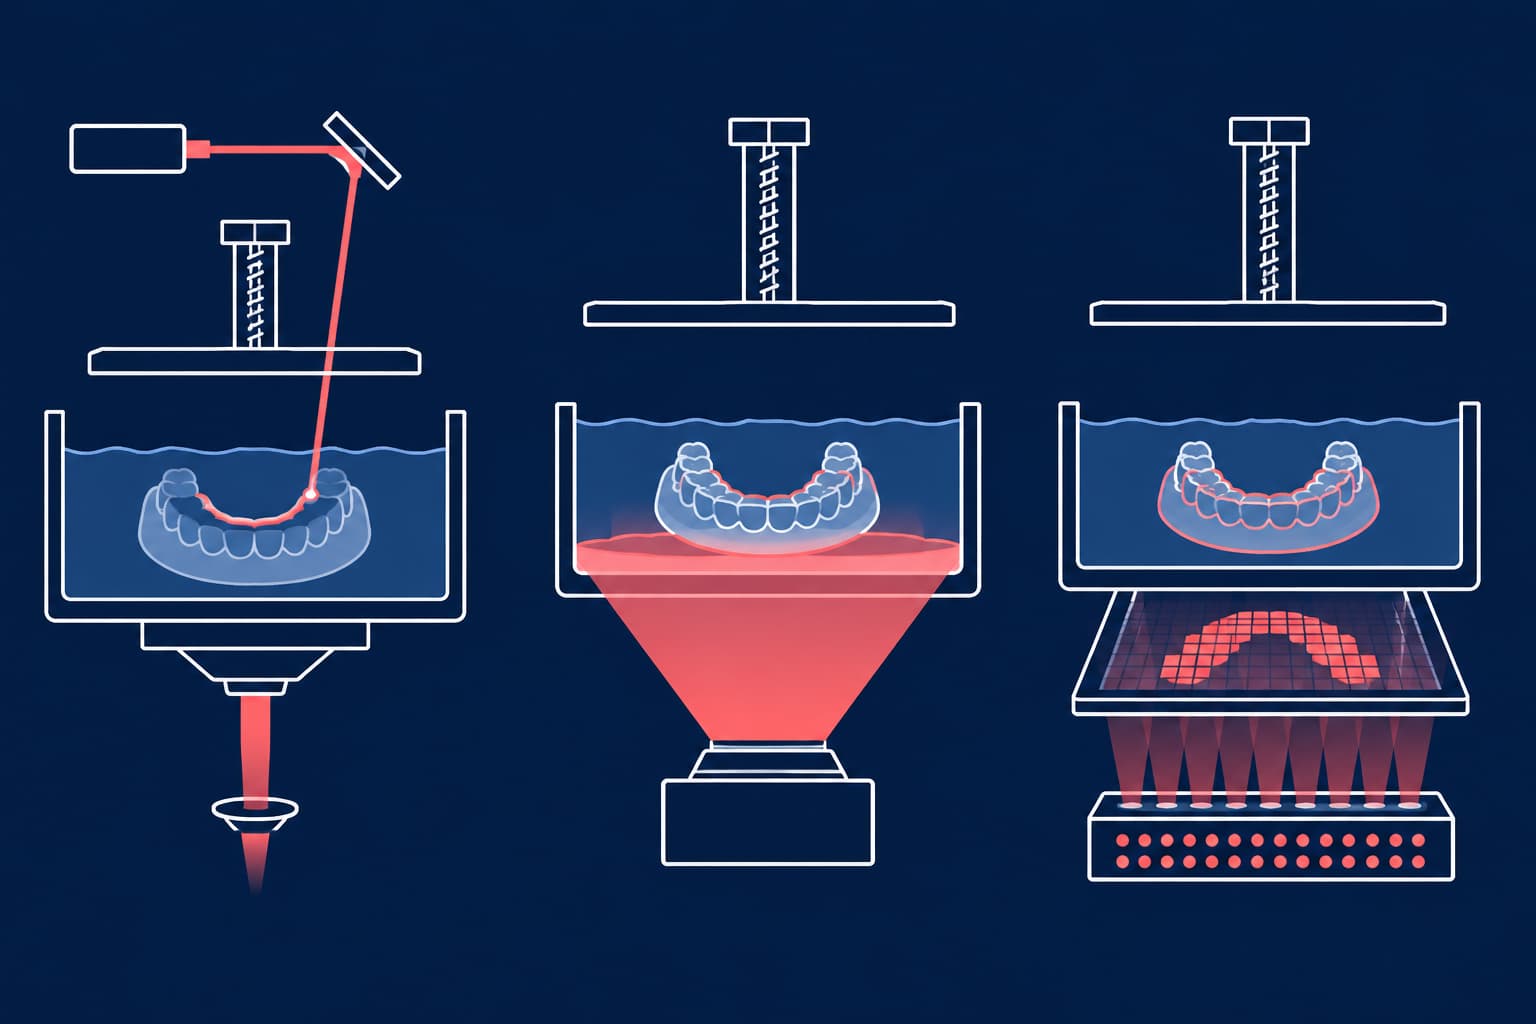
Orienting models vertically allows you to accommodate up to three times as many parts on a single build plate, significantly increasing batch throughput. The primary drawback is that vertical printing increases overall build height, extending total cycle runtime. High-aspect-ratio prints are also susceptible to lateral swaying caused by resin drag and platform acceleration. Without robust support engineering, vertical printing heightens the risk of layer lines and dimensional skewing. Selecting between dense vertical arrays and rapid horizontal prints depends heavily on whether your workflow utilizes laser scanning or high-speed projection engines, as detailed in our guide on SLA vs DLP 3D printing in orthodontics.
Strategic Support Placement for Orthodontic Devices
Support structures anchor the print against gravity and mechanical peel forces, yet support removal leaves surface artifacts that can ruin appliance fit. Placing contact points requires adhering to strict spatial rules:
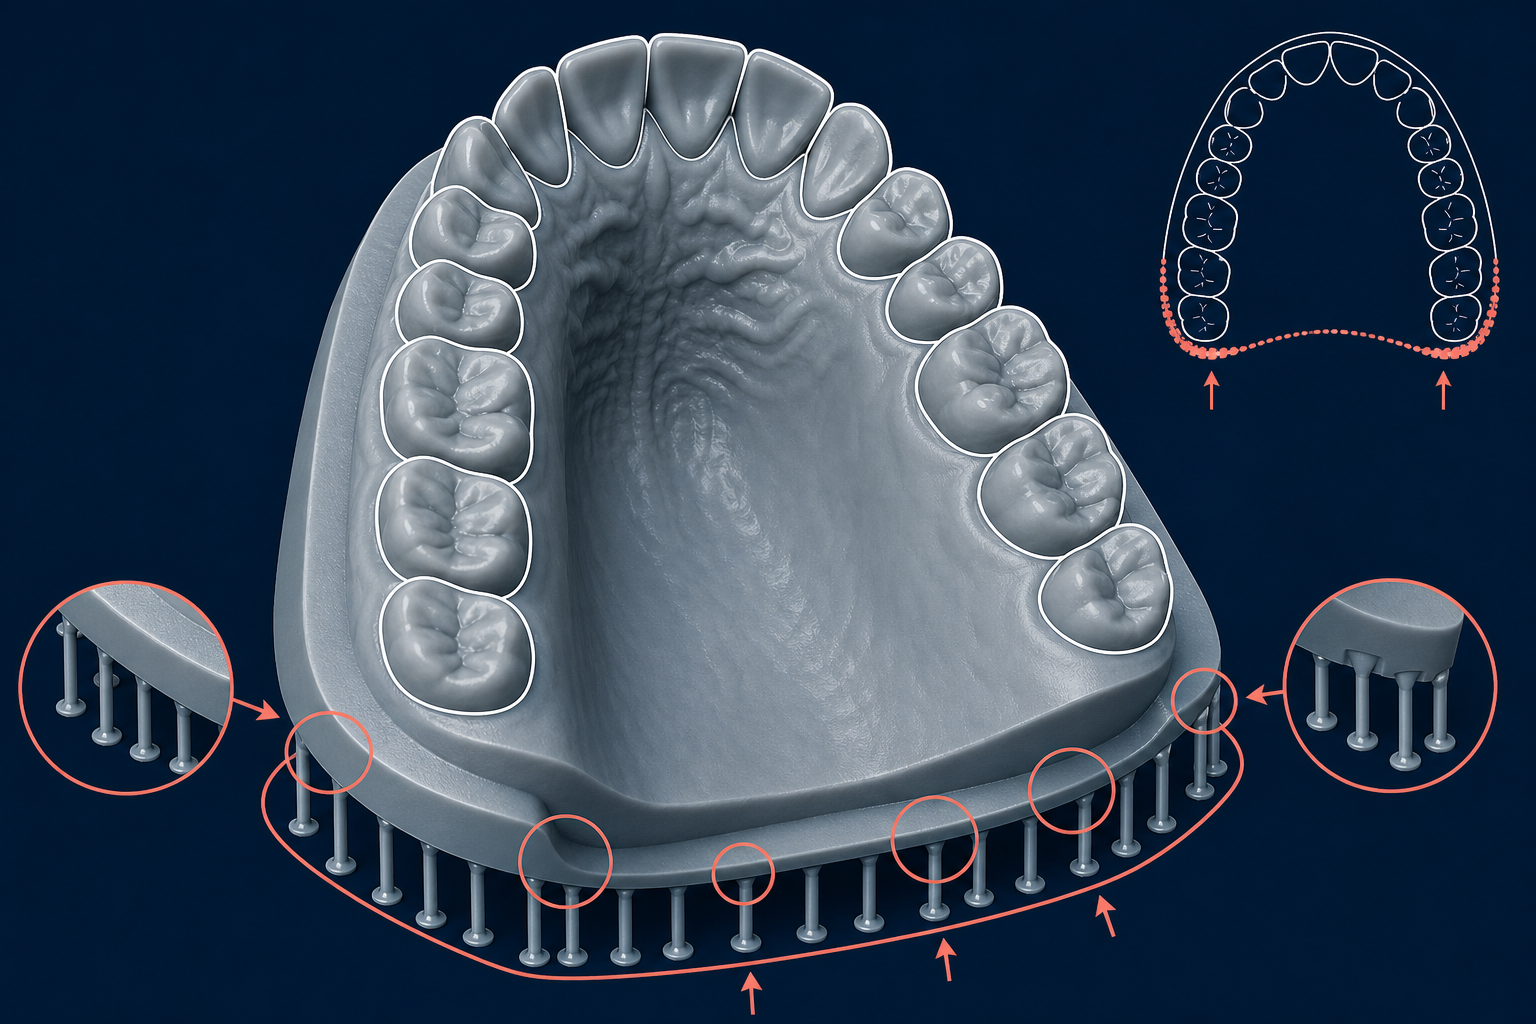
- Protect Functional and Intaglio Surfaces: Never place support contact points on critical fitting regions. For diagnostic models, keep supports clear of occlusal cusps, incisal edges, and gingival margins. For direct 3D-printed orthodontic appliances, keep supports entirely off the internal fitting surface to guarantee passive seating against patient tissue.
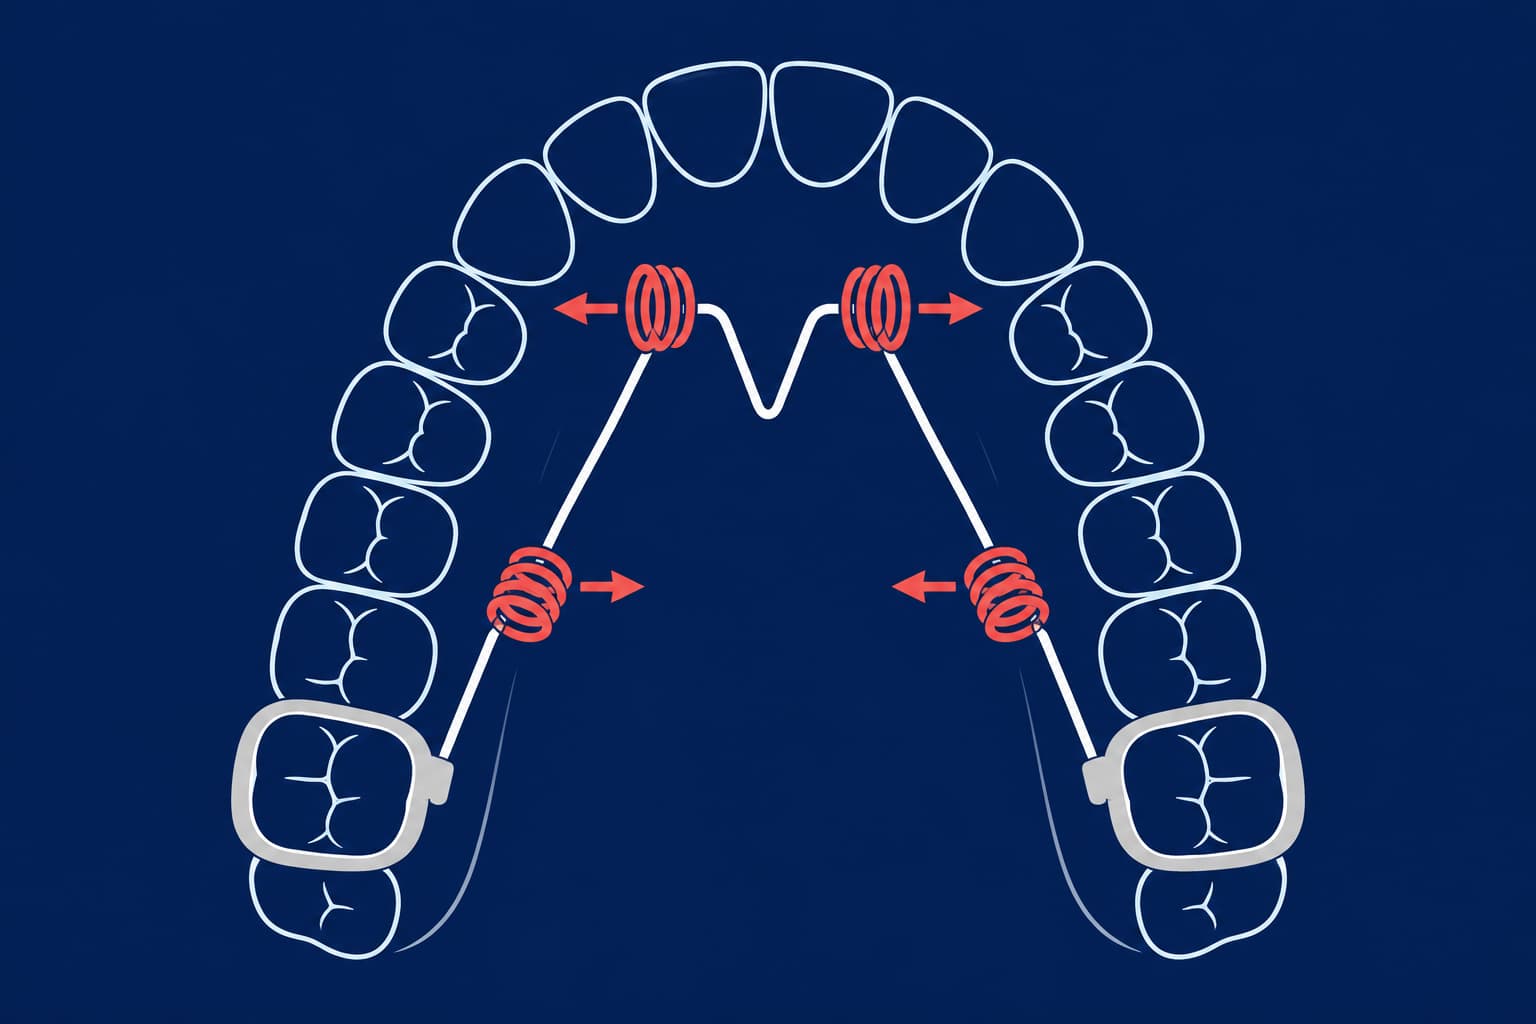
- Isolate Inclined Planes on Functional Devices: When printing Class II correction appliances like Twin Blocks, place the flat virtual base directly on the build platform or position supports on non-functional exterior surfaces. Placing support touchpoints on functional 70° inclined planes distorts the occlusal ramp geometry, directly compromising planned mandibular advancement.
- Prioritize Support Distribution Over Pin Thickness: Distributing medium-to-light support pins evenly along structural perimeters provides superior dimensional stability compared to placing a few heavy support pillars. Heavy pins create deep surface pitting and localized stress during removal, significantly increasing manual finishing time during 3D printing post-processing in orthodontics.
Interplay of Layer Thickness, Print Speed, and Cost
Build orientation interacts directly with layer height to govern print speed and surface resolution. While ultra-fine settings like 20 µm or 25 µm refine surface smoothness, evidence shows they offer no clinical accuracy advantage over 100 µm layers for orthodontic models while drastically extending print duration.
For clear aligner model production, a 100 µm layer height paired with a 45° to 60° build angle delivers the ideal operational balance. This configuration maintains mean dimensional deviations well within the ±0.25 mm clinical threshold while minimizing resin consumption and machine runtime. Optimizing these parameters lowers per-unit production expense, helping clinics control overall orthodontic 3D printing cost when evaluating digital workflows against traditional methods analyzed in our comparison of 3D-printed study models vs plaster models.
Setup Protocols by Appliance Type
Diagnostic and Aligner Working Models
- Orientation: 30° to 45° incline with model heels facing the build plate, or 0° flat on a solid virtual base.
- Support Placement: Position supports along the posterior base rim and palate perimeter. Keep tooth anatomy and gingival margins completely support-free.
Direct-Printed Aligners and Retainers
- Orientation: 60° to 90° vertical inclination for direct aligners to maintain arch elasticity, or 0° horizontal for single retainers requiring minimal vertical deviation.
- Support Placement: Place supports exclusively on non-retentive occlusal edges and outer labial or buccal walls away from undercut regions, ensuring material choices match certified orthodontic 3D printing materials.
Surgical Guides and Occlusal Splints
- Orientation: 45° angled orientation with guide sleeve channels facing upward to prevent uncured resin pooling inside drill channels.
- Support Placement: Anchor supports to non-fitting exterior structural walls. Avoid placing support pins inside sleeve openings or along tissue-bearing seating surfaces.
Hardware Maintenance and Platform Calibration
Precise CAM software setups cannot compensate for mechanical instability caused by compromised hardware. Axis wobble, clouded vat membranes, or optical engine degradation introduce dimensional errors that mimic poor build orientation. Routine cleaning of optical windows and precise platform calibration are essential to maintain required tolerances, as outlined in our guide on orthodontic 3D printer maintenance.
Streamlining Production with Nordicdens
Mastering slice parameters, resin dynamics, and support placement requires continuous calibration and specialized lab experience. By pairing optimized print orientations with strict post-processing protocols, your practice can consistently deliver highly accurate, perfectly fitting appliances while minimizing remakes and overhead.
If you are looking to streamline your digital workflow without the overhead of ongoing software calibration and hardware maintenance, Nordicdens provides fully validated lab manufacturing services tailored to your clinical requirements. Partner with Nordicdens today to integrate direct-printed appliances and expert-engineered models into your daily practice.