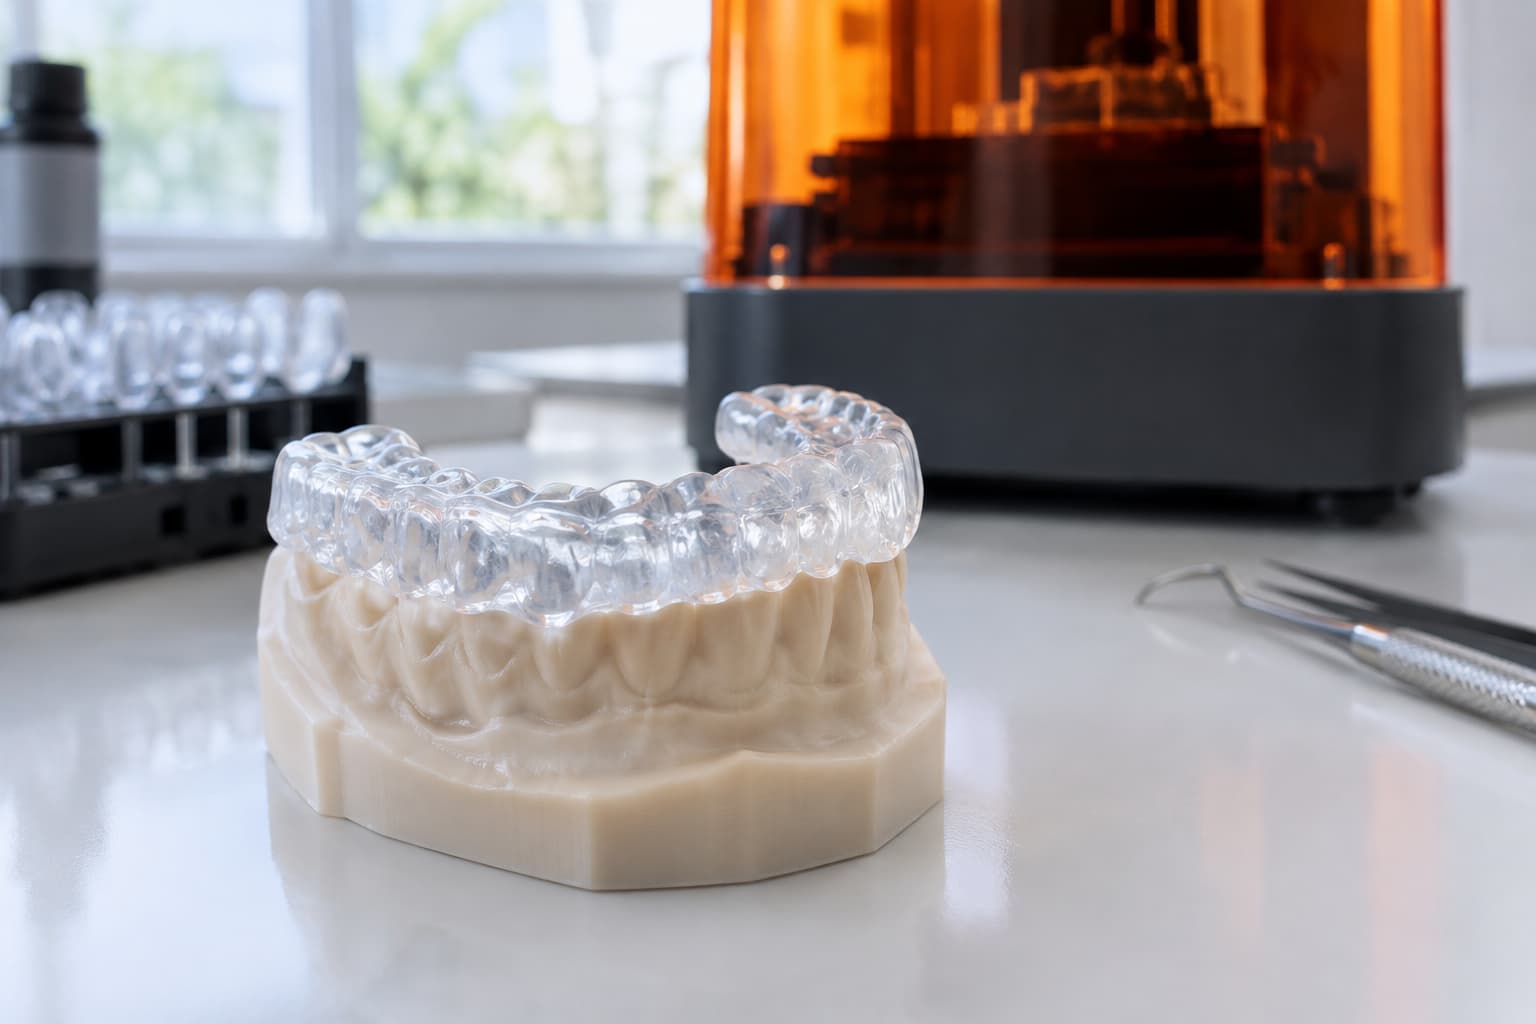
A 3D-printed occlusal splint is a defensible alternative to a milled or heat-cured one for short-term use, provided you match the resin to the indication and validate your print orientation and post-processing. Printing keeps the design file on record, so a remake is the same design again, and digital fabrication may shorten chairside adjustment time. It does not offer proven long-term outcomes: the clinical trials are small and mostly run three months.
Three decisions determine most of the result:
- Resin stiffness. Rigid resins (flexural modulus above 2,000 MPa) suit stabilization splints. Flexible resins (roughly 640 to 1,400 MPa) trade stiffness for comfort and impact tolerance.
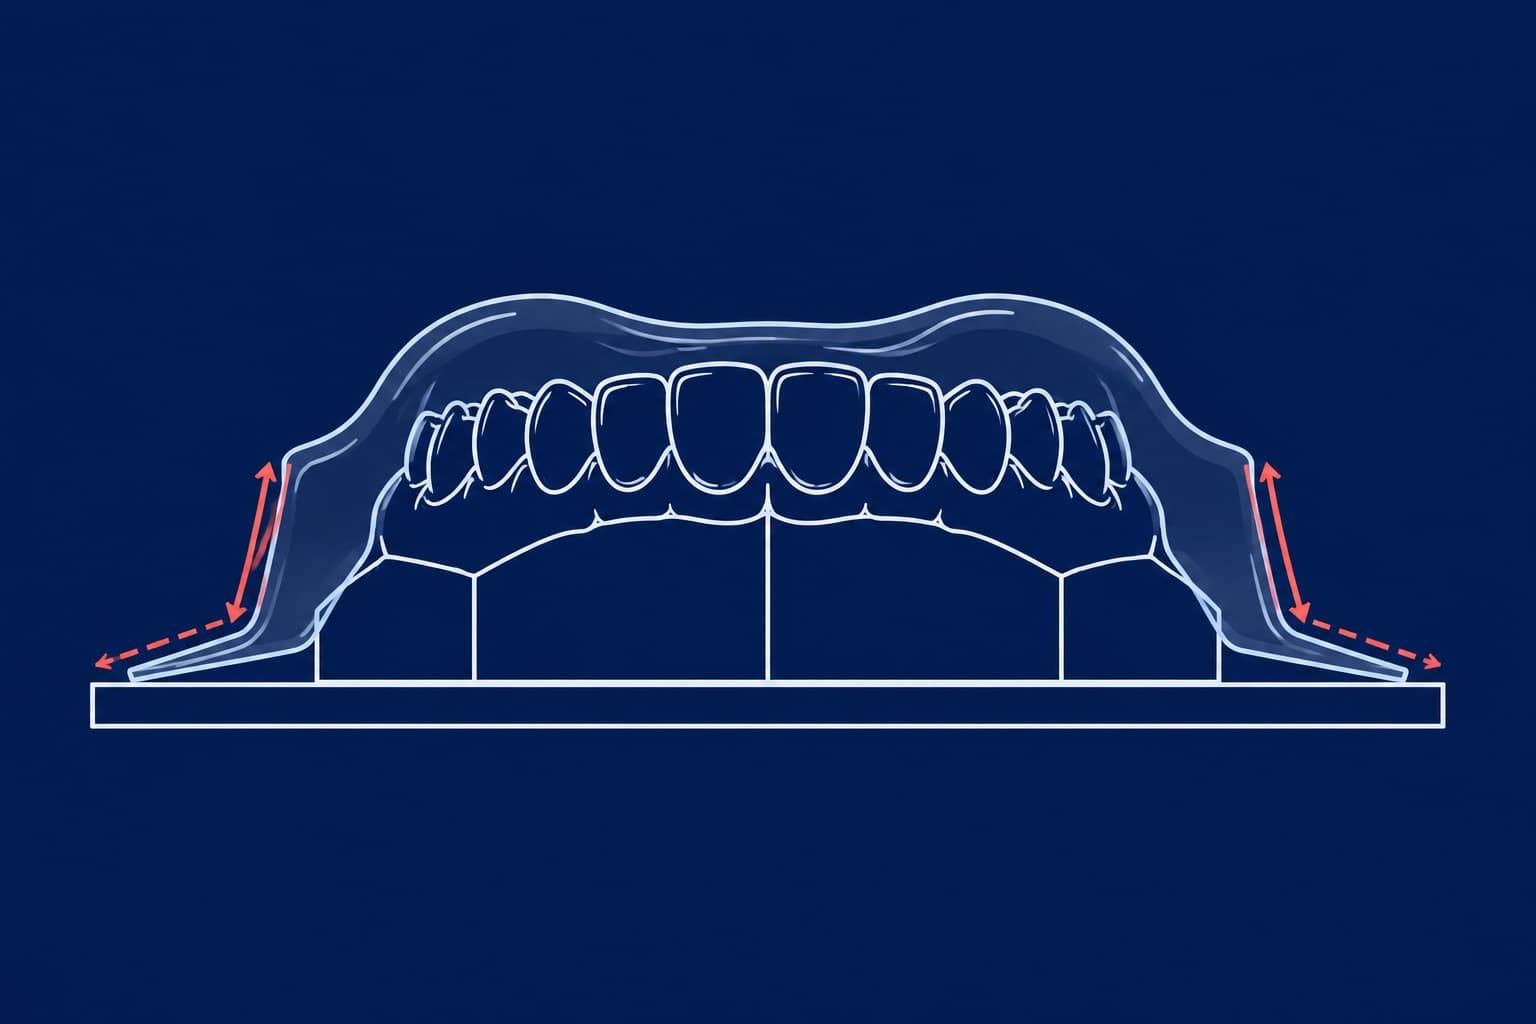
- Print orientation and supports. Supports must stay off the fitting surface and the occlusal contacts, and the best angle depends on resin and printer.
- Post-processing. Wash and cure exactly as the resin's instructions for use (IFU) specify, with equipment the maker has validated.
Which resin for which splint
The table lists four resins that makers position for splints and night guards, with the figures from their own datasheets. The test methods differ, so treat the numbers as a way to rank stiffness, not as a head-to-head result.
| Resin | Type | Flexural strength | Flexural modulus | Regulatory status stated by maker |
|---|---|---|---|---|
| Formlabs Dental LT Clear V2 | Rigid | 84 MPa | 2,300 MPa | FDA 510(k) cleared for splints, night guards and mouth guards |
| NextDent Ortho Rigid | Rigid | 78 MPa (ISO 20795-2) | 2,075 MPa (ISO 20795-2) | CE, Class IIa |
| Keystone KeySplint Soft | Flexible | 40–47 MPa (ASTM D790-17) | 1,000–1,400 MPa | FDA 510(k) cleared, CE Class IIa |
| Formlabs Dental LT Comfort | Flexible | 21 MPa | 643 MPa | FDA 510(k) cleared for mouthguards |
The method matters. KeySplint Soft's own datasheet also lists an ultimate flexural strength of 2.6–4.4 MPa under ISO 20795-2, a different test that produces a very different number for the same resin. Never compare a figure from one standard with a figure from another.
Independent testing shows the same spread. One study of five printed, one milled and one cold-polymerized splint material measured flexural strengths from 46.1 to 106 MPa. "3D-printed" does not describe a single material class.
Choose a rigid resin when you need a Michigan-type stabilization splint: full-arch coverage, a flat occlusal surface, canine guidance and bilateral contacts that you will adjust at the chair. The European Academy of Craniomandibular Disorders (EACD) recommends that such a splint cover the whole arch, be worn only at night and add minimal vertical dimension.
Choose a flexible resin when comfort and breakage tolerance matter more than a rigid, adjustable occlusal plane, for example a night guard for a patient who has refused hard acrylic. Formlabs lists LT Comfort at 33% elongation at break and 1,340 J/m impact strength, against 12% and 449 J/m for LT Clear V2. A flexible resin tolerates impact better, and a rigid resin holds its shape better under load.
Do not expect the evidence to settle this for you. A systematic review of 11 randomized trials found soft and hard splints gave similar results in TMD and bruxism, and judged superiority of either inconclusive.
Where splints sit in an orthodontic practice
A splint covers the occlusal surfaces to protect teeth and unload the jaw muscles. An aligner or retainer moves or holds tooth position. They look alike in clear plastic and do different jobs.
Three clinical points guide the referrals you will receive:
- Aligners are not a proven bruxism guard. They may add some buffering, but they are not built like hard acrylic splints and do not stop bruxism or cure TMD. A 2026 systematic review concluded aligners cannot yet be classified as protective or harmful.
- Wait for acute TMD to settle. The British Orthodontic Society advises delaying appliance treatment until acute symptoms have settled. The EACD adds that patients should not be treated orthodontically to prevent or treat TMD.
- Splints protect more than they cure. A Cochrane review of 57 randomized trials with 2,846 participants found the evidence on occlusal interventions for TMD inconclusive. Hard stabilization splints may reduce muscle pain when chewing compared with no treatment, but the evidence is very uncertain. For sleep bruxism, a systematic review found insufficient evidence that splints treat the grinding itself.
Set expectations with the referring clinician accordingly. A printed splint is a conservative, reversible way to protect dentition and reduce load, and it needs follow-up. A British Dental Journal review warned that night guards of any type can cause unintended occlusal changes, so full-coverage, well-fitted designs are preferable. A 2024 UK guideline on painful TMD advises assessing night-time splint use for at least 3 months and stopping at once if it worsens symptoms.
The digital workflow, step by step
- Scan both arches and the bite. A design service documented by Formlabs asks for upper and lower full-arch scans plus at least one bite scan. For reliable data, deactivate the dental chair light and keep mandibular movement to a minimum during scanning, as Rapid Shape advises. Scan faults carry through every later step; see common intraoral scan errors in orthodontics for what to look for.
- Record the jaw relationship. Published TMD workflows capture centric relation with a deprogrammer or leaf gauge and then scan the registration. Export everything as STL, as described in our guide to STL files in orthodontics.
- Design the splint. 3Shape Splint Studio and exocad DentalCAD both handle stabilization splints and night guards. Respect the resin's minimum thickness: Formlabs specifies 2 mm minimum on occlusal surfaces and 1 mm on walls for LT Comfort, while Carbon cites 1.5 mm as the 3Shape Splint Designer minimum for KeySplint Soft. A UK lab prescribing the same resin lists 1.5–2 mm for both. Clinical recommendations favor the thinnest design that stays safe, about 2–3 mm in the molar zones for a hard stabilization splint.
- Set the offset. Formlabs gives an offset of 0.05 to 0.10 mm for LT Clear V2 and 0.01 to −0.03 mm for LT Comfort, noting a smaller value gives a tighter fit.
- Orient and support. See the next section.
- Wash, dry and post-cure. Use isopropyl alcohol and the maker's times. As an example only, a Formlabs case report washed for 15 minutes in 99% IPA, rinsed 5 minutes in fresh IPA, air-dried for 30 minutes and cured at 60 °C for 60 minutes. Treat those as one case's settings, not a universal protocol.
- Remove supports and polish. Cut supports with flush cutters or a carbide bur rather than tearing them off, since tearing leaves divots. Smooth the contact points with a carbide bur, then use a silicone polisher and a muslin wheel for gloss.
- Check fit and adjust at the chair. Do not skip this for a printed splint, as the next section explains.
Print orientation: no single best angle
Manufacturers give different guidance. For LT Clear, Formlabs directs that the intaglio (fitting) surface face away from the build platform at 30° or less. Its LT Comfort guide specifies a 30–60° tilt. Independent studies do not agree on one angle either:
- A study of two printers at 0°, 30°, 45°, 60° and 90° found the most accurate orientation was 0° on one printer and 60° on the other. Milled splints were more accurate than any printed group.
- A study of LCD printing found trueness similar at 0°, 45° and 70°, but better precision at 70°.
- A narrative review reports that full-arch splints printed at 90° fitted worst.
- For strength, a 2026 DLP study of three resins found orientation had a significant effect while layer thickness (50 or 100 µm) had little, and 45° generally gave higher flexural strength. A NextDent Ortho Rigid study found 45° with extended post-curing gave the highest flexural strength and modulus.
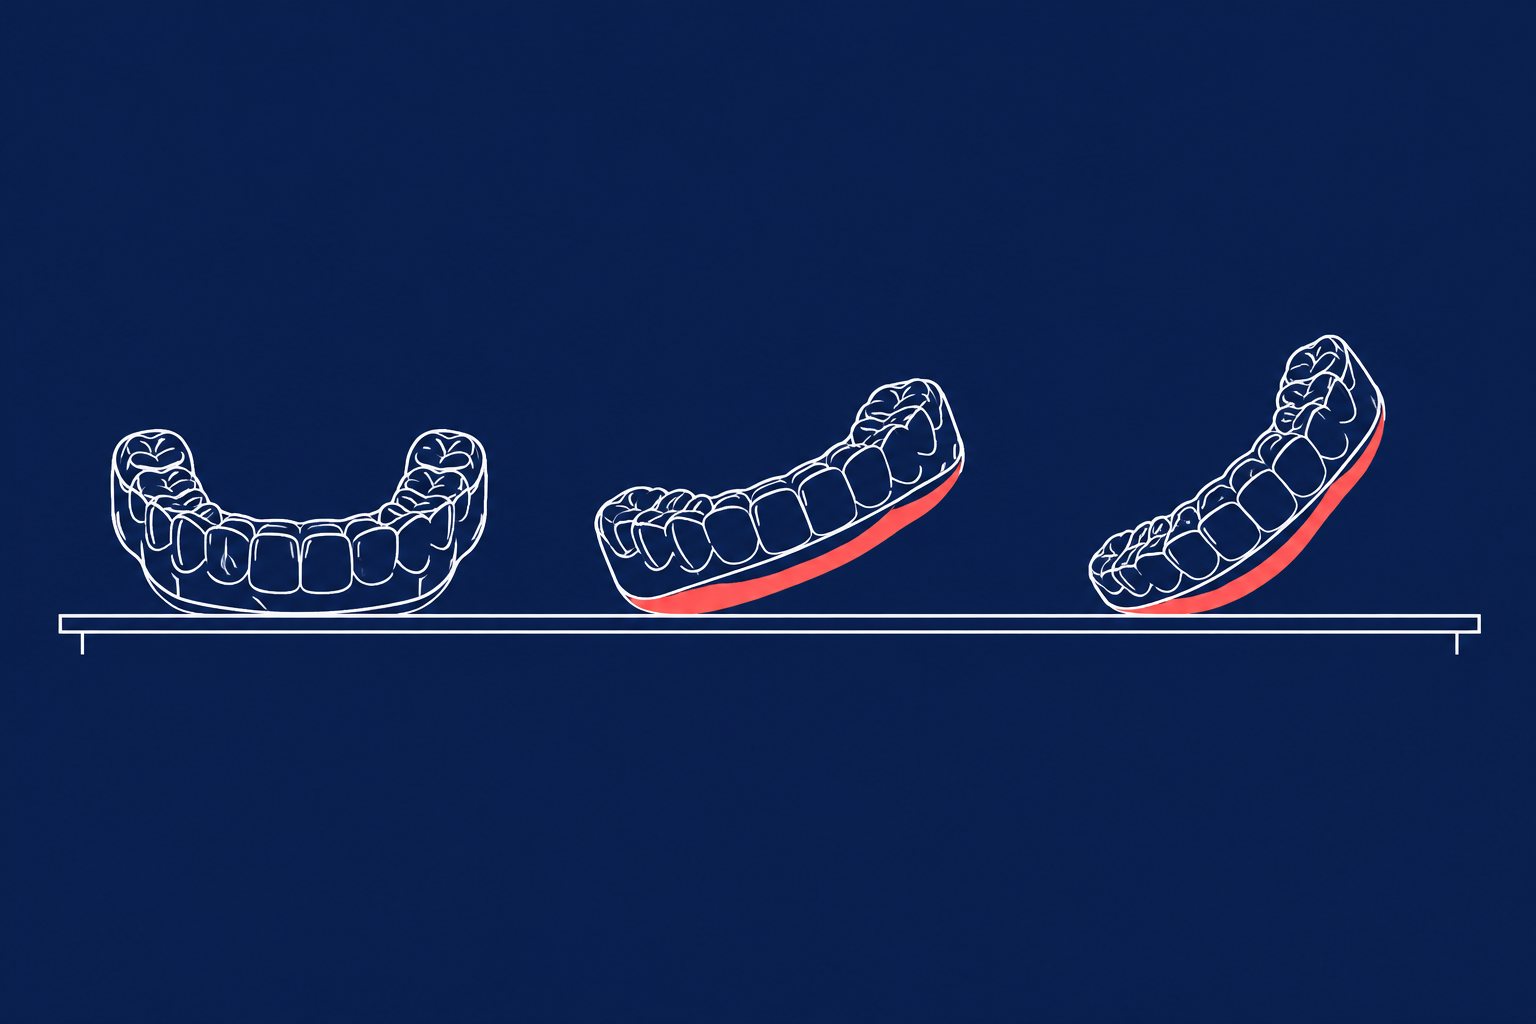
The practical rule: start from the resin maker's validated orientation, then print a test splint on your printer and check seating on a model before you change angle. Optimizing for one property, such as flexural strength, can compromise another, such as fit, so check both.
Keep supports away from the intaglio surface and from antagonist and dynamic occlusal contacts. Formlabs notes auto-generated supports can land there, so open the support menu and move the touchpoints.
What the evidence says about printed splints
Most clinical data are short-term:
- In a randomized pilot of 47 patients with bruxism or painful TMD, splints printed in a thermo-flexible resin and milled splints were all still in use at three months. Small cracks appeared in 6 printed and 4 milled splints. Satisfaction and maximum wear did not differ significantly.
- A randomized trial of 66 patients per group found both digital and conventional splints reduced TMD pain and dysfunction, with the digital group improving more on pain scores. Another trial reported comparable outcomes, with digital fabrication possibly shortening clinical adjustment time.
- A systematic review of wear studies found no significant wear difference among heat-cured, CAD-milled and 3D-printed materials, but noted that clinical studies of printed materials were limited.
- A 2024 meta-analysis found printed materials had properties comparable to conventional resins, and milled splint materials were not mechanically better than heat-cured acrylic.
Two cautions come from the laboratory. In an aged-sample fracture test, milled PMMA had the highest fracture strength, followed by a flexible printed resin, another printed resin and heat-cured acrylic. And in a retention test, mean retentive forces were 16.4 for conventional, 6.42 for milled and 4.42 for printed splints, so printed splints held about a quarter as firmly as conventional ones.
A small 2025 pilot of three fabrication techniques also reported that none of its CAD-CAM printed splints seated fully on the maxillary arch, which prevented accurate equilibration, while both conventional methods adapted acceptably after adjustment. It was a pilot, and the printing parameters matter, but it supports one rule: verify seating before you adjust the occlusion. If a printed splint rocks, remake it rather than grinding to compensate.
Regulation in the EU: custom-made devices
Under the EU Medical Device Regulation (MDR 2017/745), a splint made to a written prescription for one named patient can qualify as a custom-made device. The definition requires a prescription from a person authorised by national law, specific design characteristics given under that person's responsibility, and sole use by one patient. Mass-produced devices adapted to a user do not qualify.
If your splint qualifies, the manufacturer must issue an Annex XIII statement that identifies the manufacturer and production sites, the device, the patient (by name, acronym or code) and the prescriber. It must also state conformity with the Annex I safety and performance requirements. The statement must be kept at least 10 years, and documentation on design, manufacture and performance must stay available to national authorities.
The definition, not the product name, decides the status. Assess each splint against it, and confirm with your national competent authority. Use a resin whose intended purpose covers splints, and follow its IFU: Formlabs, for example, states that only its validated wash and cure units comply with biocompatibility requirements for its dental resins.
Mistakes that cause remakes
- Copying one maker's settings onto another resin. Offsets, thickness limits and cure times are resin-specific.
- Supports on contact surfaces. Scars on occlusal or intaglio surfaces change the bite or the seat.
- Weak bite registration. A good print of a poor registration is still a poor splint.
- Skipping the follow-up. Check occlusion and symptoms at review, since splint therapy can alter the bite.
Before you move a splint line from analog to printed, take ten consecutive cases and log chairside adjustment minutes, seating problems and remakes for each route. That comparison, not a datasheet, tells you whether printing pays off in your practice. For the printer side of that decision, read how to choose an orthodontic 3D printer, then check our technical guide to orthodontic 3D printing resins before you commit to a material. For related direct-print work, see 3D-printed indirect bonding trays.